
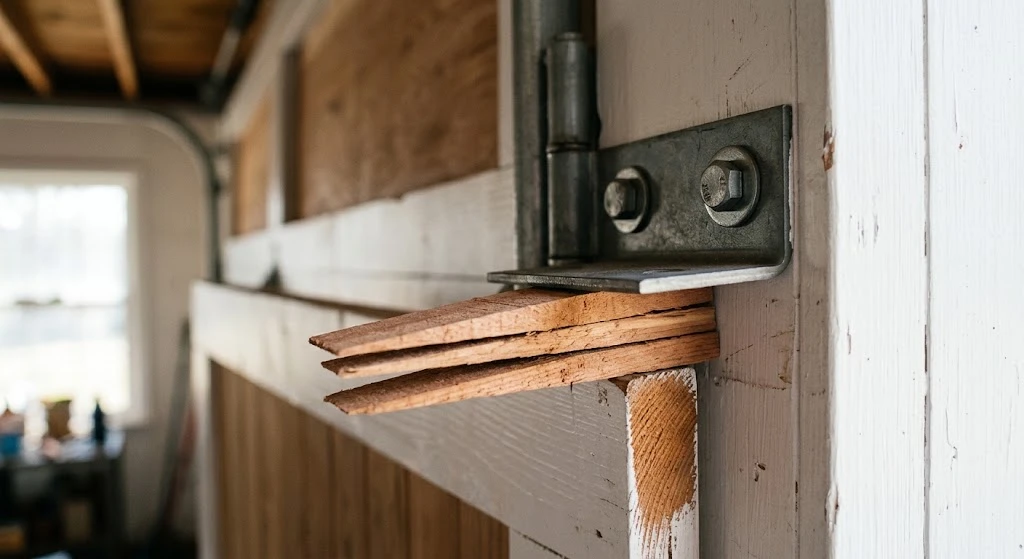
Carpenters blocks — sometimes called shim blocks or leveling blocks — are the small wood or composite wedges installers use to plumb and level a garage door frame before securing it in the rough opening. Skip them, and your door can bind, drag, or wear unevenly within months.
Most DIY installers underestimate how much these small blocks matter. A garage door jamb that’s out of plumb by even a quarter inch can throw off the whole door’s balance and put uneven stress on rollers and hinges.
This guide covers what carpenters blocks actually do, how to use them correctly during a garage door install, and the mistakes that cause callbacks.
Short Answer: Carpenters blocks are wood or composite shims placed between the door jamb and the rough framing to plumb, level, and square the frame before fastening. They’re set at hinge points and lock locations, then trimmed flush once the frame is secured. Skipping proper shimming is one of the most common causes of a garage door that binds or doesn’t seal correctly.
What Carpenters Blocks Actually Do
When you set a garage door frame into a rough opening, the opening itself is rarely perfectly square. Framing lumber shifts, foundations settle, and construction tolerances add up. Carpenters blocks fill those gaps so the frame sits plumb and true, independent of the rough opening’s imperfections.
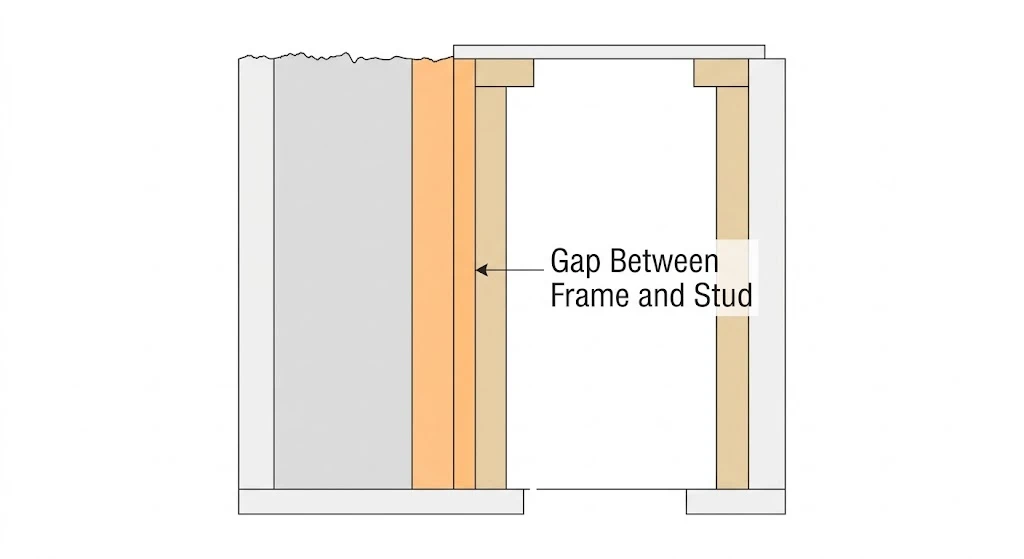
Without shims, the frame follows whatever shape the rough opening happens to be. That transfers directly to the door — a slightly twisted frame means a door that doesn’t seal evenly along the weatherstripping, or one that drags against the track on one side.
Think of shims as the adjustment layer between “what the framing gives you” and “what the door needs.” They’re a small part with an outsized effect on how the finished door performs.
Types of Shim Material

| Material | Best For | Notes |
|---|---|---|
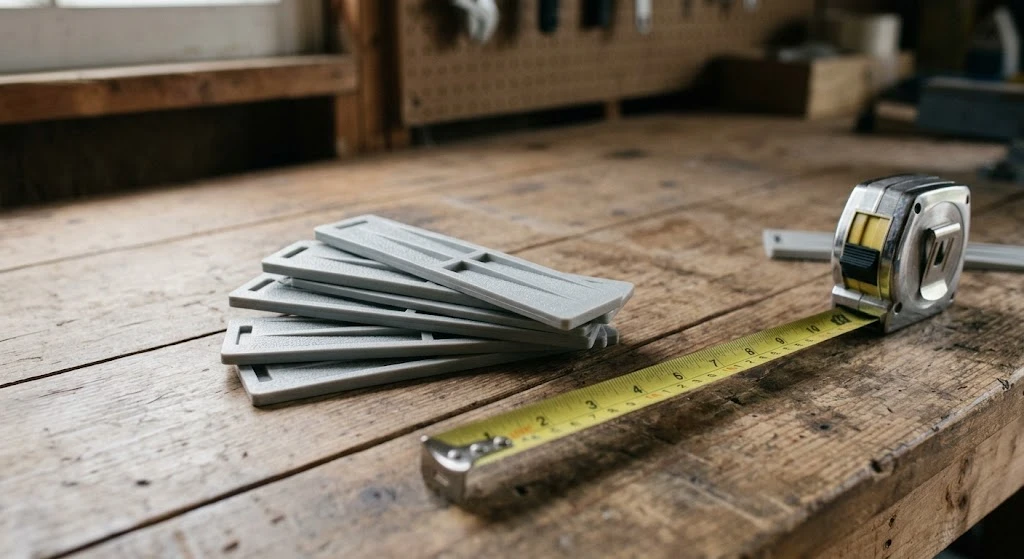
| Cedar shim shingles | Most residential installs | Tapered, easy to fine-tune, resists rot |
| Composite/plastic shims | High-moisture climates | Won’t compress or rot over time |
| Plywood scraps | Rough leveling only | Not tapered — harder to fine-tune precisely |
Cedar shim shingles are the standard choice for most jobs. They’re inexpensive, widely available at any lumber yard, and their taper makes fine adjustments easy — slide them in or out to change thickness in small increments.

Composite or plastic shims cost more, but they hold up better in garages exposed to constant moisture or humidity, since they won’t swell, rot, or compress the way wood can over the years.
Where to Place Shims on a Garage Door Frame
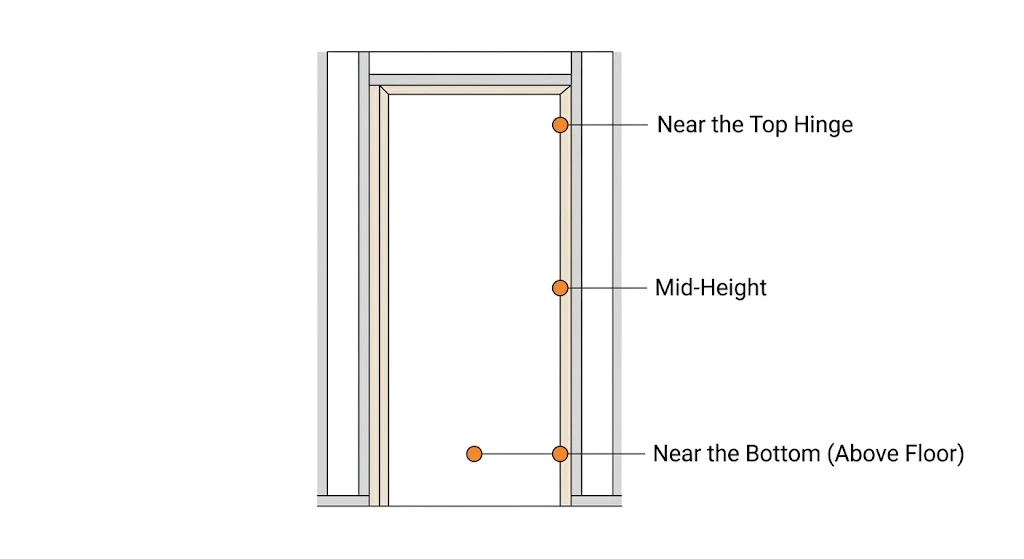
Placement matters as much as the shims themselves. Random shimming leads to a frame that looks straight but isn’t actually supporting the door correctly at load-bearing points.
| Field | Detail |
|---|---|
| DIY Suitability | Safe for DIY with careful measurement |
| Safety Risk Level | Low |
| Typical Shim Points | 3–4 per side: top, each hinge location, bottom |
| Installation Time | 30–45 minutes for shimming and checking plumb |
Place shim pairs directly behind each hinge location and at the top and bottom of the jamb. These are the points carrying the most load once the door is hung, so they need the most solid, consistent support.
Step-by-Step: Shimming a Garage Door Frame
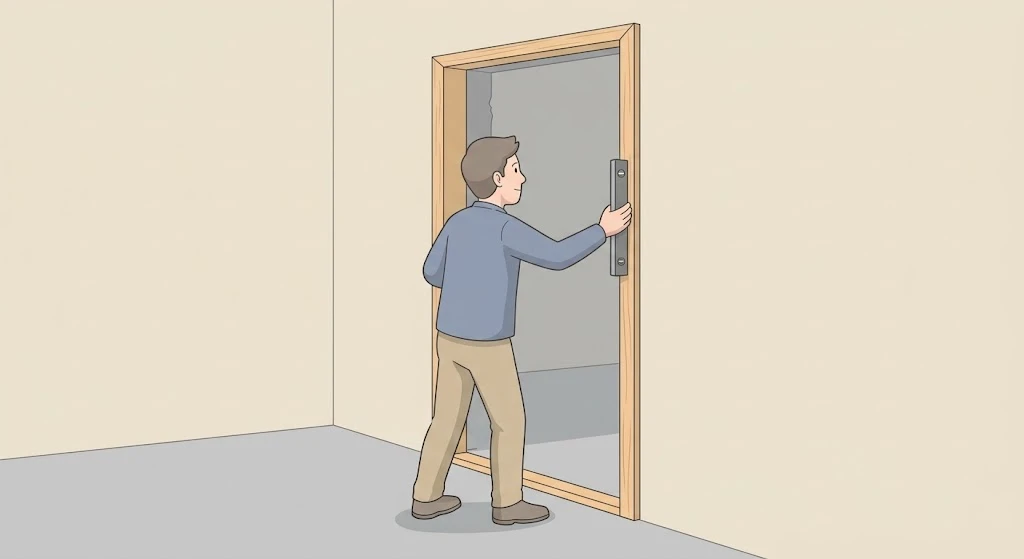
- Set the frame in the rough opening and center it, leaving equal gaps on both sides.
- Check plumb with a level on both the latch side and hinge side jambs before adding any shims.
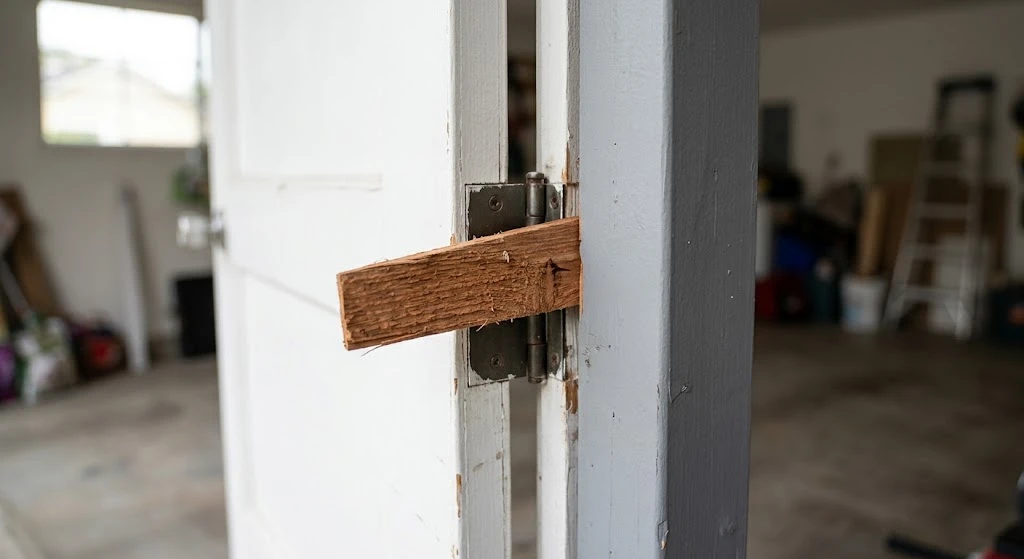
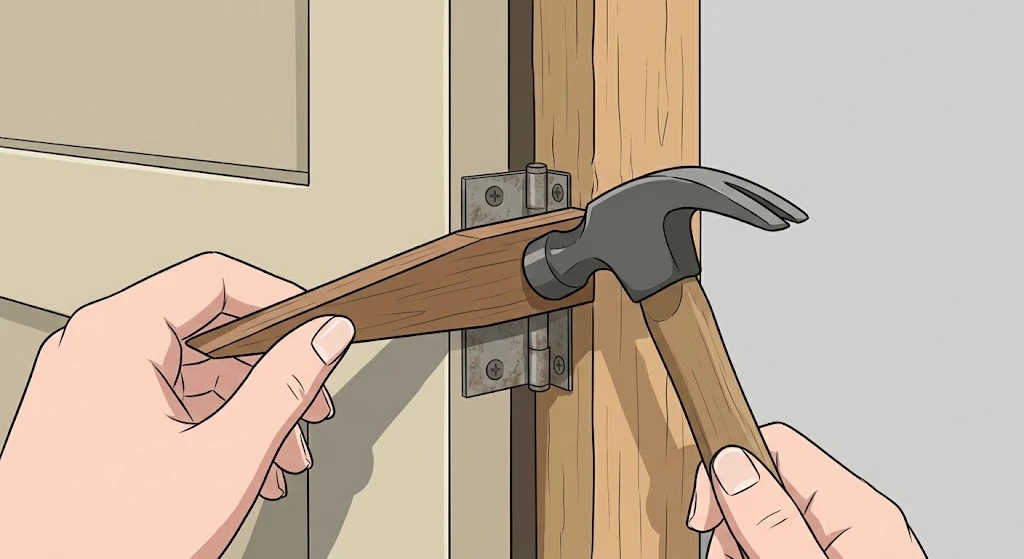
- Insert shim pairs from opposite sides at each hinge point, sliding them together until snug — never force a single thick shim where two thin tapered ones fit better.
- Recheck plumb after each shim placement, adjusting as needed before moving to the next point.
- Fasten through the shims using screws long enough to reach solid framing behind the shim stack.
- Trim excess shim material flush with a utility knife once the frame is fully secured.
Common Mistakes That Cause Problems Later
The most common mistake is checking plumb once at the start and never rechecking after each shim goes in. Each adjustment can shift the frame slightly — recheck plumb after every shim pair, not just at the end.
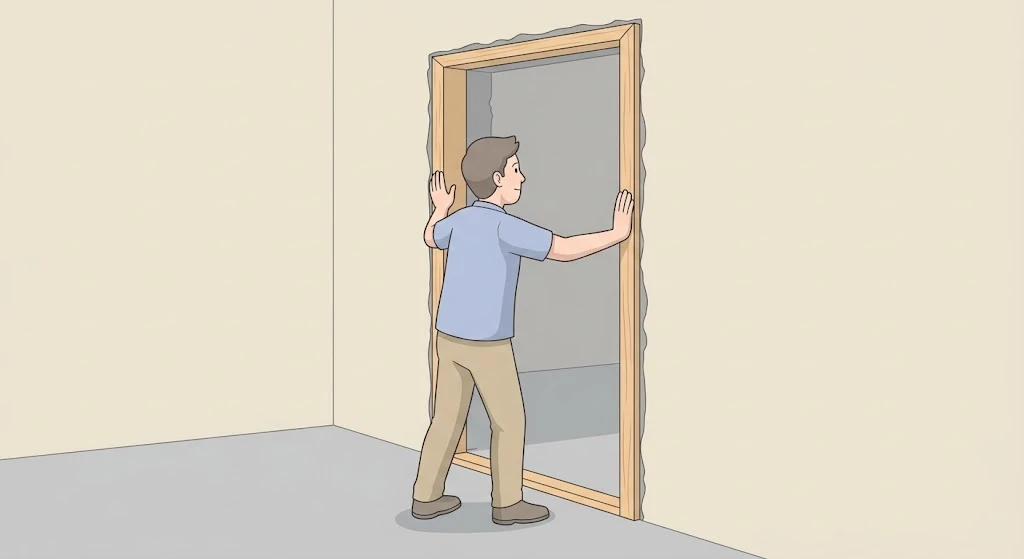
Another frequent error: over-tightening screws before the shims are properly seated. This can crush cedar shims and throw off the careful adjustment you just made. Snug the screws gradually, checking plumb as you go, rather than driving them fully in one pass.
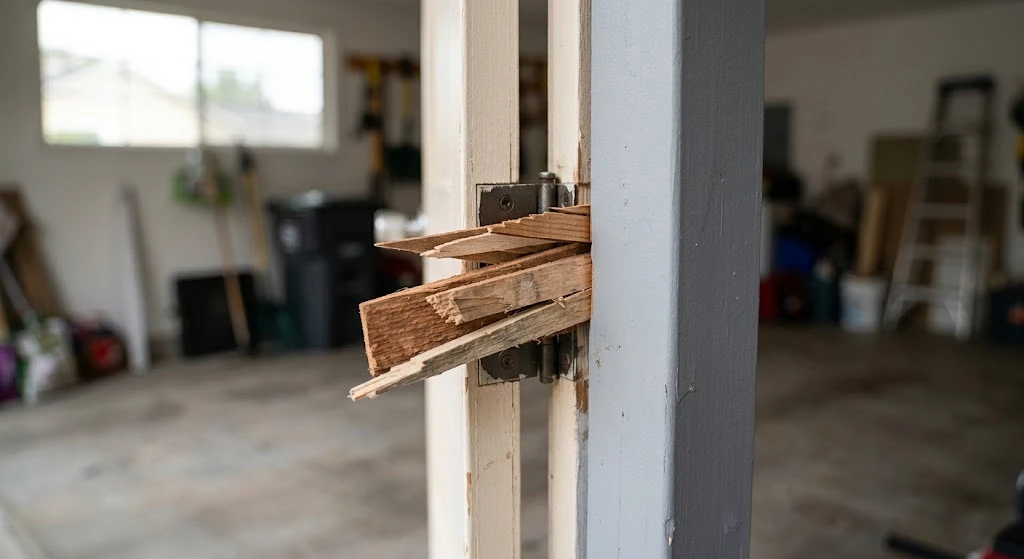
Skipping shims at the bottom of the jamb is also common — installers focus on the hinge points and forget the bottom corners need support too, especially on wider double-car door frames.
Why This Matters for Door Performance
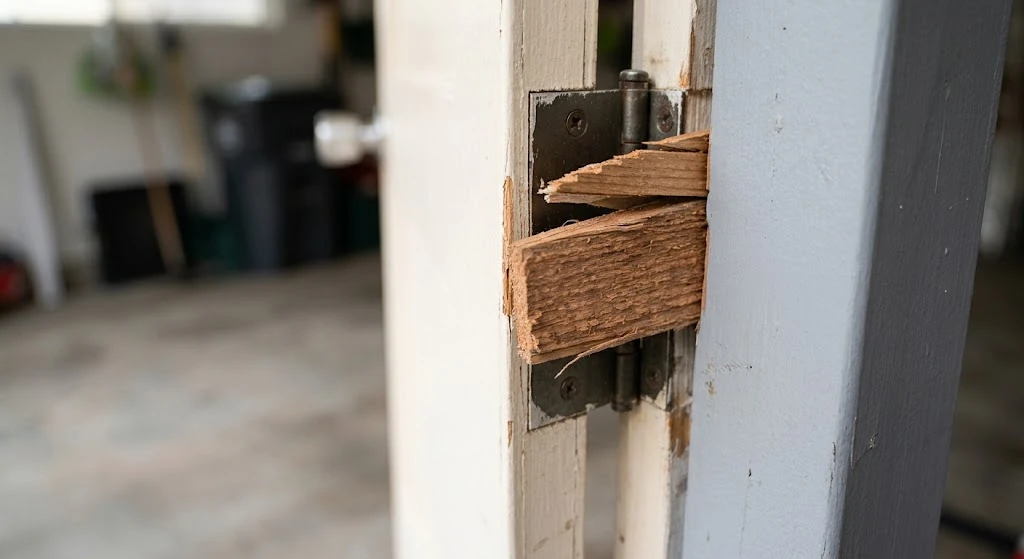
A properly shimmed frame is the foundation for everything else working correctly — smooth track alignment, even weatherstripping contact, and balanced roller wear. Get this step wrong, and even a brand-new, expensive door can develop the same off-center dragging and binding problems as an old, worn one.
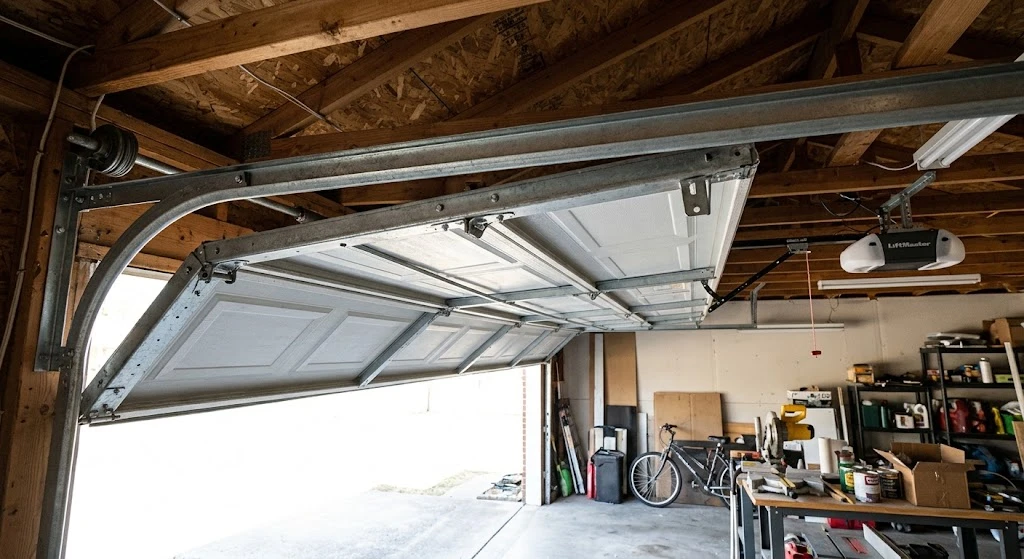
This is especially important on wider openings. A 16-foot double door frame that’s slightly out of plumb multiplies that error across the whole width, compared to a narrower single-car door. See our 16 foot garage door header size guide for the structural side of these wider installs.
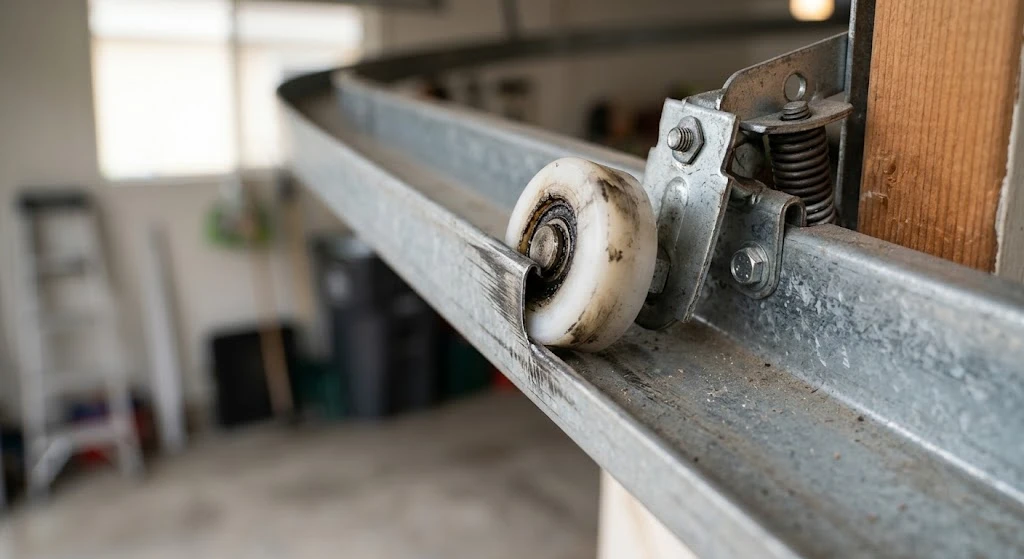
In our experience answering questions about garage door installs, uneven shimming is the hidden cause behind a surprising number of “my door drags on one side” complaints — people troubleshoot the track and rollers for hours before checking the frame itself.
What to Do Next
Buy a bundle of cedar shim shingles before your install — they’re cheap and you’ll use more than you expect. Check plumb constantly during installation, not just once at the start. If you’re unsure about your framing’s squareness, it’s worth having a professional handle the shimming — DASMA’s installation guidance notes that improper installation is a common source of long-term door problems. For masonry openings specifically, our cinder block wall installation guide covers additional considerations.
Frequently Asked Questions
What are carpenters blocks used for in garage door installation?
They’re shims placed between the door jamb and rough framing to plumb, level, and square the frame before it’s permanently fastened. This ensures the finished door operates smoothly and seals correctly, regardless of small imperfections in the rough opening.
What material should I use for garage door shims?
Cedar shim shingles are the standard choice for most residential installs — they’re tapered for fine adjustment, inexpensive, and resist rot. Composite or plastic shims work better in high-moisture climates where wood shims might degrade over time.
How many shims does a garage door frame need?
Most installations use three to four shim points per side: near the top, at each hinge location, and at the bottom of the jamb. Wider double-car doors may need additional shim points to support the extra span.
Can I use plywood instead of proper shims?
Plywood scraps work for rough, coarse leveling but lack the taper that makes fine adjustments easy. Tapered cedar shims let you dial in precise plumb by sliding them in or out slightly, which flat plywood can’t do as accurately.
What happens if a garage door frame isn’t shimmed properly?
An improperly shimmed frame can twist slightly out of square, causing the door to drag on one side, seal unevenly, or put uneven stress on rollers and hinges. This often shows up months later as premature wear or an off-center door.
Related Guides
For our installation and framing guides, see How to Reinforce a Garage Door for an Opener, Garage Door 45 Degree Corners, Garage Door in a Grain Bin, Will a Doorbell Button Work for a Garage Door Opener?, False Wall Behind a Garage Door, Replacing a Garage Door With a Sliding Glass Door and False Wall in Front of a Garage Door.