
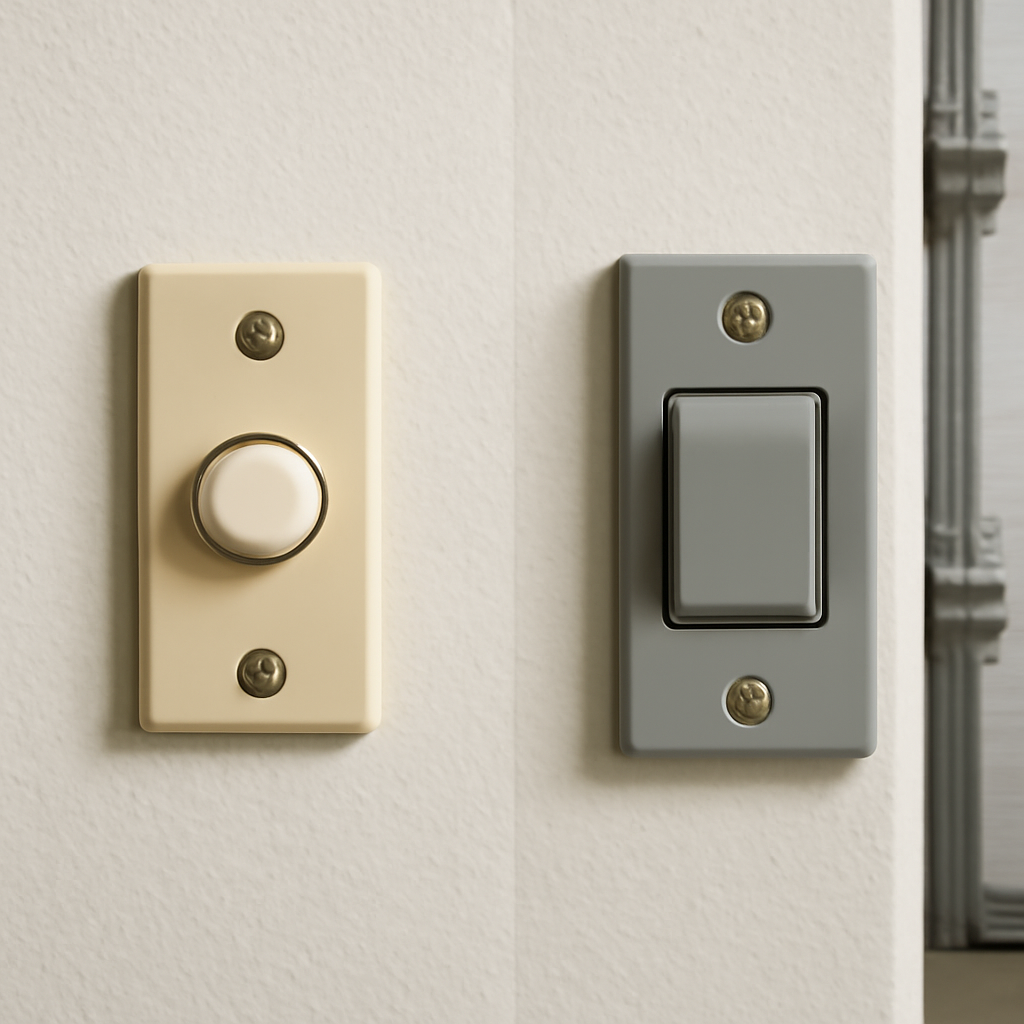
A doorbell button will not work as a garage door opener wall control, even though the two look almost identical. Garage door openers need a low-voltage momentary switch wired to specific terminals, and most doorbell buttons aren’t built the same way electrically. Using the wrong button can leave your opener unresponsive or, in some cases, damage the circuit board.
This mix-up happens more than you’d think. Both buttons are small, wall-mounted, and connect with two low-voltage wires — so it’s a reasonable question to ask before you go buy a replacement.
This guide breaks down the real difference between doorbell and garage door wall buttons, when a doorbell button might actually work, and what to buy instead.
Short Answer: No, a standard doorbell button generally won’t work reliably as a garage door opener control. Doorbell buttons are designed for AC transformer circuits ringing a chime, while garage door wall controls use a momentary dry contact switch wired to the opener’s low-voltage terminals. Some doorbell buttons might close the circuit correctly, but most use different internal wiring that won’t trigger the opener consistently.
Why These Buttons Look the Same But Aren’t
Both a doorbell button and a garage door wall control are small momentary-contact switches — press it, the circuit closes, release it, the circuit opens. On the surface, that sounds identical.
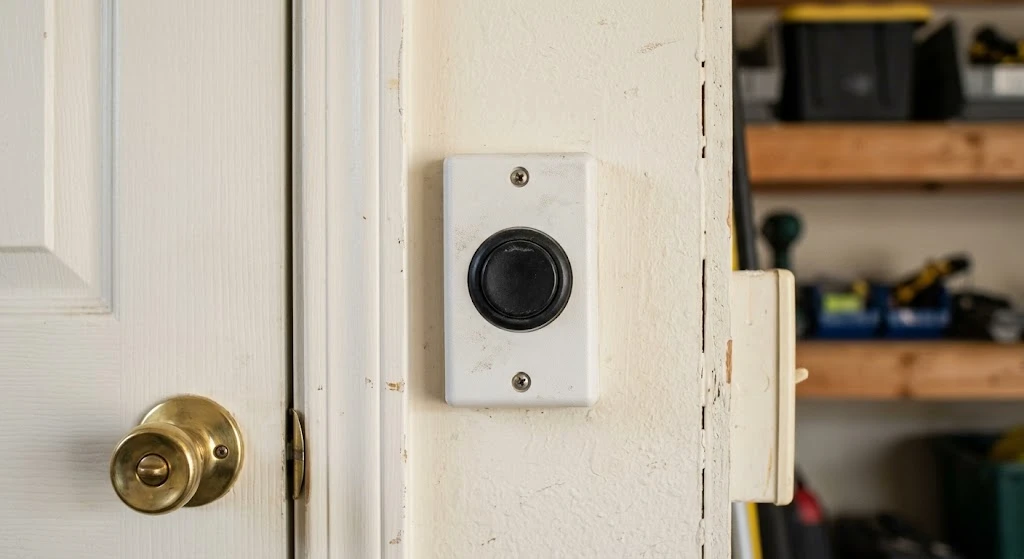
The difference is in the internal wiring and voltage handling. Doorbell buttons are designed to work with AC transformer circuits, typically 10-24 volts AC, wired specifically to ring a chime unit. Garage door wall controls use DC low-voltage circuits wired to complete a simple electrical loop that the opener’s logic board reads as a “go” signal.
Some basic doorbell buttons are simple enough that they’ll close a circuit correctly regardless of AC or DC current. Others have internal components — like built-in LEDs or resistors — that interfere with the opener’s signal detection.
What Actually Happens If You Try It
| Symptom | Likely Cause | DIY Suitability |
|---|---|---|
| Button press does nothing | Doorbell button’s internal wiring doesn’t complete opener’s expected circuit | Safe for DIY — just swap the button |
| Opener triggers randomly without pressing | Doorbell button’s built-in LED or resistor causing signal interference | Safe for DIY — remove and replace |
| Button works but opener logic board acts erratic | Voltage mismatch between doorbell circuit and opener terminals | Professional check recommended |
Most people who try this see nothing happen at all — the safest outcome. But doorbell buttons with lighted or electronic components can occasionally cause more confusing problems, like an opener that seems to trigger on its own.
What to Buy Instead
Garage door wall controls cost very little, and buying the correct one avoids any guesswork. Universal wall controls work with most major opener brands including LiftMaster, Chamberlain, Genie, and Craftsman.
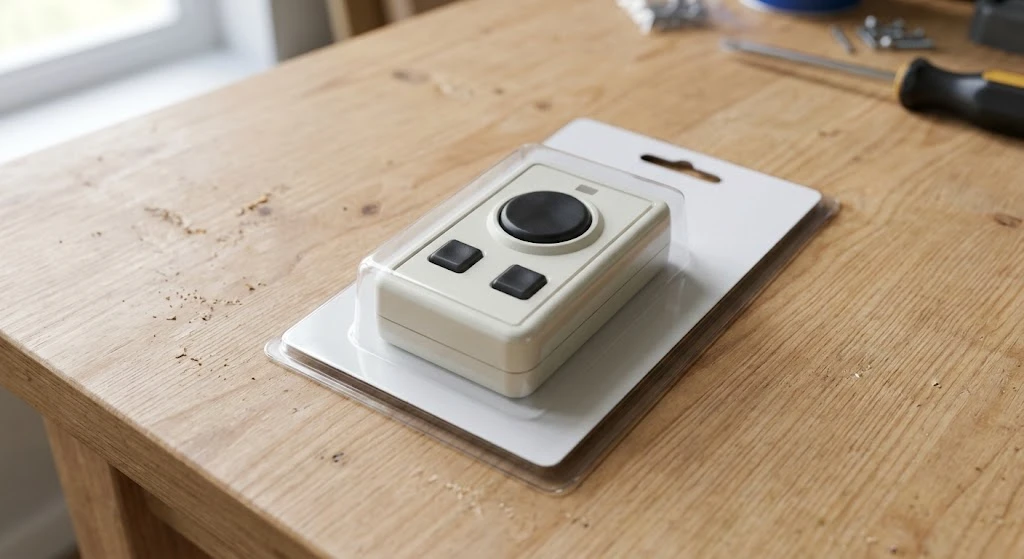
| Option | Cost | Compatibility |
|---|---|---|
| Universal wired wall control | $10–$20 | Most openers with standard terminal wiring |
| Brand-specific wall control (MyQ, Genie Aladdin) | $20–$40 | Matches your opener brand exactly, adds smart features |
| Multi-function control with light switch | $25–$45 | Adds light control and vacation lock features |
If your existing wall control still works but looks worn, replacing it with the same brand’s part number is the simplest fix. If you’re not sure of the brand, a universal wall control from a hardware store works with the vast majority of residential openers. If you’re also managing multiple openers, check our guide on adding a second garage door opener to MyQ.
How to Wire a Replacement Correctly
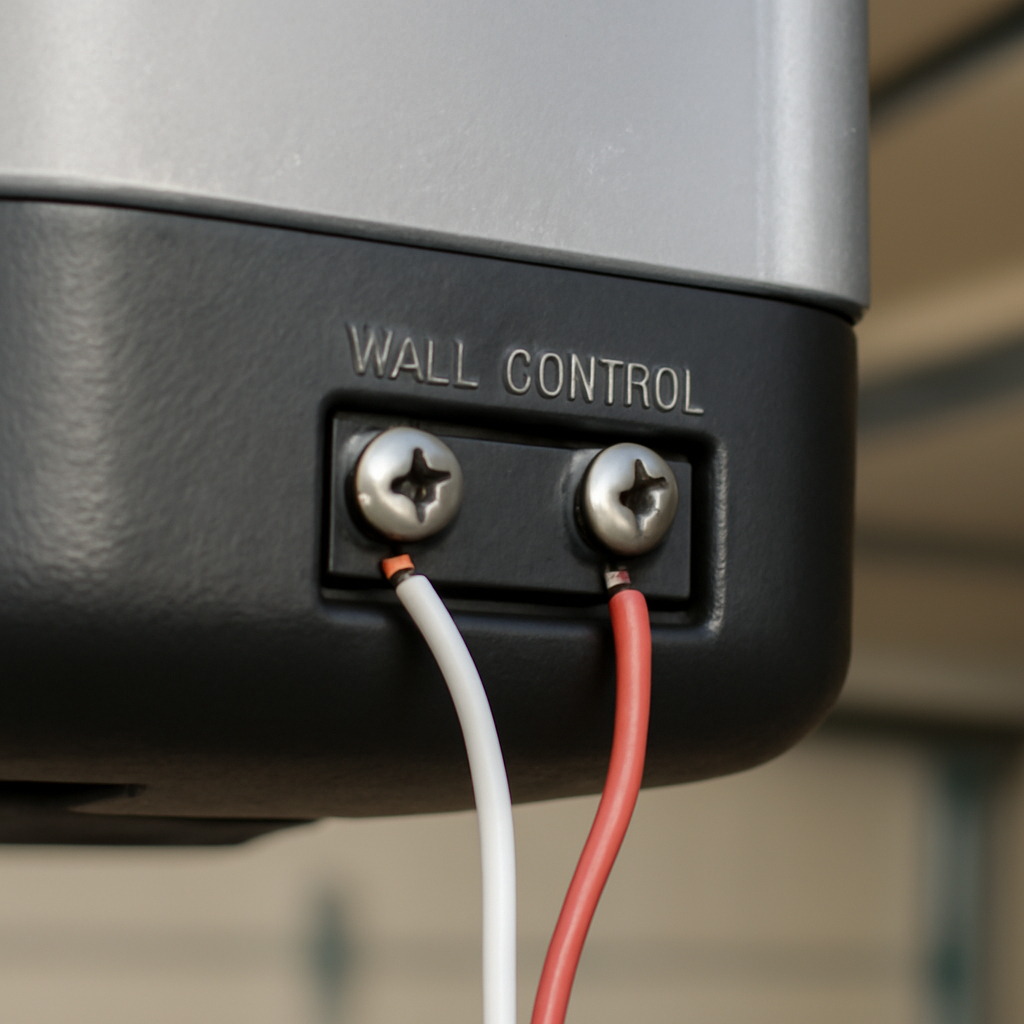
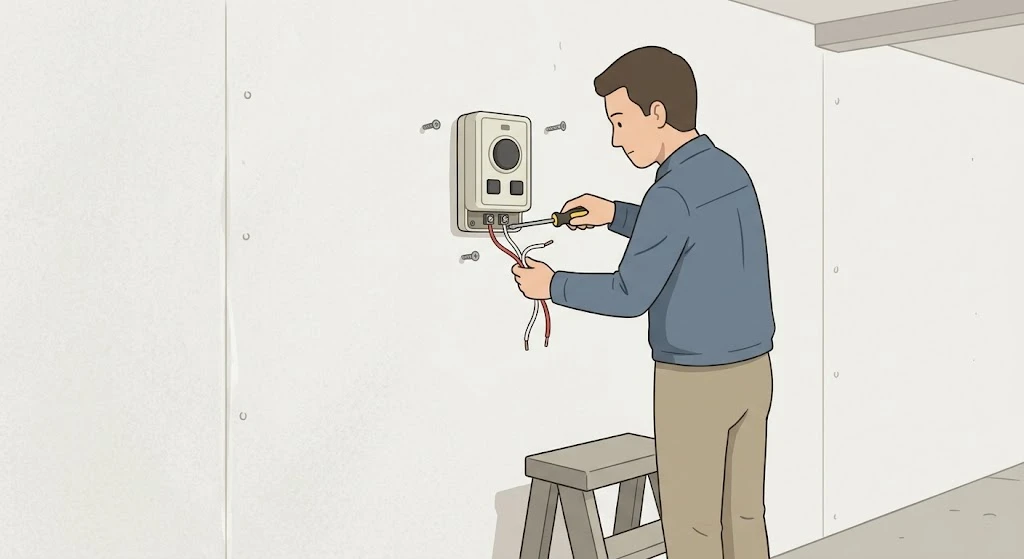
Garage door wall controls connect to two low-voltage terminals on the opener’s motor unit, usually labeled for a push-button or wall control. The wiring is simple — two wires, no polarity to worry about on most models.
| Field | Detail |
|---|---|
| DIY Suitability | Safe for DIY |
| Safety Risk Level | Low |
| Repair Cost Range | $10–$40 for the wall control itself |
| Repair Time Estimate | 10–15 minutes |
LiftMaster’s installation documentation recommends disconnecting power to the opener before working on the wiring. Connect the two wires from the new wall control to the corresponding terminals on the motor unit — check your opener’s manual for exact terminal labels, since these vary slightly between brands.
When a Doorbell-Style Button Actually Could Work
Very basic, unlit mechanical push-buttons — the kind with no LED, no chime-specific wiring, just a simple metal contact — can sometimes work in a pinch. These are less common in modern doorbell products, which increasingly include lighted rings or smart features.
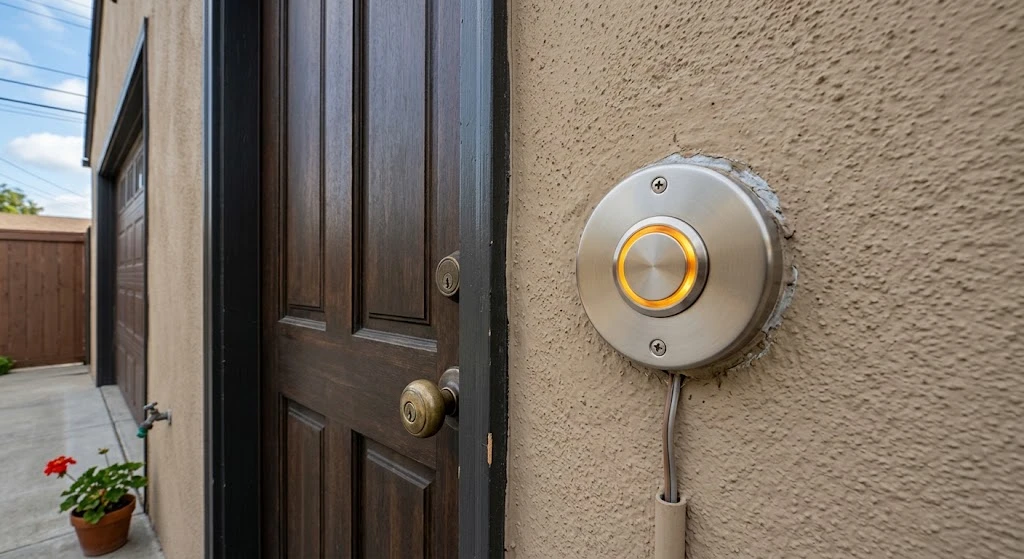
Even if it technically works, it’s not a long-term fix. A dedicated garage door wall control is built for the vibration, temperature swings, and daily use a garage sees, while doorbell buttons are designed for a different environment and usage pattern.
Common Mistakes to Avoid
Don’t assume any two-wire button will work just because it fits the mounting hole. Check the internal wiring type before installing, or just buy a purpose-made wall control — the cost difference is minimal compared to the troubleshooting time saved.
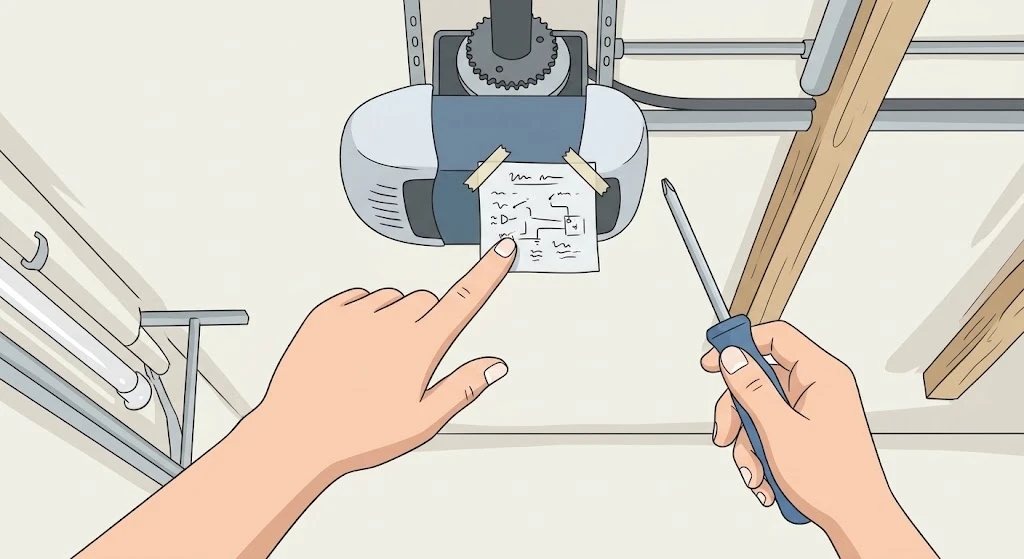
Another mistake: forcing a doorbell button with built-in electronics (like a smart doorbell camera button) onto opener terminals. These use entirely different signal protocols and won’t function as a simple momentary switch at all. If your remote is having separate issues, see our LiftMaster remote not working guide for troubleshooting steps.
In our experience answering questions about opener wiring, this is the mix-up that trips people up most — the button looks electrically identical from the outside, but what’s happening inside the switch is completely different.
What to Do Next
Skip the doorbell button experiment and buy a dedicated garage door wall control — they’re inexpensive and take about 10 minutes to install. If you want smart features like scheduling or remote monitoring, look at brand-specific options like MyQ or Genie Aladdin Connect wall controls instead.
Frequently Asked Questions
Can I use any doorbell button for my garage door opener?
Not reliably. Most doorbell buttons are wired for AC chime circuits, while garage door openers expect a simple momentary DC circuit. Basic unlit mechanical buttons might work, but a dedicated wall control is a safer, more reliable choice.
Will using a doorbell button damage my garage door opener?
It’s unlikely to cause damage in most cases, but buttons with built-in LEDs or electronic components can sometimes interfere with the opener’s signal detection. If you’re unsure about a specific button’s internal wiring, it’s safer to use a purpose-built wall control.
How much does a garage door wall control cost?
Universal wall controls typically cost $10 to $20. Brand-specific or smart wall controls with added features like scheduling or light control run $20 to $45.
Are garage door wall controls universal?
Most universal wall controls work across major brands like LiftMaster, Chamberlain, Genie, and Craftsman, since they use standard momentary-contact wiring. Brand-specific smart controls may require matching the exact brand for full feature compatibility.
How do I know which terminals to wire a new wall control to?
Check your garage door opener’s manual for the terminal labeled for the wall control or push-button connection — it’s usually near the antenna wire on the motor unit. Most modern openers label these terminals clearly on the housing itself.
Related Guides
For our installation and framing guides, see How to Install a Garage Door in a Cinder Block Wall, How to Reinforce a Garage Door for an Opener, Garage Door 45 Degree Corners, Garage Door in a Grain Bin, What Size Header Do I Need for a 16 Foot Garage Door?, Carpenters Blocks Garage Door: Shim a Frame Right, False Wall Behind a Garage Door, Replacing a Garage Door With a Sliding Glass Door and False Wall in Front of a Garage Door.