
A Genie garage door sensor blinking red 3 times means the Safe-T-Beam safety system has detected a problem — most often misalignment, a blocked beam, or sunlight interference. The door will not close until you fix this. This guide walks through every cause and fix in order, from the simplest to the most complex.
Short Answer: Genie sensor blinking red 3 times means the infrared beam between the two sensors is broken or blocked. Start by clearing any obstruction, then loosen the wing nut on the blinking sensor and pivot it until the LED turns solid. If that does not work, clean the lenses, check the wiring, and rule out sunlight interference.
What a Genie Garage Door Sensor Blinking Red 3 Times Means
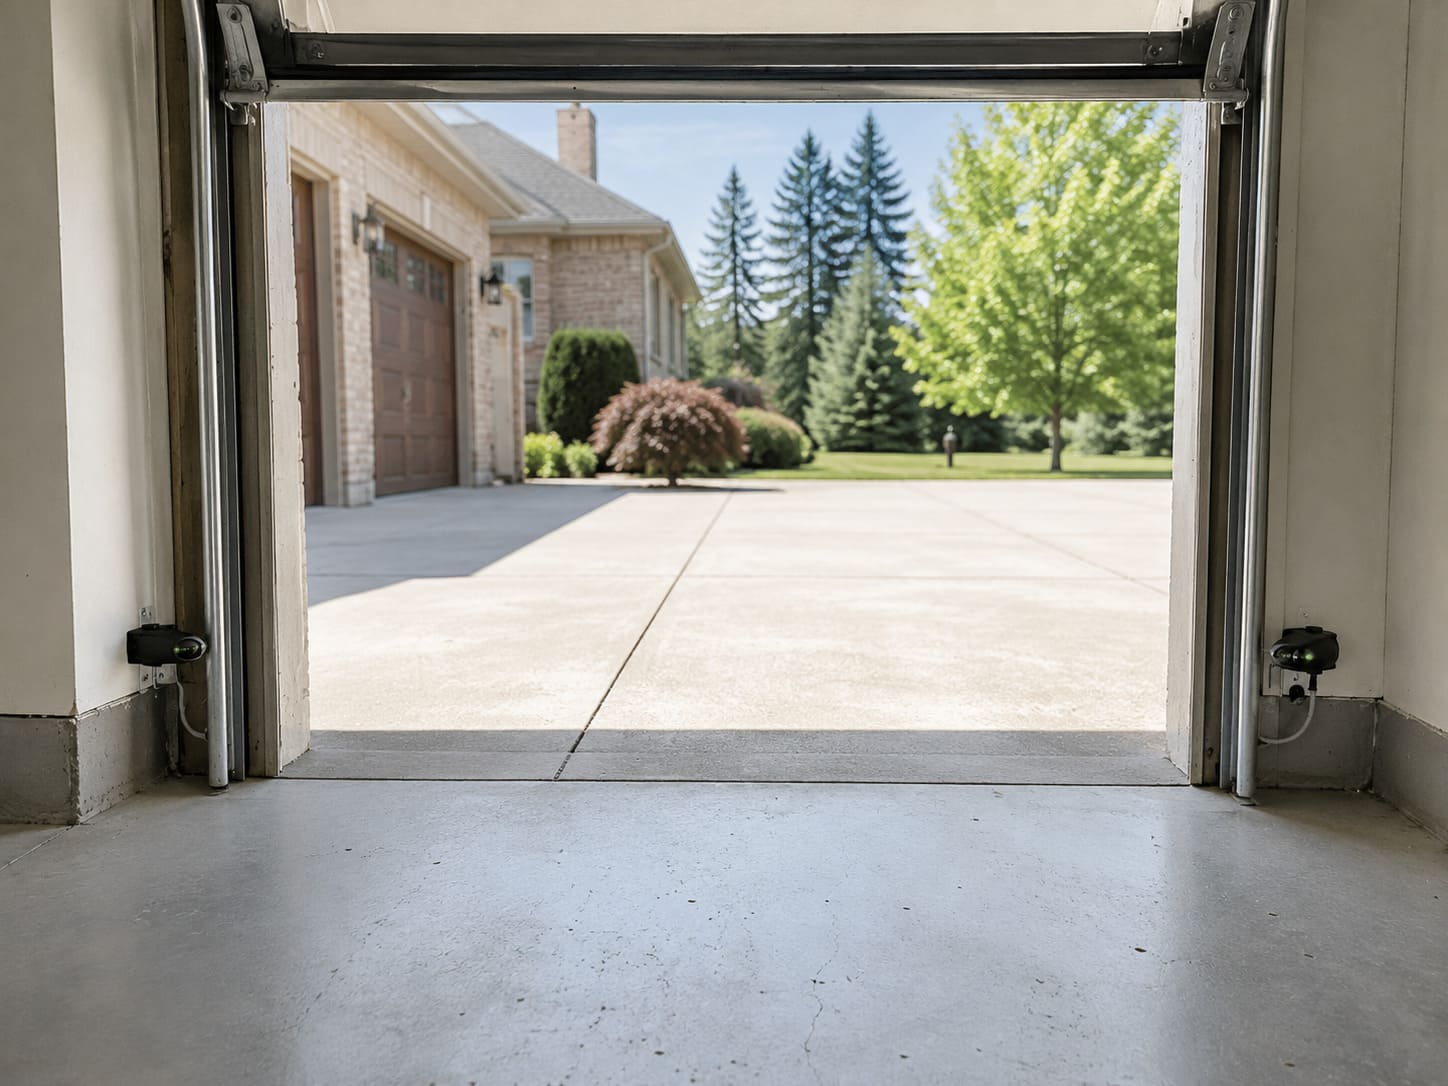
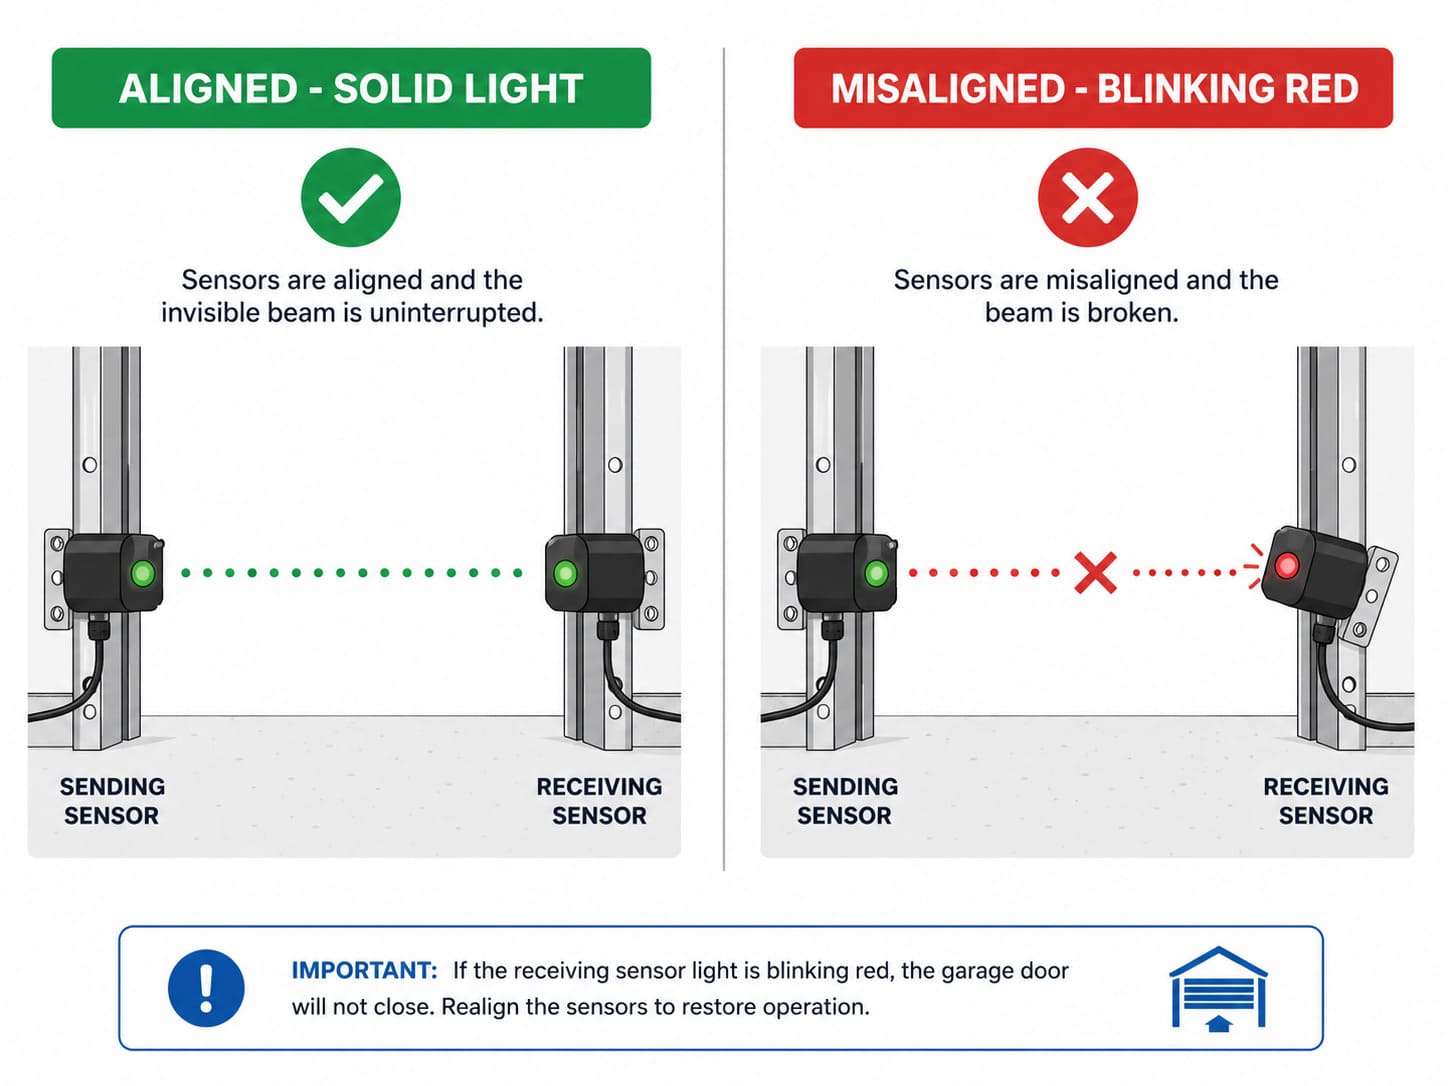
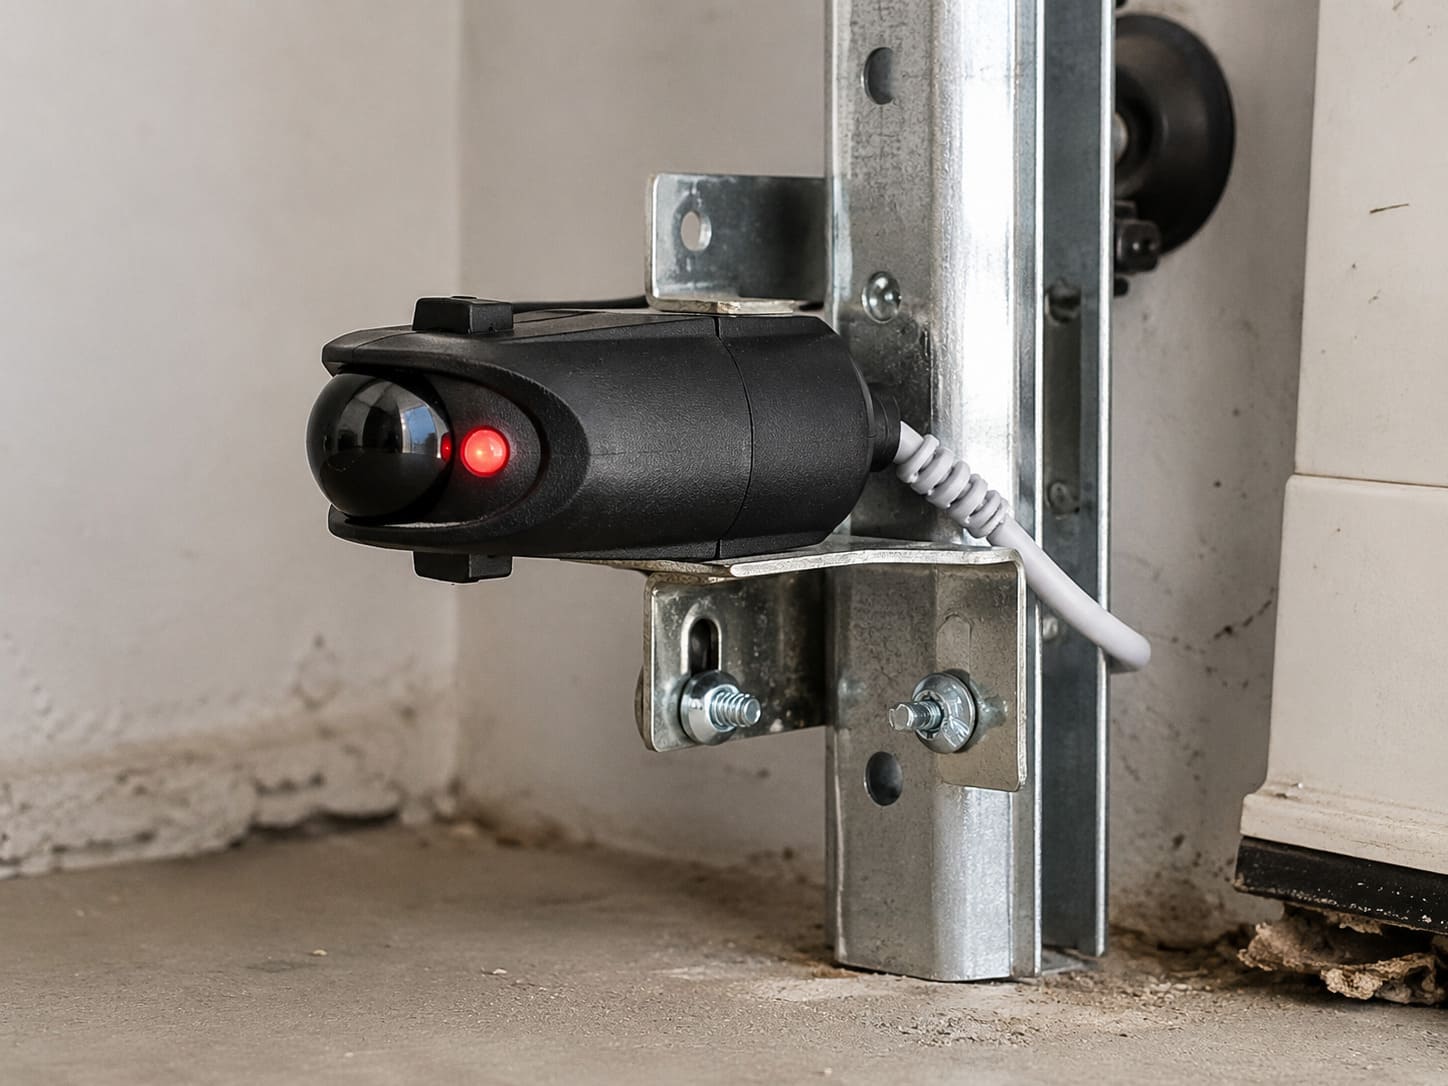
Genie calls their sensor system Safe-T-Beam. It uses two units mounted near the floor on each side of the door opening. The red LED sensor is the transmitter — it sends the infrared beam. The green LED sensor is the receiver — it picks up the beam. When they are perfectly aligned, the green LED stays solid. When the beam is broken, interrupted, or the sensors are misaligned, the receiver blinks red.
Three blinks specifically means beam interruption or obstruction — the most common pattern homeowners see. The garage door will refuse to close while this condition exists. This is required by UL 325, the federal safety standard for all garage door openers sold in the US since 1993.
| Genie Sensor LED Pattern | Meaning | Action Needed |
|---|---|---|
| Solid red / solid green | Fully aligned and working | None |
| Red blinks 3 times | Beam blocked or misaligned | Clear obstruction, realign sensors |
| No light on one sensor | Wiring issue or power lost | Check wire connections at sensor and motor |
| Both LEDs blinking fast | Short circuit in wiring | Inspect wiring for damage or pinch |
| Green LED flickering | Sunlight interference or partial block | Shade the green receiver sensor |
Step-by-Step Fix: Realign the Sensors
This fix takes 3 to 5 minutes and requires no tools beyond your hands.
Step 1 – Clear the sensor path
Walk along the bottom of the door and check for anything between the two sensors. The infrared beam travels in a straight line about 4 to 6 inches off the floor. A broom handle, garbage can, bike tire, or even a spider web is enough to break the beam. Remove anything in that path before adjusting anything else.
Step 2 – Identify the blinking sensor
The red LED sensor is the transmitter and should always stay solid. The green LED sensor is the receiver — this is the one that blinks when something is wrong. Focus all your adjustment on the green receiver sensor. Do not move the red transmitter unless both sensors are clearly knocked out of position.
Step 3 – Loosen and aim the sensor
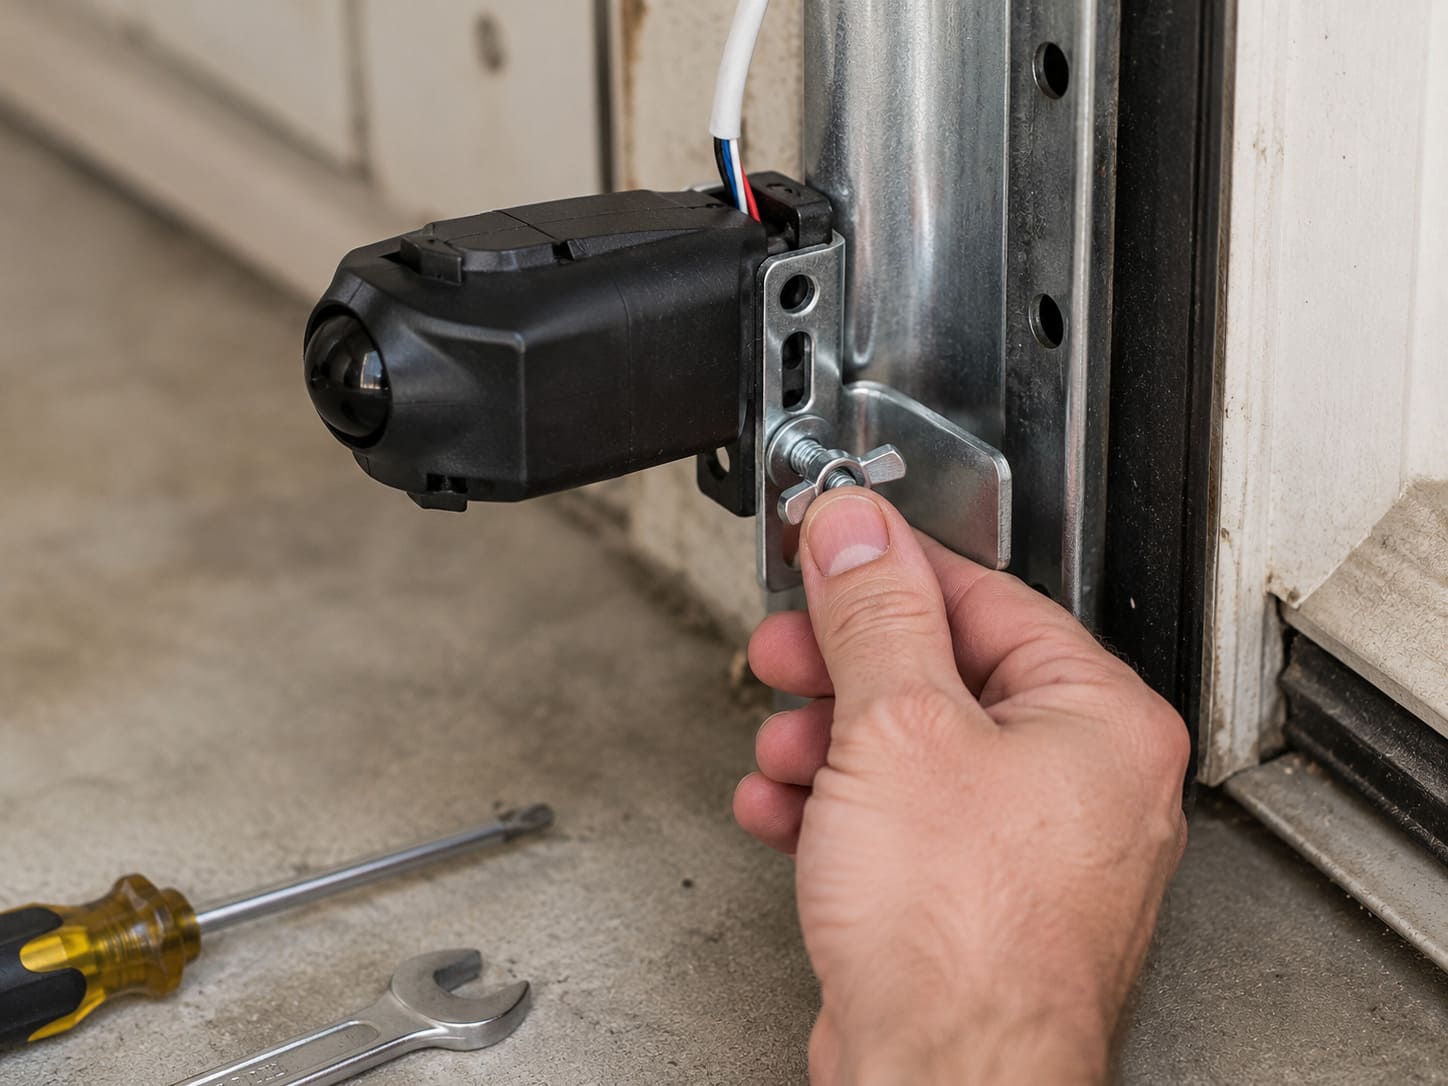
Find the wing nut holding the blinking green sensor to its bracket. Loosen it just enough so the sensor pivots. Slowly tilt the sensor in small increments — left, right, up, down — until the green LED stops blinking and turns solid. The moment it goes solid, hold that position and tighten the wing nut firmly. Do not overtighten or you will shift the aim.
Step 4 – Clean the sensor lenses
If the LED still blinks after realigning, wipe both sensor lenses with a dry microfiber cloth. Dust, cobwebs, and garage moisture coat the lens and scatter the infrared beam even when the sensors are perfectly aimed. Never use glass cleaner — the residue makes things worse. A dry cloth is all you need.
Step 5 – Test the door
Press the wall button to close the door. It should travel all the way down without reversing. Place a 2×4 flat on the floor under the door as a final test — the door must reverse on contact with it. If it does not, the sensors are not working correctly even if the LED looks solid.
Sunlight Interference: A Common Cause Nobody Talks About
If your sensors blink red mainly in the afternoon or at certain times of day, sunlight interference is the likely cause. Sunlight carries infrared light — the same type of signal the sensors use. When strong afternoon sun shines directly into the green receiver lens, it overwhelms the sensor and causes false blink errors. The beam itself is not broken, but the sensor cannot distinguish the opener signal from the sunlight.
Genie specifically recommends positioning the green LED receiver sensor out of direct sunlight. Here are the practical fixes:
- Shade the green sensor: Tape a small piece of cardboard to the top of the green receiver sensor, or place a toilet paper tube around the lens. This blocks sunlight from entering at an angle without affecting the horizontal beam between sensors.
- Move the sensor position: You can position the sensor further from the door opening along the wall — but not further off the floor. Both sensors must remain at the same height. Moving them 2 to 3 inches further from the opening is often enough.
- Upgrade to GSTB sensors: Genie’s newer Safe-T-Beam model GSTB has a built-in lens hood that blocks sunlight interference. It works with any Genie opener made since 1993.
Wires Reversed After an Opener Replacement
If your Genie sensor started blinking red 3 times right after you replaced an old opener with a new one, the problem may not be alignment at all — it may be reversed wiring. Some older Genie units wired the Safe-T-Beam (STB) sensor terminals and the wall button (BW) terminals in a different order than newer models use. When the wires from the old setup are reconnected to the new opener terminal-for-terminal, the sensor circuit reads as broken even though nothing is physically misaligned.
To check this, open the wiring compartment on the motor unit and compare the terminal labels to the wire pairs. If the STB and BW pairs are swapped compared to the labeling, disconnect both pairs and reconnect them so each wire matches its labeled terminal. This is a common cause when a homeowner or installer reuses the existing garage wiring during an opener upgrade, and it fully resolves the false 3-blink signal once corrected — no realignment needed.
Multiple Garage Doors: Sensor Crosstalk Problem
If you have two or more garage doors side by side and both sensor systems are active, the sensors from one door can interfere with the sensors on the other door. This causes phantom 3-blink errors even when nothing is wrong with alignment or wiring.
The fix is straightforward: position the red transmitter sensors back-to-back (facing the wall, away from each other) instead of facing across the opening. Or position the green receiver sensors back-to-back. The key is that sensors from different doors should not be able to see each other’s beams. Once repositioned correctly, the crosstalk stops immediately.
Why a Genie Garage Door Sensor Keeps Blinking Red
Sensors drift for several reasons. The most common is the mounting bracket getting bumped by a car door, bike, or lawnmower. Garage vibration from thousands of door cycles can loosen the wing nut over time. Temperature swings cause the metal bracket to expand and contract, slowly shifting the aim.
If your sensors go out more than once every few months, the bracket itself may be bent or the mounting surface is not solid. Replace the bracket for $5 to $10 at any hardware store and remount it on a solid section of the door frame with fresh screws.
Wiring Issues That Cause 3-Blink Errors
| Wiring Problem | Symptom | Fix |
|---|---|---|
| Loose terminal on motor unit | Sensor works sometimes, fails other times | Push wire firmly into terminal, tighten screw |
| Pinched wire under door track | Sensor completely dead or intermittent | Reroute wire away from track and secure with staples |
| Corroded wire ends | No light on sensor despite power | Strip 1 cm of wire, reconnect fresh copper |
| Wire too long, coiled near floor | Interference causing random blinks | Shorten wire or secure it neatly against wall |
Power Cycle and Factory Reset
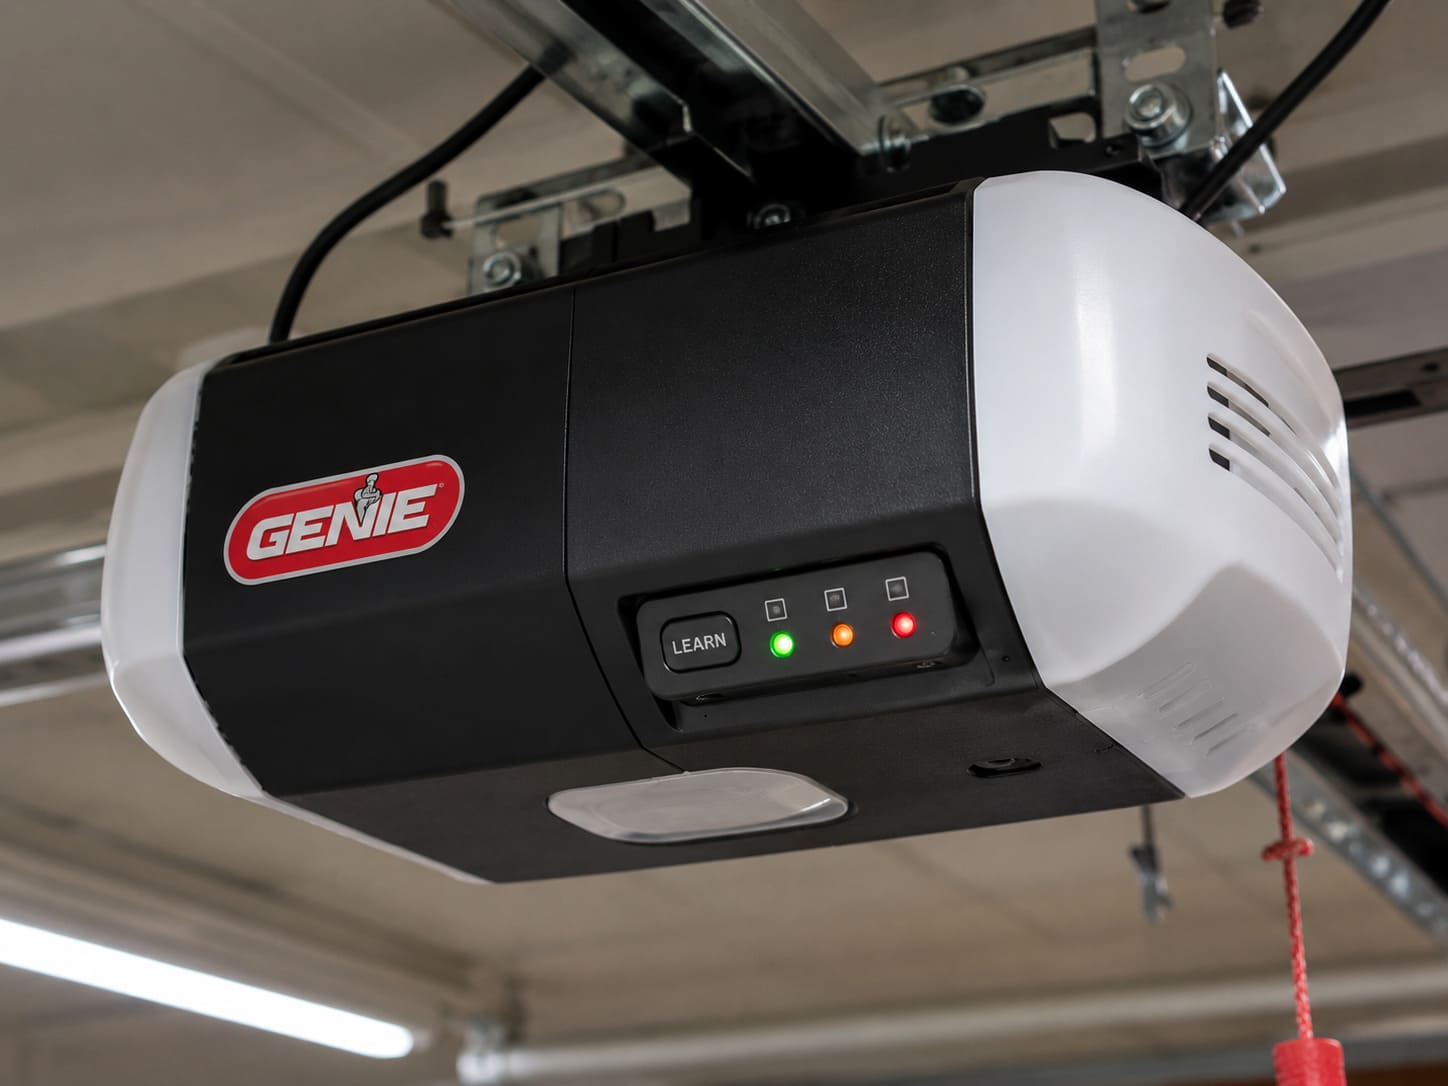
If alignment, cleaning, and wiring checks all pass but the sensors still blink, try a power cycle first. Unplug the opener from the wall outlet, wait 30 seconds, and plug it back in. This clears any phantom error stored in the logic board memory. Test the door immediately after power is restored.
If the power cycle does not help, a factory reset will clear all stored settings. Press and hold the square PRGM or SET button on the motor unit for 15 to 20 seconds until the LED turns off or flashes blue. This erases all remotes, limits, and codes. You will need to reprogram travel limits and all remotes from scratch. Use this as a last resort before replacing sensors.
DIY vs Professional Repair
| Issue | DIY Suitability | Safety Risk | Cost |
|---|---|---|---|
| Sensor realignment | Safe for DIY | Low | $0 |
| Lens cleaning | Safe for DIY | Low | $0 |
| Wiring reconnection | Safe for DIY | Low | $0 |
| Bracket replacement | Safe for DIY | Low | $5 to $10 |
| Sensor replacement (ACSCTG or GSTB) | Safe for DIY | Low | $15 to $25 |
| Logic board failure | Professional required | Medium | $80 to $150 |
If you have replaced the sensors and the door still will not close, the problem has moved from the sensors to the opener logic board. That repair requires a professional. For related troubleshooting, see our guide on Genie opener that will not close without holding the button — a faulty sensor often triggers that symptom too.
Related Guides
For other Genie opener guides, see Genie Garage Door Opener No Learn Button: DIP Switch Fix, Genie Garage Door Opener Beeping, Genie Garage Door Limit Switch Problems, Genie Cryptar II Garage Door Opener, Genie Model 450 Garage Door Opener, Best Genie Garage Door Opener, Genie Garage Door Opener Humming Sound, Does Genie Garage Door Opener Work With LiftMaster? and Genie Garage Door Opener Amp Draw.
For official manufacturer guidance, see The Genie Company’s official product support page.
Frequently Asked Questions
Why does my Genie sensor blink red even with nothing blocking it?
The sensors are slightly misaligned, or you have sunlight interference. The infrared beam is narrow — even a few millimetres off will cause blinking. Loosen the wing nut on the green receiver sensor and slowly pivot it until the LED turns solid. If the problem happens only in the afternoon, shade the green sensor from direct sunlight.
Can I bypass the Genie sensors to close the door?
Yes, temporarily. Hold down the wall button continuously and the door will close despite the sensor issue. This bypasses the auto-reverse safety feature, so never use it as a permanent solution. Fix the sensors immediately — the auto-reverse function is required by federal law under UL 325.
How far off the floor should Genie sensors be mounted?
Genie Safe-T-Beam sensors must be mounted 4 to 6 inches off the floor on each side of the door, directly facing each other. Both sensors must be at exactly the same height. If one is higher than the other, the beam angle prevents a solid connection.
Do I need to replace the sensors or just adjust them?
In most cases, adjustment and cleaning fix the problem. If the LED stays red even after careful alignment and lens cleaning, the sensor may be damaged from water, impact, or age. Genie replacement sensors (model ACSCTG or GSTB) cost $15 to $25 and are plug-in replacements compatible with all Genie openers made since 1993.
Why do my sensors blink only in the afternoon?
This is sunlight interference. Strong afternoon sun shines infrared light directly into the green receiver lens and overwhelms the sensor. The fix is to shade the green sensor with a piece of cardboard taped above the lens, or upgrade to the Genie GSTB sensor which has a built-in sunlight shield.
What if I have two garage doors and both sensors keep blinking?
Two sets of sensors side by side can cause crosstalk interference. Position the red transmitter sensors back-to-back (facing the wall away from each other) so the sensors from each door cannot see each other. This eliminates the false blink errors immediately.