
Building a false wall in front of a garage door means framing a stud wall on the inside, right over the door itself, so it disappears from the room. Most homeowners do this when they’re turning a garage into a craft room, home office, or studio and never plan to park a car in there again.
It looks like a simple drywall job. But a garage door isn’t just a panel — it’s a spring-loaded assembly with a track, an opener, and sometimes a live circuit behind it. Cover it the wrong way and you can trap moisture, block a required exit, or leave a hazard sealed inside your new wall.
This guide walks through how to plan it, what to check first, and how to frame it so the room looks finished and stays safe for years. In our experience, the step homeowners most often skip is releasing the spring tension — and it’s the one that matters most for whoever opens that wall years later.
Short Answer: A false wall in front of a garage door works by framing a standard 2×4 stud wall a few inches inside the door, then disabling (not just unplugging) the opener and securing the door panel itself before drywalling over it. Always release spring tension or have a pro do it, check local code on garage conversions first, and never seal a door that still has an active circuit or gas line running behind it.
False Wall in Front vs. False Wall Behind a Garage Door
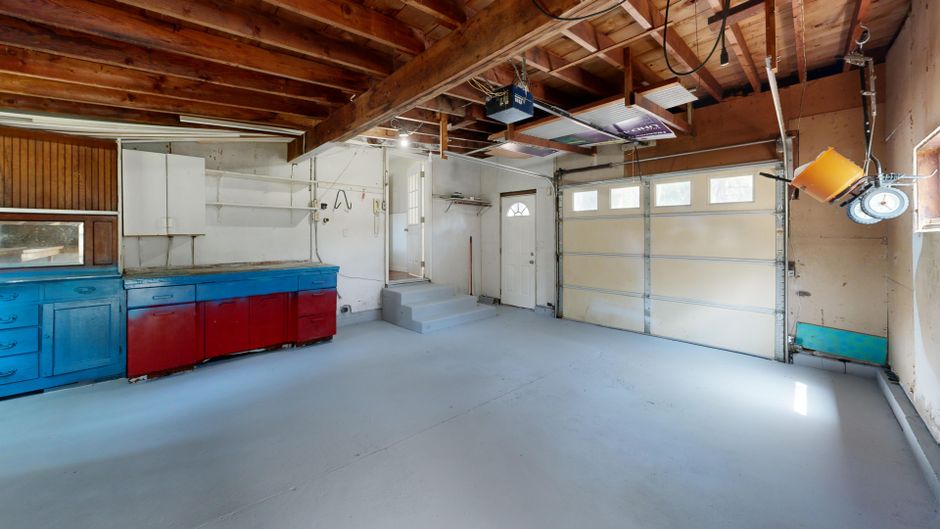
These two projects get confused constantly, and they solve different problems. A false wall behind a garage door sits clear of the door’s horizontal track, letting the door keep opening and closing normally while hiding storage behind it.
A false wall in front of the door does the opposite. It sits directly over or against the door’s interior face, and in almost every case, the door stops functioning as a door once the wall goes up. This is a conversion project, not a storage trick.
If you might ever want to use the garage door again — say you’re selling the house in five years — that distinction matters. Decide now, because reversing a permanent build is far more work than building it once, correctly.
Should You Disable the Door or Keep It Removable?
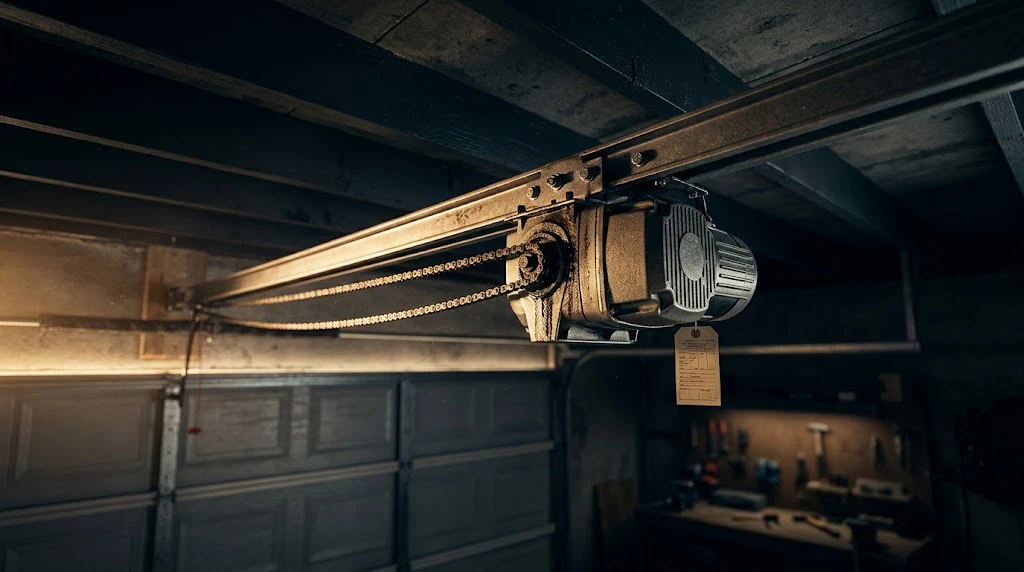
Before you touch a stud, decide how permanent this needs to be. Some homeowners build a fully removable panel system so a future owner (or future them) can restore garage function. Others frame it in for good.
| Approach | Reversible? | Best For | Typical Cost |
|---|---|---|---|
| Permanent framed wall | No | Full garage-to-room conversions | $800–$2,500 |
| Removable panel frame | Yes | Renters, resale-conscious owners | $400–$1,200 |
| Insulated door + interior cover | Partial | Workshops needing occasional access | $600–$1,800 |
A permanent wall gives the cleanest finish and the best insulation value. A removable frame costs more in materials per square foot but protects your resale flexibility. Most buyers see a converted garage as a plus only when the original door could theoretically go back in.
Before You Build: Moisture, Power, and Code Checks
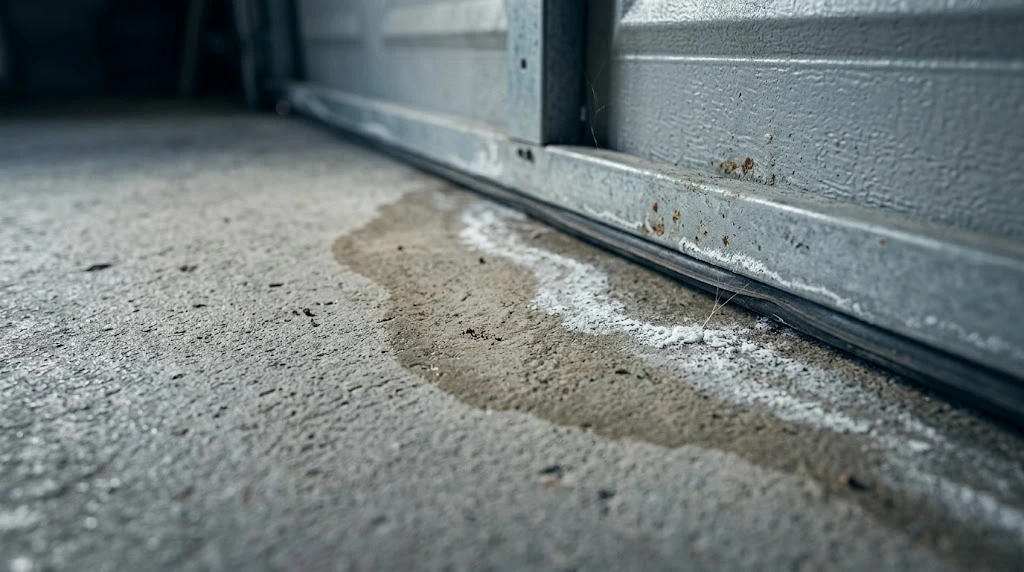
Garage doors sit at grade level, and grade-level walls deal with moisture that interior walls never see. Check for water staining, efflorescence (that white chalky residue), or a musty smell at the base of the door before you frame anything. Sealing a damp wall behind drywall grows mold you won’t see until it’s a real problem.
Next, deal with power. Most openers run on a dedicated 120V circuit, and that circuit doesn’t stop existing just because you’ve covered the door. Have an electrician cap or reroute the line — don’t just unplug the opener and drywall over a live outlet.
Finally, call your local building department. Converting a garage, even partially, can trigger permit requirements tied to egress, fire separation from an attached house, or minimum ceiling height. A five-minute phone call beats a stop-work order after the drywall’s up.
How to Frame a False Wall in Front of a Garage Door
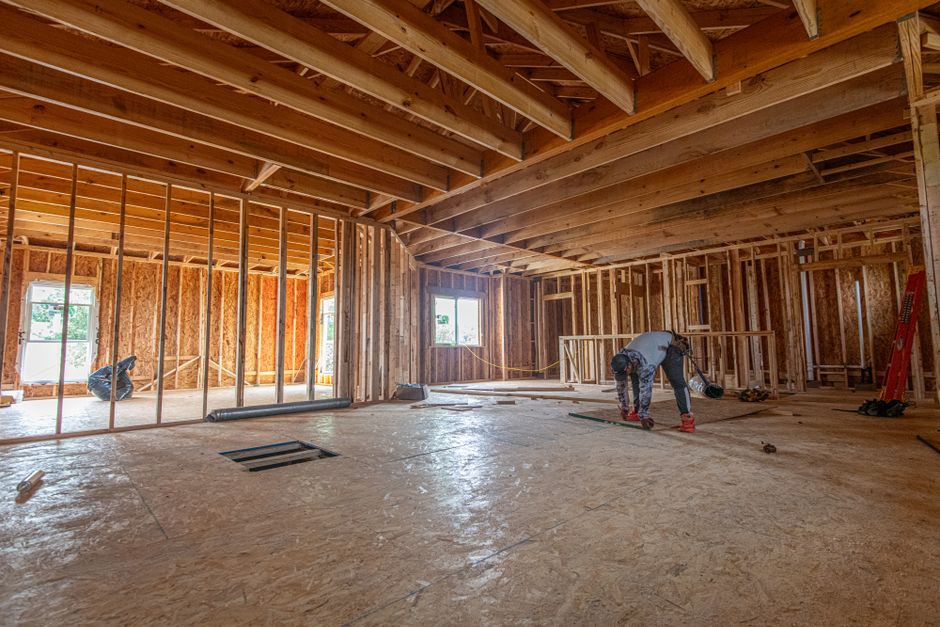
Once you’ve confirmed the wall behind the door is dry and the circuit is handled, framing is straightforward carpentry.
- Disable the door safely. Release torsion or extension spring tension first — this step causes most garage DIY injuries. If you’re not confident releasing spring tension, pay a technician for 30 minutes; it’s the cheapest insurance on this whole project.
- Remove or secure the track and opener arm. Take down the opener rail if the ceiling space is needed for anything else. Leave the door panel itself in place unless you’re replacing the opening entirely — removing a full garage door panel is heavy, awkward work for two people.
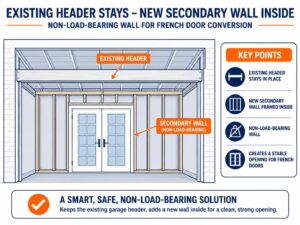
- Frame the stud wall. Build a standard 2×4 wall 3–4 inches proud of the door face, top and bottom plates first, studs 16 inches on center. This gap gives you room to run insulation and any wiring without touching the old door.
- Insulate the cavity. Unfaced or faced fiberglass batts work fine here, R-13 to R-15 for a 3.5-inch cavity. This step matters even more in hot climates, since an uninsulated garage door face behind drywall becomes a heat sink for the new room.
- Hang and finish drywall. 1/2-inch drywall, screwed every 16 inches into studs, taped and mudded in three coats. Let each coat dry fully — rushing mud coats is the single most common amateur mistake on this kind of build.
| Task | DIY Suitability | Safety Risk Level | Time Estimate |
|---|---|---|---|
| Releasing spring tension | Professional required | High | 30–60 minutes (pro) |
| Capping/rerouting opener circuit | Professional required | Medium | 1–2 hours |
| Framing the stud wall | Safe for DIY | Low | 1 day |
| Insulating and drywalling | Safe for DIY | Low | 1–2 days |
Common Mistakes Homeowners Make
The biggest one is skipping the spring release and just unplugging the opener. A loaded torsion spring behind drywall is a hazard for whoever opens that wall next, whether that’s you in ten years or a contractor who has no idea it’s there.
The second is ignoring ventilation. A garage that’s now a craft room or office still needs some air exchange, especially if paint, glue, or finishes are used inside. Sealing the space completely airtight without a vent or HVAC tie-in leads to stuffy, humid rooms fast.
The third is forgetting to document what’s back there. Take photos of the door, track, and any wiring before you close up the wall. Label the breaker. Future you — or whoever buys the house — will need that information eventually.
Frequently Asked Questions
Can I still open my garage door after building a false wall in front of it?
Not through the original door mechanism, in almost every case. Once a stud wall and drywall cover the door, you’d need to demolish that wall to access the door again. If you want the option preserved, build a removable panel system instead of a permanent framed wall.
Do I need a permit to build a false wall over a garage door?
It depends on your municipality and whether the change counts as a garage conversion. Many areas require a permit if you’re altering egress, adding living space, or changing the fire separation between an attached garage and the house. Check with your local building department before starting.
Will covering my garage door hurt my home’s resale value?
It can, especially in markets where buyers expect garage parking. A removable false wall or a design that could be restored to a working garage door tends to protect resale value better than a fully permanent conversion.
What R-value insulation should I use behind the false wall?
For a standard 3.5-inch stud cavity, R-13 to R-15 fiberglass batts are the typical choice. If you’re in a climate with big temperature swings, consider rigid foam board added to the cavity for extra performance.
Is it safe to leave the garage door opener wiring behind the wall?
No — have an electrician cap the circuit at the source or reroute it before closing up the wall. Leaving a live, unused circuit sealed behind drywall is a fire risk and makes future troubleshooting far harder.
Related Guides
For our installation and framing guides, see How to Install a Garage Door in a Cinder Block Wall, How to Reinforce a Garage Door for an Opener, Garage Door 45 Degree Corners, Garage Door in a Grain Bin, What Size Header Do I Need for a 16 Foot Garage Door?, Carpenters Blocks Garage Door: Shim a Frame Right, Will a Doorbell Button Work for a Garage Door Opener? and Replacing a Garage Door With a Sliding Glass Door.
For official manufacturer guidance, see the Door and Access Systems Manufacturers Association (DASMA).