Introduction
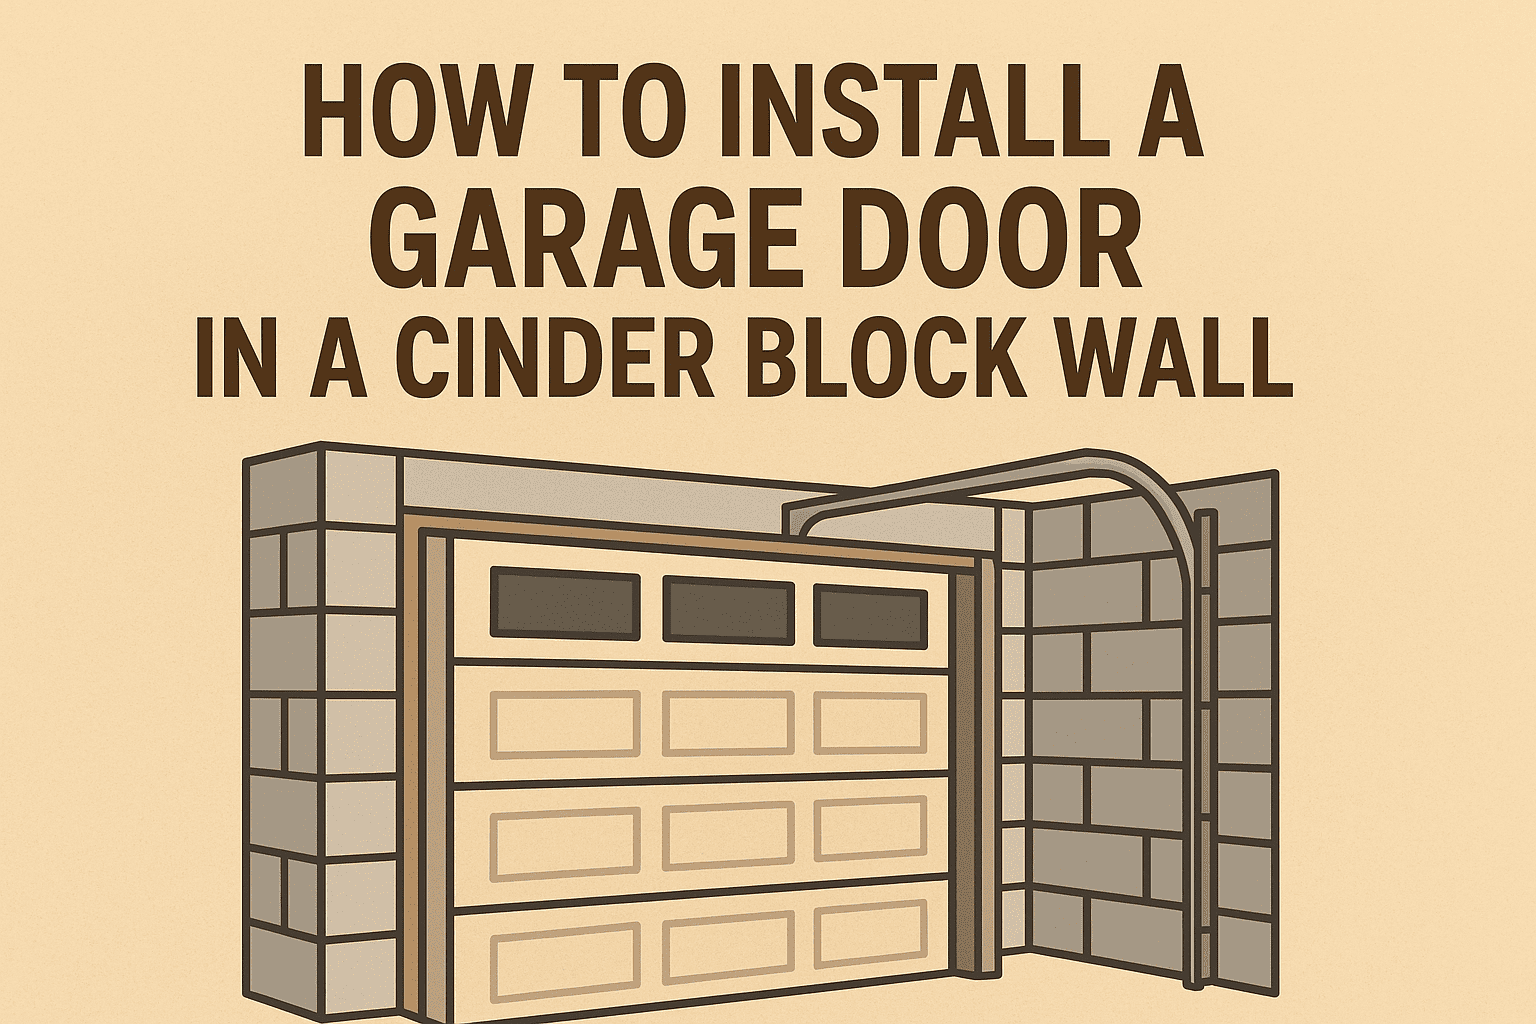
Want to add a garage door to your block wall? You’re not alone. Many homeowners upgrade their garages for easier access and a better look. Learning how to install a garage door in a cinder block wall can save you money and boost your home’s value.
This guide breaks down each step clearly — no confusing jargon, just practical advice anyone can follow.
Step-by-Step Guide: How to Install a Garage Door in a Cinder Block Wall
Step 1: Prepare the Work Area
Before cutting or drilling, prep your workspace.
- Clear everything around the wall.
- Put on safety gear (gloves, goggles, dust mask).
- Mark where the door will go with chalk lines.
Pro Tip: Double-check all measurements — one wrong inch can throw off the whole fit.
Step 2: Measure and Mark the Door Opening
Accurate measurements make installation smooth.
- Measure your door width (most are 8–16 feet).
- Mark the height (usually 7 feet).
- Leave space for the header beam and side framing.
Use a level to keep everything straight — uneven lines cause big problems later.
Step 3: Cut the Cinder Block Wall
This step requires patience and precision.
- Use an angle grinder or masonry saw with a diamond blade.
- Cut along your chalk lines on both sides of the wall.
- Tap blocks gently with a hammer and chisel to remove them.
Safety Reminder: Don’t rush. Cutting too deep can weaken the wall’s structure.
Step 4: Install the Header and Frame
A strong frame keeps your garage door stable and secure.
- Place a steel lintel or concrete header across the top opening.
- Anchor a wood or steel frame around the edges with masonry bolts.
- Check that the frame is perfectly square and level.
Step 5: Mount the Garage Door
Here’s where your wall becomes a working garage.
- Assemble the door panels as per instructions.
- Attach hinges, rollers, and tracks.
- Secure vertical tracks to the frame.
- Connect horizontal tracks and springs carefully.
Follow the manufacturer’s manual for proper alignment and tension adjustment.
Step 6: Seal and Finish the Job
- Fill any small gaps with foam insulation or weather sealant.
- Paint or finish the frame to match your wall.
- Test the door several times for smooth operation.
Tools and Materials You’ll Need
- Masonry saw or grinder
- Tape measure and chalk
- Hammer and chisel
- Concrete anchors
- Steel lintel or beam
- Garage door kit
- Caulk and insulation foam
Common Mistakes to Avoid
- Cutting into load-bearing areas
- Forgetting to check for wiring or plumbing
- Poor framing or unlevel installation
- Skipping insulation and sealing
Suggested YouTube Video
Watch: “Installing a Garage Door in a Block Wall – Step-by-Step Tutorial”
FAQs About How to Install a Garage Door in a Cinder Block Wall
1. Can I install a garage door in a cinder block wall by myself?
Yes — if you’re experienced with tools and masonry. Otherwise, hire a professional to avoid costly mistakes.
2. Do I need a permit for garage door installation?
Usually yes. Check with your local building authority before cutting or modifying any structural wall.
3. How do I reinforce a block wall for a garage door?
Use a steel lintel or reinforced concrete header to carry the weight above the door opening.
Conclusion
Installing a garage door in a cinder block wall takes time, tools, and precision — but it’s totally doable. With careful planning, you can create a functional and stylish new entryway for your garage.
Ready to start your project? Use this guide as your roadmap and don’t hesitate to call a pro for structural or electrical work. You’ll love the results once it’s done!


