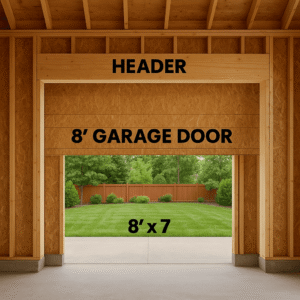

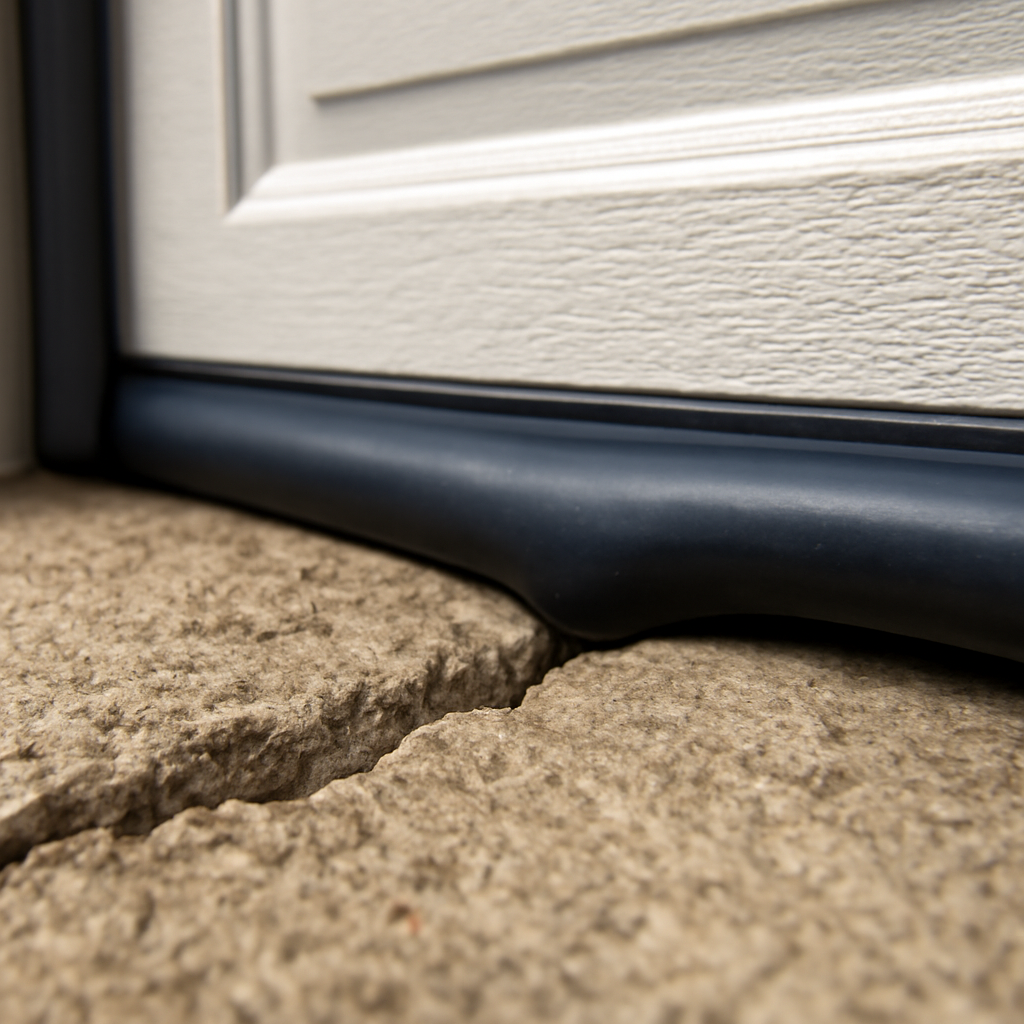
The best garage door seal for an uneven floor is a flexible, high-bead bottom seal — usually a T-style or bulb-style rubber seal — that can flex and conform to gaps and dips instead of cracking or leaving daylight showing through. Standard flat seals fail fast on uneven concrete, so the seal profile matters more than the brand.
Uneven garage floors are common, especially in older homes where the slab has settled or shifted slightly over the years. A seal that works great on a perfectly flat floor often leaves gaps at the low spots on an uneven one.
This guide covers the seal types that actually handle uneven floors well, how to measure your gap correctly, and which products hold up best over time.
This post contains affiliate links. If you buy through our links, we may earn a small commission at no extra cost to you. We only recommend products we’d use ourselves.
Short Answer: For uneven garage floors, a bulb-style or T-style rubber bottom seal works best because it flexes to fill gaps that flat seals can’t cover. Look for seals rated for at least half an inch of floor variation, made from durable rubber or vinyl rather than foam, which compresses permanently over time.
Why Standard Seals Fail on Uneven Floors
Most garage doors ship with a basic flat or single-fin bottom seal designed for a flat, level floor. When the concrete has settled unevenly — common near the center of the slab or at the edges where soil compaction varies — that flat seal simply can’t flex enough to close the gap everywhere along its length.
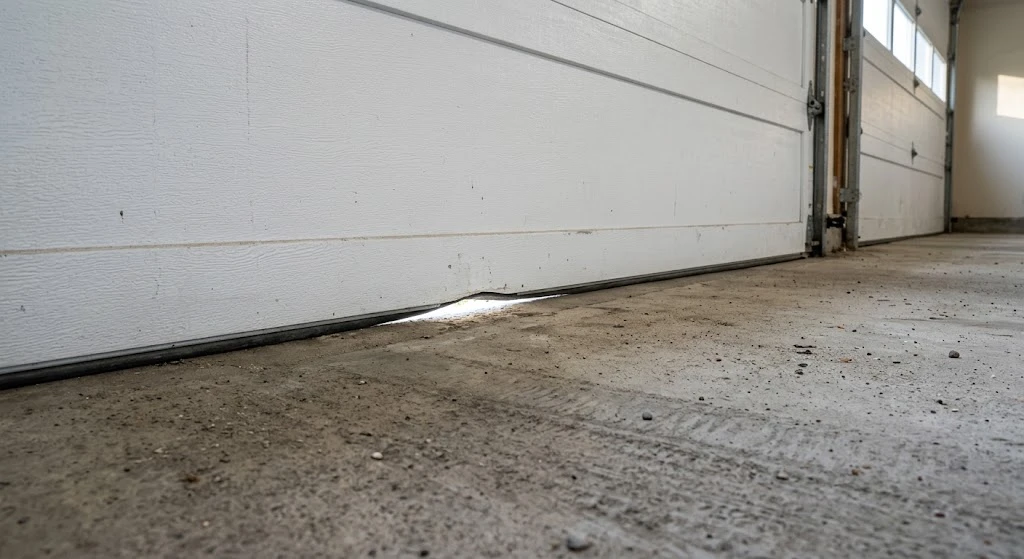
The result is visible daylight at the low spots, letting in rain, wind-blown debris, and pests — mice, spiders, and in some regions even small snakes — even when the door is fully closed. This is a functional problem, not just cosmetic — it affects energy efficiency and can lead to water pooling inside the garage during storms, similar to the corner gaps covered in our garage door leaking corners guide.
In our experience helping homeowners troubleshoot garage door leaks, this exact daylight gap is one of the most common complaints on older concrete slabs. It’s almost always solved by matching the seal’s profile and width to the actual gap size, not by buying a more expensive seal.
Seal Types and How They Handle Uneven Floors
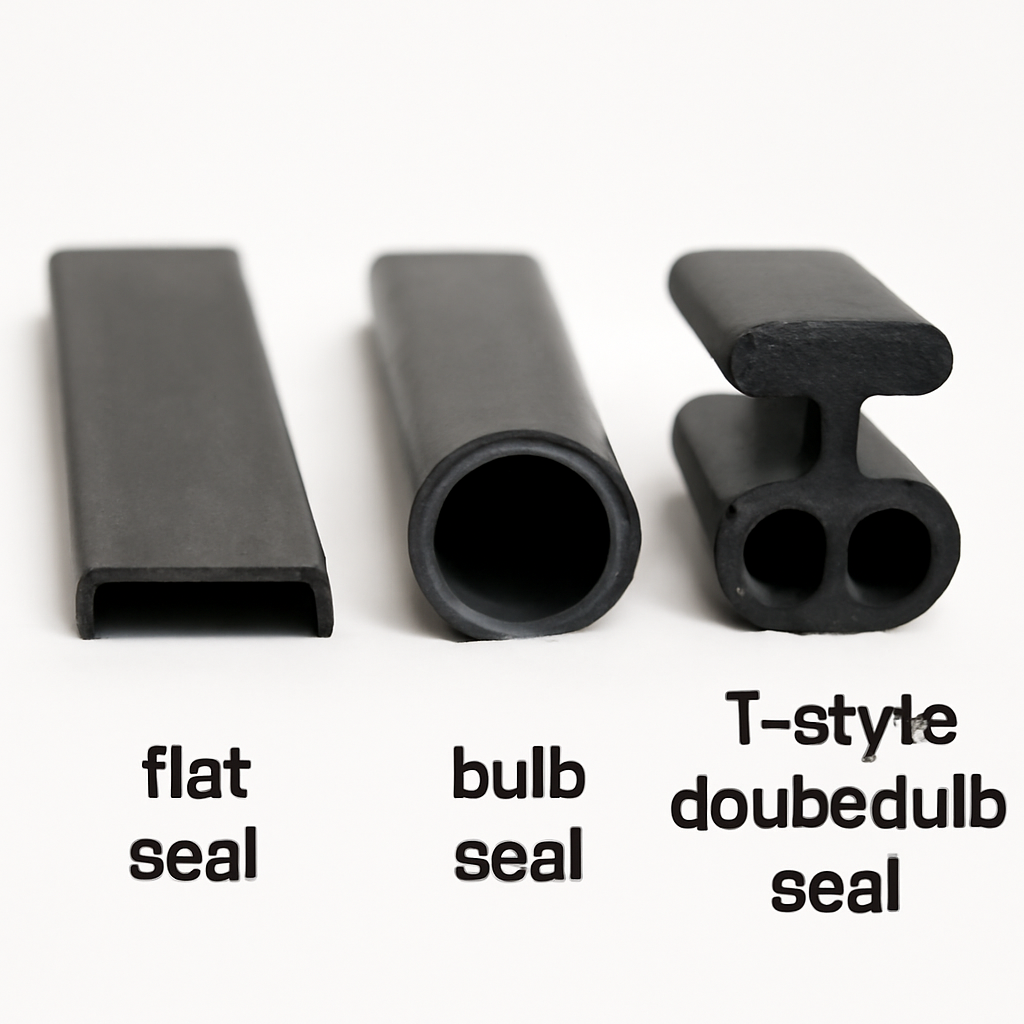
| Seal Type | Uneven Floor Performance | Typical Cost |
|---|---|---|
| Flat/single-fin seal | Poor — minimal flex, gaps remain | $15–$30 |
| Bulb-style seal | Good — rounded profile compresses into gaps | $25–$50 |
| T-style (double bulb) seal | Best — high flex range, seals uneven surfaces well | $30–$60 |
T-style seals, sometimes called double-bulb seals, have the most give of the common options. Their rounded double-lobe shape compresses differently at each point along the door’s width, adapting to floor variation better than a single flat strip.
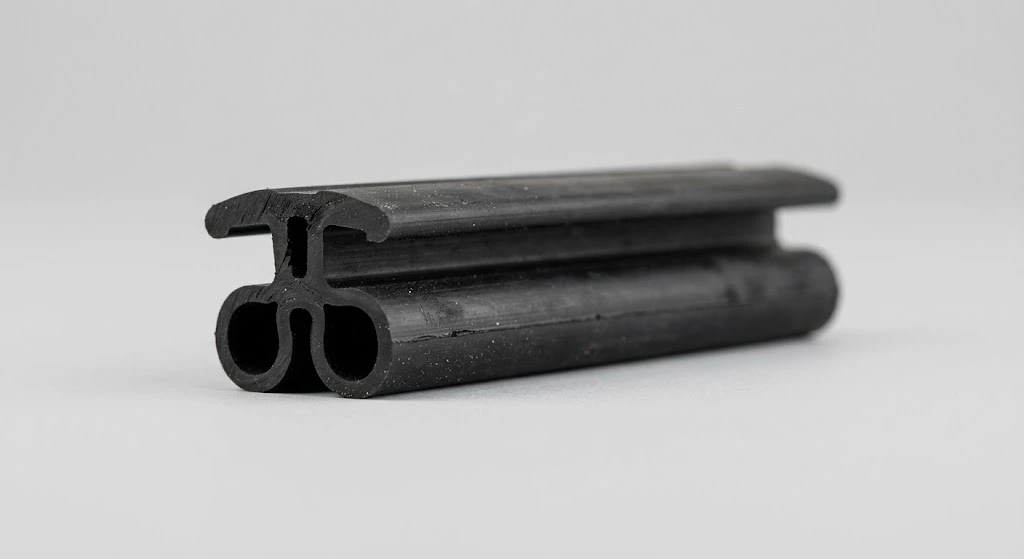
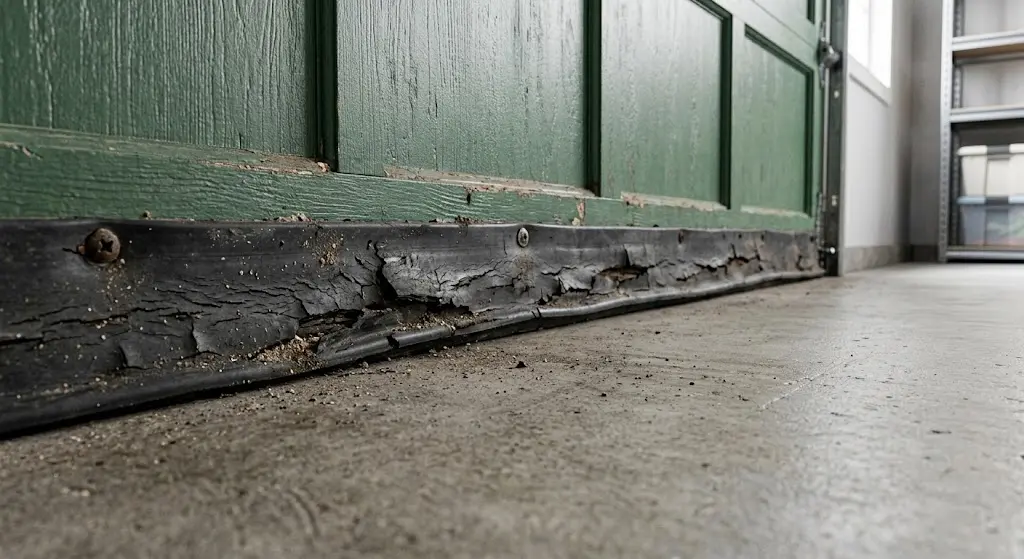
Material matters as much as shape. EPDM rubber (ethylene propylene diene monomer) holds up far better than cheap PVC or foam over time — it stays flexible from about -40°F to 300°F and resists UV cracking for years. Foam seals feel soft at first but compress permanently within a season or two, so they stop sealing anything once the material flattens out.
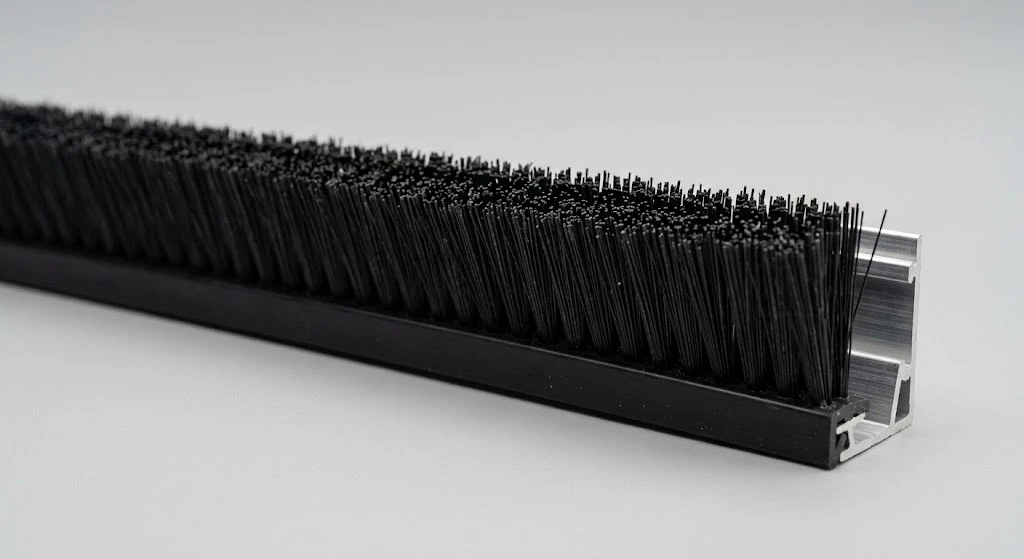
Brush-style (bristle) bottom seals are another option worth knowing about, though they’re less common on residential doors. The individual bristles splay and follow small surface irregularities instead of compressing as one solid piece, which actually makes them a decent niche pick for rough, spalled, or cracked concrete where a rubber seal can’t seat evenly — though a wide directional gap or slope still calls for a bulb or T-style seal instead.
For gaps wider than an inch, an oversized bottom seal — sometimes sold in 3 to 6 inch widths — can work instead of switching to a threshold kit. The extra width gives more material to compress into low spots while still contacting the high spots, though it needs a wider retainer track than the standard 3/4-inch size most doors ship with.
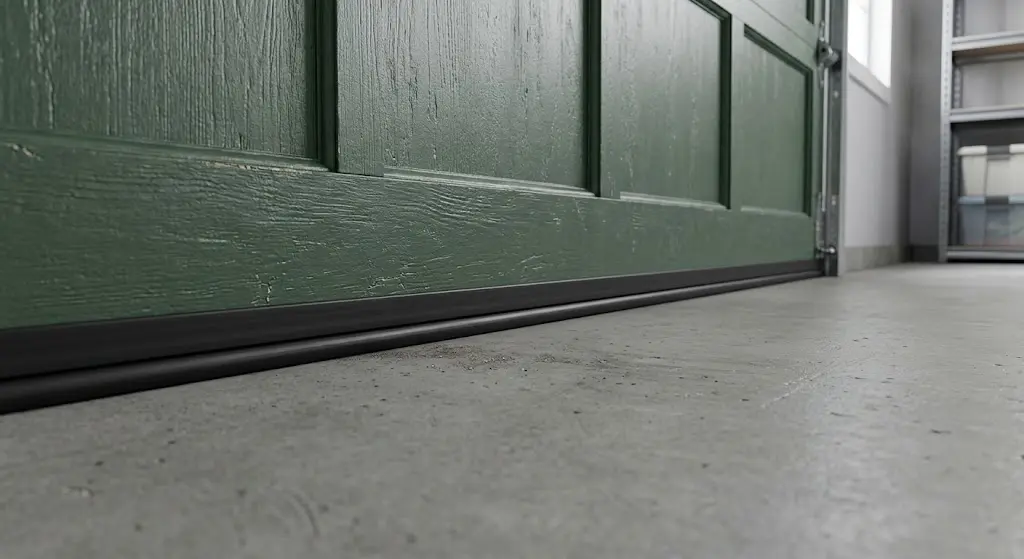
Top Picks for Uneven Floor Seals
These options are well-suited for uneven concrete based on their flex range and material durability. Check current pricing and availability before buying, since specs can change between listings.
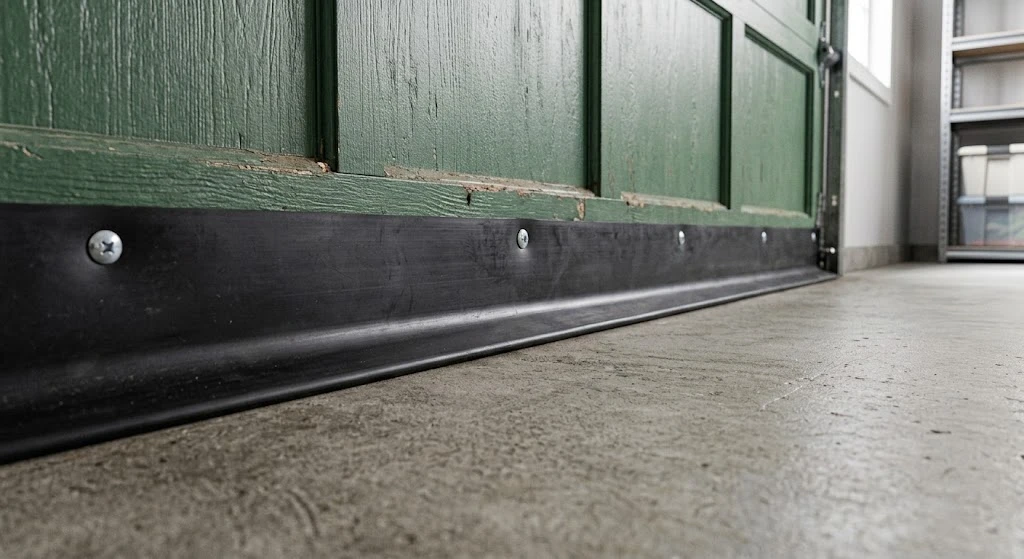
- T-style rubber bottom seal (Amazon) — best overall flex for moderate floor unevenness, works with most standard aluminum retainer tracks.
- Heavy-duty bulb seal (Amazon) — thicker rubber profile for garages with more significant floor dips or gaps.
- Threshold seal kit (Amazon) — pairs a floor-mounted threshold with a standard door seal for the most severe unevenness, effectively leveling the sealing surface itself.
Measuring Your Floor Gap Correctly
| Field | Detail |
|---|---|
| DIY Suitability | Safe for DIY |
| Safety Risk Level | Low |
| Time Needed | 15–20 minutes to measure and select |
Close your garage door and check the gap at multiple points along its width — center, both ends, and anywhere you suspect unevenness. Use a flashlight from inside the closed garage during daylight to spot exactly where light comes through.
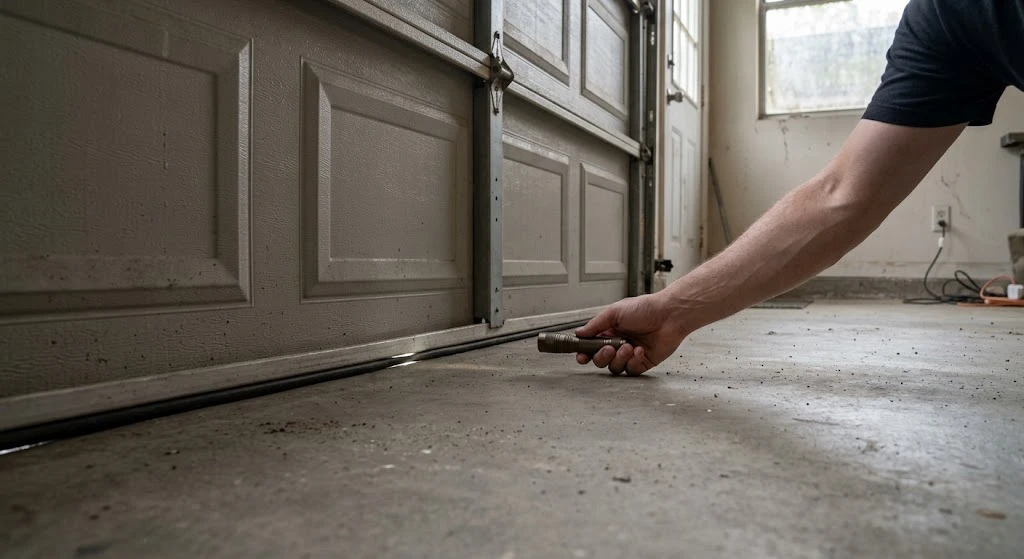
The largest gap you find determines which seal size you need. Most bulb and T-style seals are rated for a specific gap range, so buying based on your worst gap, not your average one, prevents ongoing leaks at the problem spots.
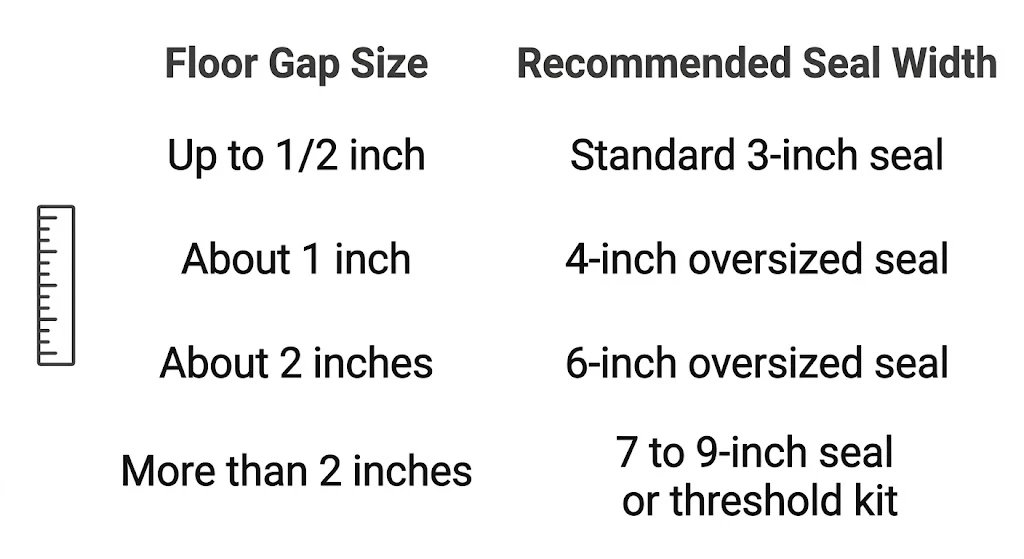
Use this as a starting reference once you know your largest measured gap:
| Floor Gap Size | Recommended Seal Width |
|---|---|
| Up to 1/2 inch | Standard 3-inch bulb or T-style seal |
| About 1 inch | 4-inch oversized bottom seal |
| About 2 inches | 6-inch oversized bottom seal |
| More than 2 inches | 7 to 9-inch oversized seal, or pair a bottom seal with a threshold kit |
Installing a Replacement Seal
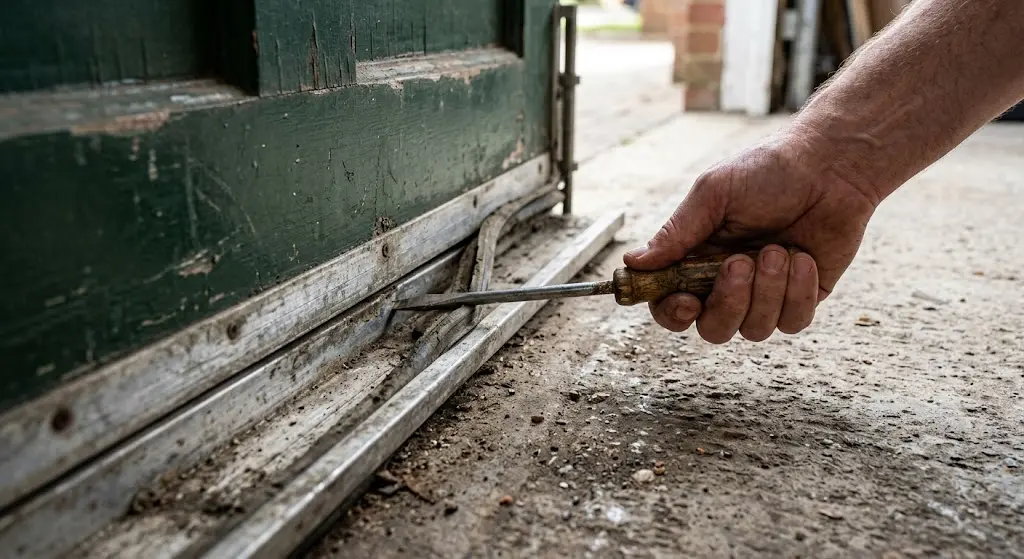
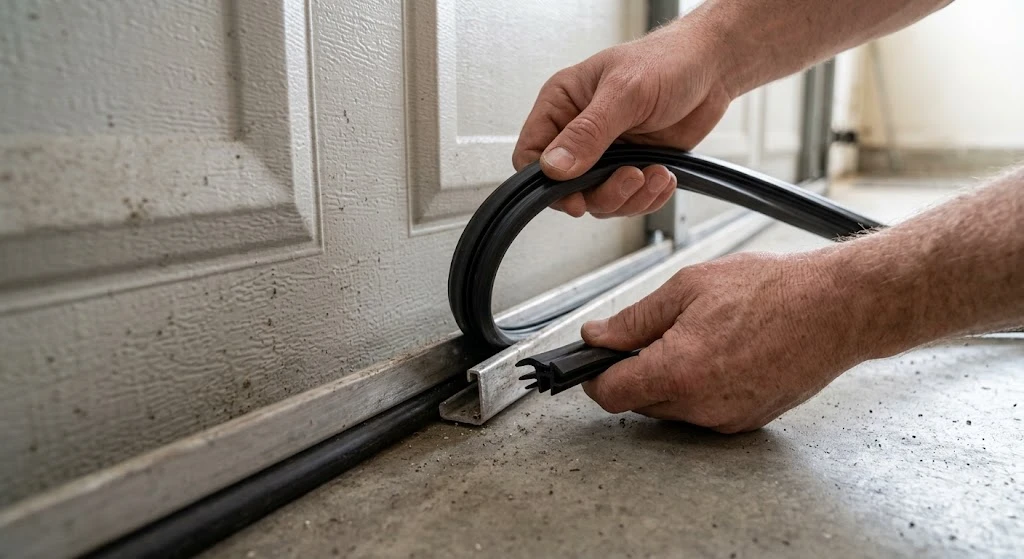
- Remove the old seal by pulling it out of the aluminum retainer track along the door’s bottom edge.
- Clean the track of old adhesive, debris, or cracked rubber fragments.
- Measure the door’s width and cut the new seal to length, leaving a small extra margin to trim after fitting.
- Feed the new seal into the track, working from one end to the other.
- Test by closing the door and checking for gaps at the same spots you measured earlier.
| Field | Detail |
|---|---|
| DIY Suitability | Safe for DIY |
| Safety Risk Level | Low |
| Repair Cost Range | $25–$60 for the seal itself, no labor cost if done yourself |
| Repair Time Estimate | 15–30 minutes for a single-car door, up to 45 minutes for double-wide doors |
When a Threshold Seal Makes More Sense
DASMA’s installation best practices note that proper sealing is part of routine garage door maintenance. For floors with severe unevenness — more than an inch of variation — a threshold seal kit often works better than relying on the bottom door seal alone. These mount to the floor itself, creating a raised, more consistent surface for the door seal to meet. Look specifically for a ramp-profile threshold seal — its sloped design settles lower on the low side of the floor while still meeting the door at full height on the high side, which handles a sloped or uneven slab better than a flat threshold strip.
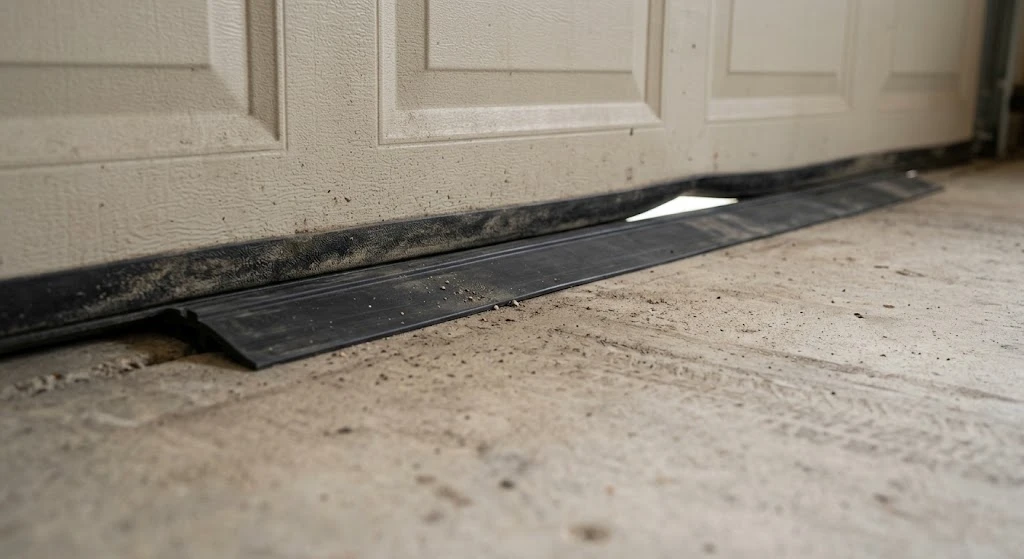
This adds a small lip you’ll need to drive or walk over, which is a tradeoff some homeowners prefer to avoid. Weigh the sealing improvement against that daily inconvenience before choosing this route.
When the Floor Itself Needs Fixing
Sometimes the seal isn’t really the problem — the concrete underneath it is. If one corner has settled more than an inch, or there’s a distinct step or ridge instead of a gradual slope, no seal will bridge that gap for long without heavy compression that strains the opener.
| Field | Detail |
|---|---|
| DIY Suitability | Minor leveling: DIY — Grinding or structural repair: Professional required |
| Safety Risk Level | Low for leveling compound — Medium for grinding (dust, tool use) |
| Repair Cost Range | $20–$50 for self-leveling compound — $150–$500+ for professional concrete grinding or resurfacing |
For a shallow dip, a self-leveling concrete compound poured under the door’s closed line can fill the low spot so the existing seal makes full contact again. For a raised ridge or heaved section, grinding it down with a rented concrete grinder — or hiring someone to do it — is usually more effective than building up the rest of the slab around it. Either way, let any patched concrete cure fully before testing the seal, since a seal pressed into wet compound will just stick and tear.
What to Do Next
Check your floor gap at multiple points with the door closed before buying anything — this determines which seal type actually fits your situation. For moderate unevenness, a T-style seal solves most problems. For severe gaps, pair a bulb seal with a threshold kit for the most reliable results.
Frequently Asked Questions
What’s the best garage door seal for an uneven concrete floor?
A T-style or bulb-style rubber bottom seal works best because its rounded profile flexes to fill gaps that a flat seal can’t cover. For severe unevenness, pairing a bottom seal with a floor-mounted threshold kit gives the most complete seal.
How do I measure my garage floor gap before buying a seal?
Close the door and use a flashlight from inside the garage during daylight to spot where light shows through at the bottom. Check multiple points along the width, and size your seal based on the largest gap you find.
Will a thicker seal always fix an uneven floor gap?
Not necessarily. A seal that’s too thick can prevent the door from closing fully, while one that’s too thin won’t reach the gap at all. Match the seal’s rated flex range to your actual measured gap rather than just buying the thickest option available.
How often do garage door bottom seals need replacing?
Most rubber bottom seals last 5 to 10 years depending on climate exposure and UV exposure. Cracking, hardening, or visible gaps are signs it’s time to replace the seal regardless of age. Keeping other rubber and moving parts maintained matters too — see our best lubricant for garage door hinges guide for related upkeep.
Can I install a new garage door seal myself?
Yes, most bottom seals slide into an existing aluminum retainer track and don’t require special tools beyond a utility knife for trimming to length. It typically takes 15 to 30 minutes for a standard single-car door.
Can I fix an uneven garage floor myself?
Minor dips can be filled with a self-leveling concrete compound, which is a straightforward DIY job. A raised ridge or heaved section usually needs grinding, which is safe to rent and do yourself but messy and time-consuming — many homeowners hire a concrete contractor for that part instead.
Related Guides
For our other buying guides, see Best Garage Door Insulation for Hot Climates, Best Retractable Garage Screen Doors, Best Garage Door Opener With Battery Backup, Best Magnetic Garage Door Screen, Best Garage Door Hinges, Best Screw Drive Garage Door Opener, Best Lubricant for Garage Door Hinges, Best 1/2 HP Chain Drive Garage Door Opener, Best 3/4 HP Belt Drive Garage Door Opener and Best Garage Door Opener for Heavy Doors.