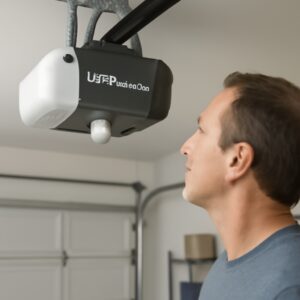

A garage door sensor that stops working will keep your door from closing, and it almost always happens at the worst time. The good news is that learning how to fix a garage door sensor takes about ten minutes and costs nothing in most cases. You probably don’t need a new sensor at all.
Most sensor failures come down to four things: a dirty lens, a knocked-out alignment, a loose wire, or sunlight hitting the receiver. Each one has a clear fix you can do yourself with a cloth and a screwdriver.
This guide walks through the universal fixes first, then covers what’s different on LiftMaster, Chamberlain, Craftsman, Genie, Marantec, and Ryobi openers. Brand matters more than most people realize, especially when you’re reading the LED lights.
Short Answer
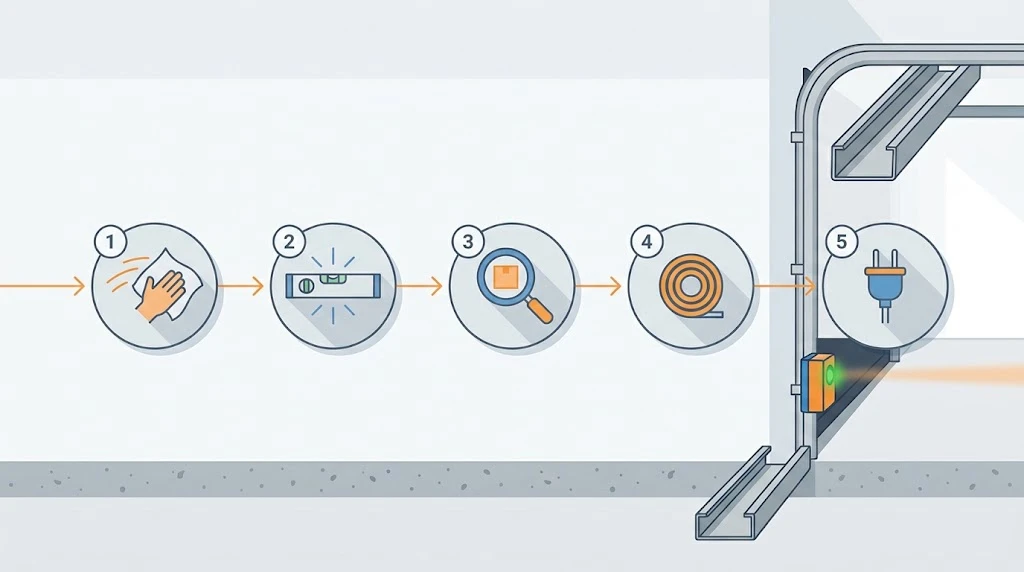
Short Answer: To fix a garage door sensor, wipe both lenses clean with a dry cloth, check that nothing blocks the beam path, then loosen the wing nut and aim the sensors directly at each other until both LEDs glow steady. If the lights stay off, unplug the opener for 30 seconds and check the wiring. This fixes about 80% of sensor problems.
How Garage Door Sensors Actually Work
Garage door sensors, also called photo eyes, are two small boxes mounted on each side of your door opening. They sit low, no higher than 6 inches above the floor. That height is required by UL 325, the safety standard every residential opener has followed since 1993.
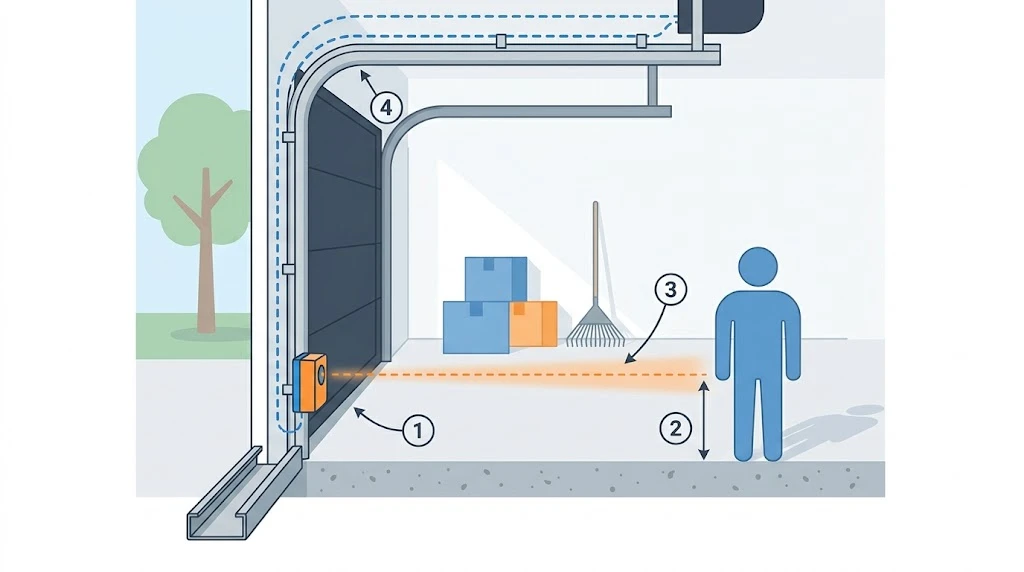
One sensor sends an invisible infrared beam across the doorway. The other one catches it. Break that beam while the door is closing, and the opener reverses the door immediately. It’s the reason a garage door won’t crush a bike, a pet, or a child.
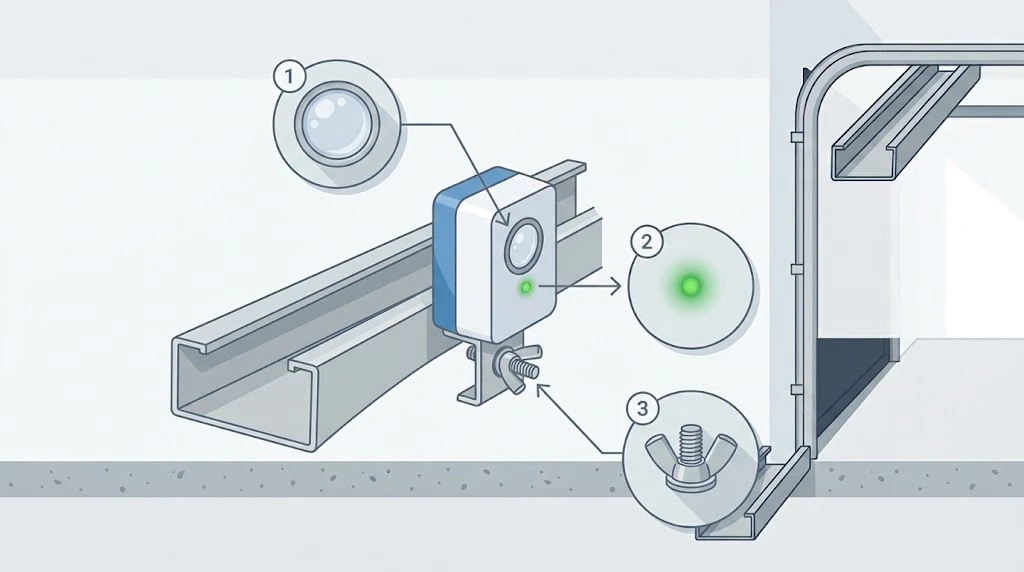
Each sensor has a small LED light that tells you its status. The sending unit’s light means “I have power.” The receiving unit’s light means “I can see the beam.” When both glow steady, your system is healthy.
Here’s the part that trips people up: the LED colors are not the same on every brand. A red light means something is broken on one brand and means everything is fine on another. Check your brand before you assume a red light is bad news.
Signs Your Garage Door Sensor Is the Problem
Sensor trouble looks different from a dead motor or a snapped spring. These symptoms point straight at the photo eyes:
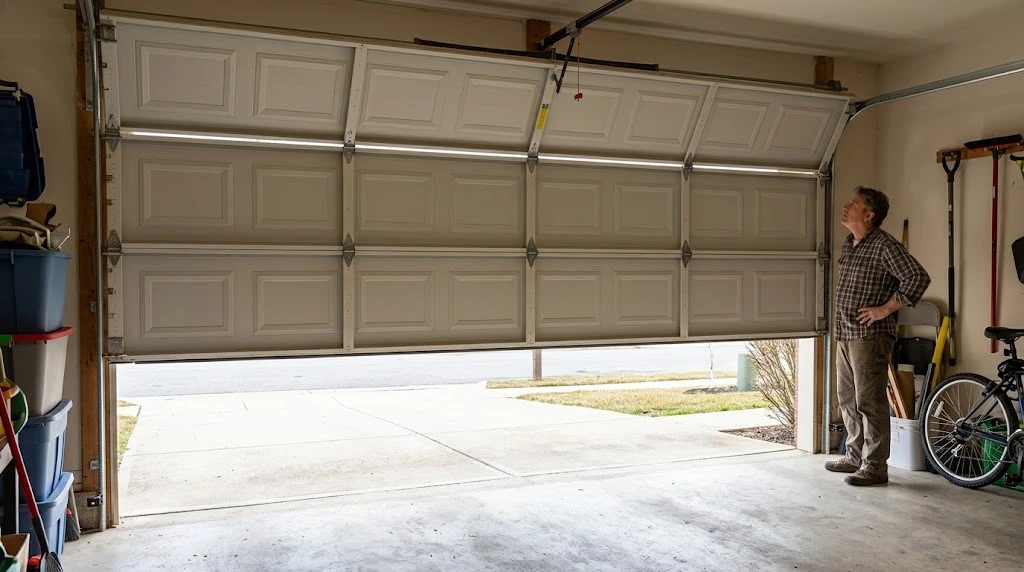
- The door reverses right after it starts closing. It drops an inch or two, then shoots back up.
- The door won’t close from the remote, but closes if you hold the wall button. This is the clearest sensor signal there is.
- The opener light blinks repeatedly and the door won’t move down. Most brands flash a specific count to flag a sensor fault.
- One or both sensor LEDs are dark or flickering. Steady lights are what you want.
- The problem only happens at certain times of day. That’s usually sunlight, not a broken sensor.
If your door won’t open at all, or you hear a loud bang followed by nothing, that’s not a sensor issue. Sensors only block the downward direction. A door that refuses to go up points to a spring, a cable, or the motor.
Fix 1: Clean the Sensor Lenses (5 Minutes)
Dust, pollen, and spider webs are the number one cause of sensor failure. Garages are dusty places and the lenses sit right at floor level where everything settles.
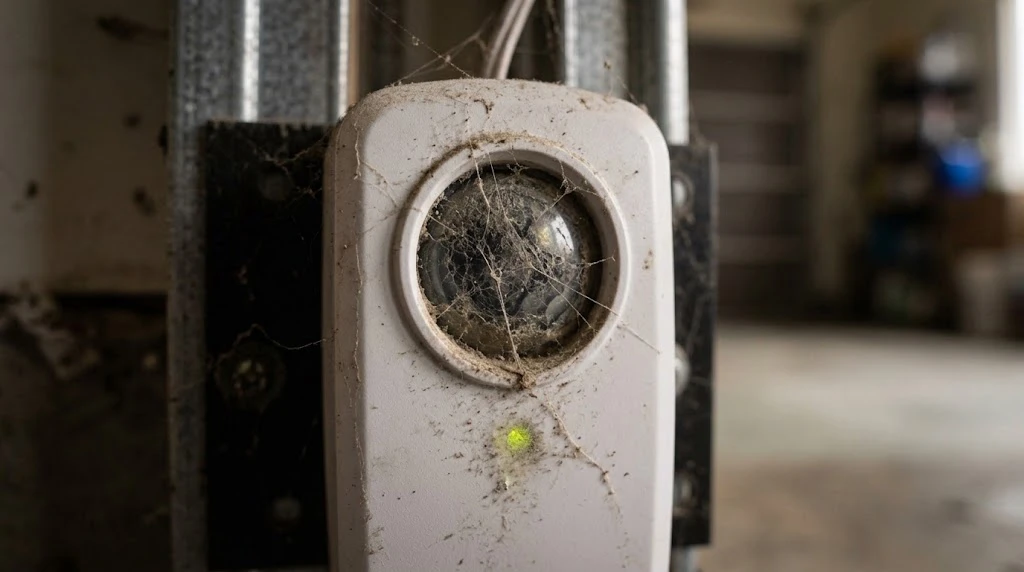
Look closely at each lens, the small clear window facing across the doorway. A thin film you can barely see is enough to weaken the beam. Cobwebs are worse because a single strand across the lens will break the signal completely.
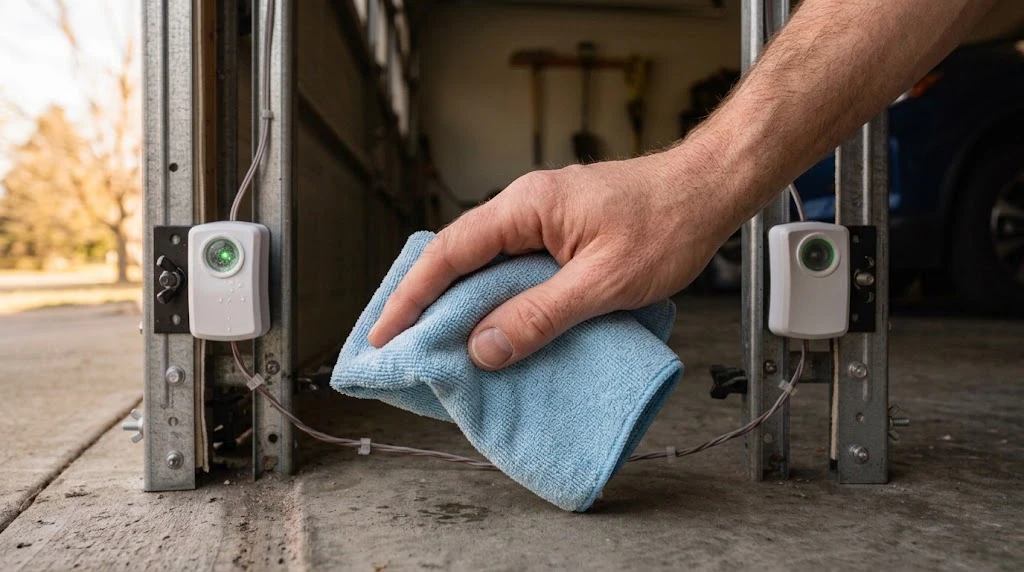
Wipe both lenses with a dry microfiber cloth. If they’re genuinely grimy, dampen the cloth slightly with water and dry them right after. Water droplets left on the lens scatter the infrared beam and cause the same problem you’re trying to solve.
Skip the glass cleaner. Windex, bleach, and anything abrasive will haze the plastic lens permanently. Plain water works fine.
Now test the door. If both LEDs glow steady and the door closes, you’re done. Clean them every few months, especially if you park a car inside or use the garage as a workshop.
Fix 2: Clear the Beam Path (2 Minutes)
Sometimes the sensors are perfectly fine and something is genuinely in the way. The beam runs in a straight line a few inches off the floor, and people forget how low that is.
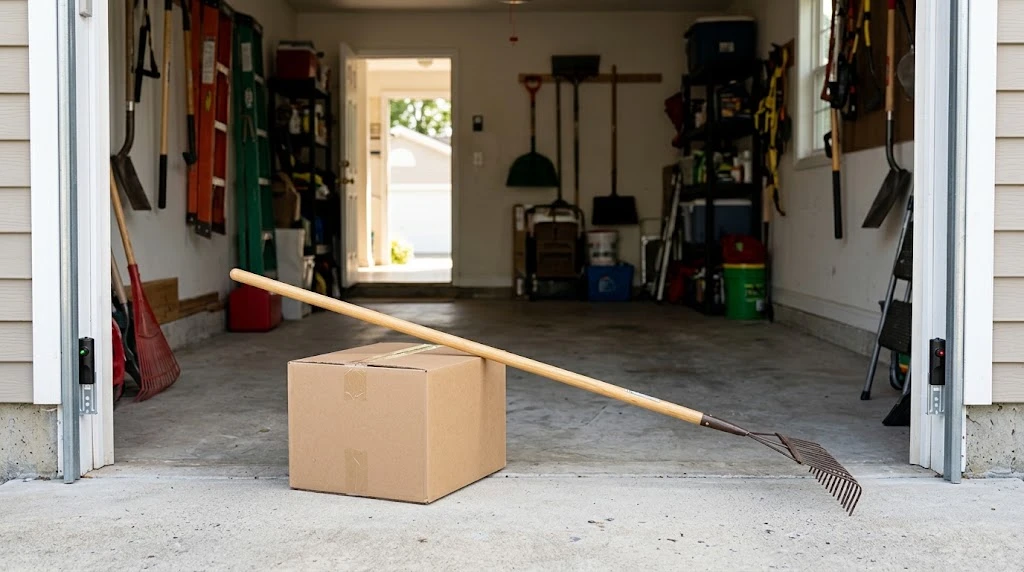
Walk the full width of the doorway and look at ground level. Common culprits include a cardboard box pushed too far forward, a rake or broom handle leaning across, a trash bin, leaves blown in from outside, and snow or ice buildup in winter.
Your car counts too. Park too close to one side and a bumper or mirror can clip the beam without you noticing.
Fix 3: Realign the Sensors (10 Minutes)
Sensors only work when they point directly at each other. Bump one with a car door, a bike, or the lawn mower and the alignment shifts just enough to break the connection.
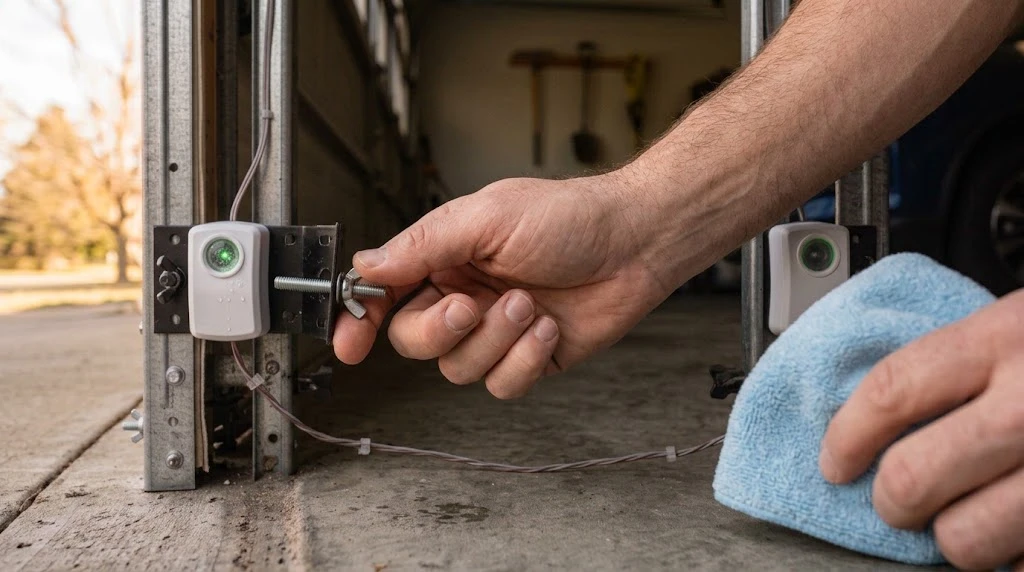
Start by looking at both LEDs. A blinking or dark light on the receiving sensor usually means alignment, not a dead unit.
Loosen the wing nut on the sensor bracket by hand. Don’t remove it, just back it off enough to move the sensor. Then aim the lens straight at the sensor on the opposite side and watch the LED. You’ll feel the sweet spot when the light goes from flickering to solid.
Tighten the wing nut once the light holds steady. Plastic brackets crack easily, so stop as soon as it’s snug.
Check the height while you’re down there. Both sensors should sit at the same height, between 4 and 6 inches off the floor. If one bracket has slipped down the track, that alone can throw off the beam.
Test the door two or three full cycles before you call it fixed. A sensor that’s barely aligned will work once and fail the next time.
Fix 4: Check the Wiring (15 Minutes)
If the lenses are clean and the alignment is right but a light still won’t come on, the sensor probably isn’t getting power. That points to the wiring.
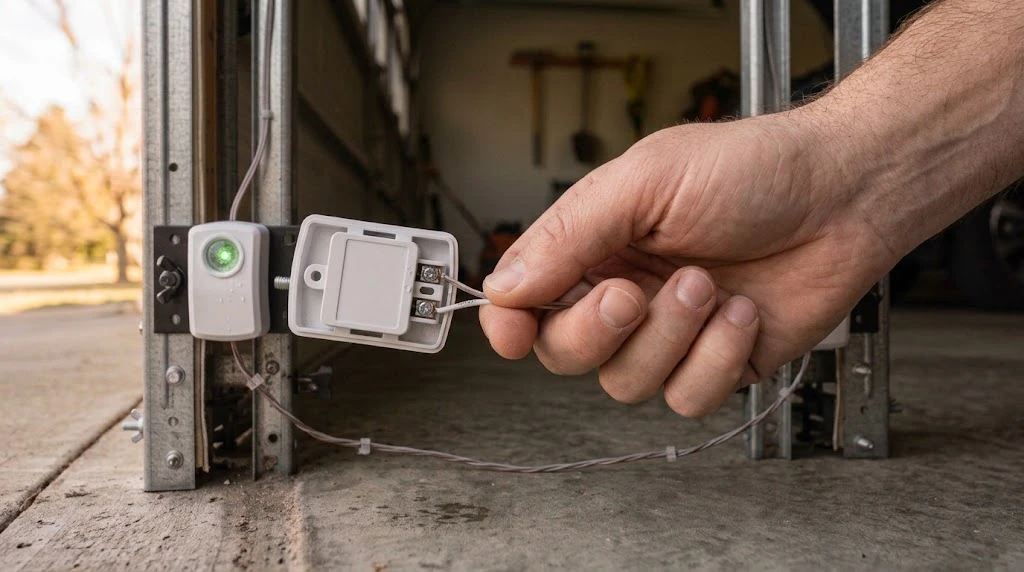
Turn off the opener at the breaker before you touch any wiring. The low-voltage sensor circuit won’t shock you, but a door that moves while your hands are in the track will hurt.
Follow the thin two-conductor wire from each sensor up to the opener motor. Look for cuts, pinch points where the wire crosses the track, staples driven through the insulation, and chew marks from mice. Rodent damage is far more common than people expect.
On LiftMaster, Chamberlain, and Craftsman openers, the wiring follows a fixed color rule: the plain white wire goes to the white terminal, and the white-with-black-stripe wire goes to the black terminal. Reverse them and the sensors won’t work even though everything looks connected.
Marantec uses a different scheme. The white wire lands on terminal 1 and the striped wire on terminal 2.
Tug each connection gently. A wire that looks seated can still be loose inside the terminal. If you find damaged wire, running a new length of 22-gauge solid wire along the outside of the wall is a reliable fix and costs under $15.
Fix 5: Power Cycle the Opener (5 Minutes)
Logic boards get confused. A power surge, a brownout, or just years of use can leave stored errors that block the door even after you’ve fixed the real problem.
Unplug the opener from the ceiling outlet. Wait a full 30 seconds so the capacitors drain, then plug it back in. If your opener has a battery backup, disconnect that too or the reset won’t take.
Give it about 30 seconds to run its startup checks, then test the door from both the remote and the wall button.
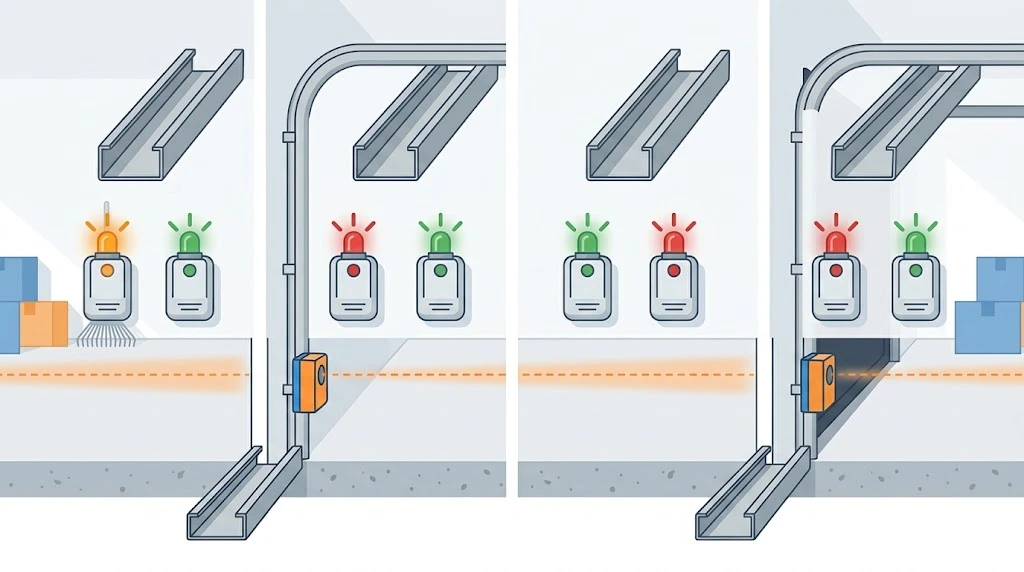
Sensor LED Colors by Brand
This is where most guides get vague and where most homeowners get stuck. A red LED panics people on a LiftMaster and means nothing at all on a Genie. Find your brand below before you diagnose anything.
| Brand | Sending Unit | Receiving Unit | What “Correct” Looks Like |
|---|---|---|---|
| LiftMaster / Chamberlain / Craftsman | Amber (yellow/orange) | Green | Both solid, no blinking |
| Genie (Safe-T-Beam) | Red | Green | Both solid |
| Marantec | Green | Red | Green solid, red on with power |
| Ryobi | Red | Green | Both solid |
LiftMaster, Chamberlain, and Craftsman
These three brands are all made by the Chamberlain Group, which is why their parts swap freely between each other. A LiftMaster sensor works on a Chamberlain opener and vice versa.
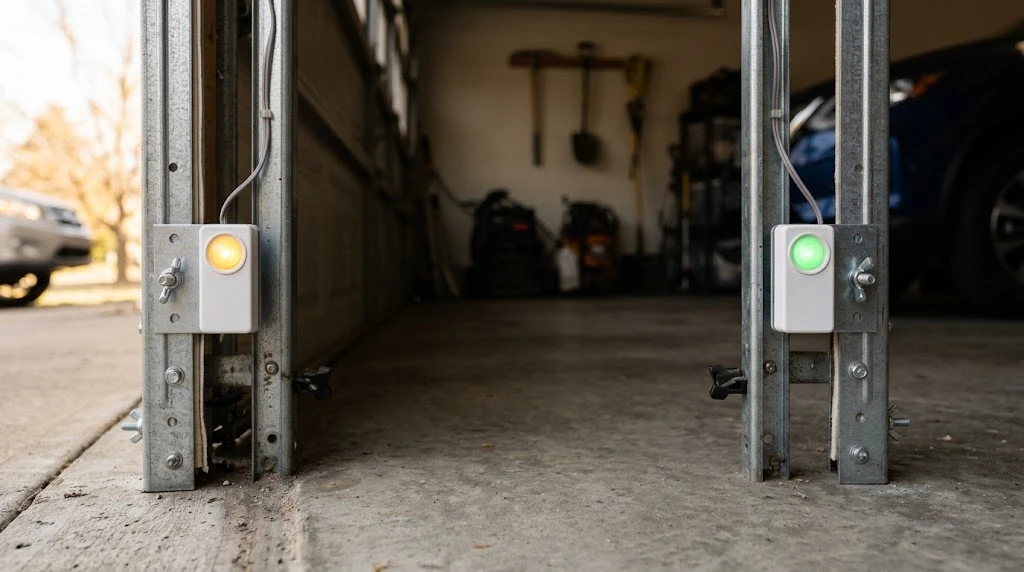
The sending sensor shows an amber LED that should always be lit. If the amber light is off, nothing else will work because no beam is being sent. The receiving sensor shows green, and green only glows when it sees the beam clearly.
When there’s a sensor fault, the opener’s overhead light flashes 10 times. Some newer Security+ 2.0 models report it as error code 1-1 instead, shown by the LED near the Learn button. Our guides on LiftMaster 10 blinks and LiftMaster error code 4-1 break those codes down further.
If you need replacement sensors, the original kit was part number 041A5034. Chamberlain has discontinued it and replaced it with 041-0136, which also needs new brackets (part 041-0155-000) if you’re swapping from the older style. Expect to pay $25 to $45 for a genuine kit.
One common trap: a door that closes only when you hold the wall button is almost always a sensor problem on these openers, not a bad remote. We covered that exact scenario in why a LiftMaster won’t close without holding the button.
Genie
Genie calls its system Safe-T-Beam. The transmitter glows red and the receiver glows green when everything is working. That red light confuses a lot of Genie owners who assume red means a fault.
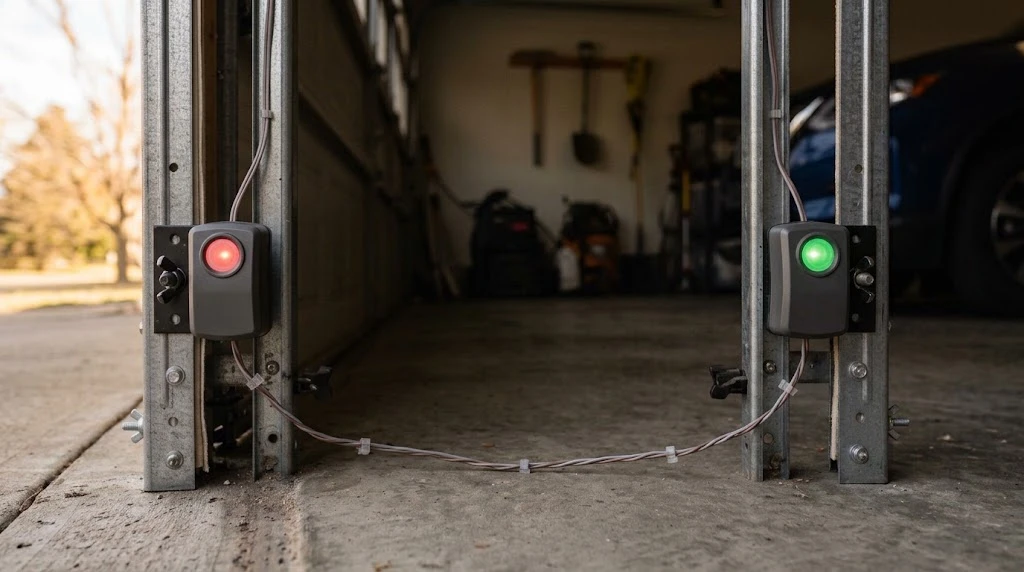
Genie openers also flash a red diagnostic light on the motor head, and the blink count tells you what’s wrong. Two blinks, three blinks, and four blinks each point to different sensor conditions. We’ve written detailed fixes for a Genie sensor blinking red 3 times and for a Genie sensor blinking red in general.
If your Genie door only closes while you hold the wall button, the cause is the same safety circuit. That situation is covered in why a Genie won’t close unless you hold the button.
Genie sensors aren’t cross-compatible with Chamberlain Group parts. Buying a cheaper LiftMaster kit for a Genie opener won’t work, no matter how similar the housings look.
Marantec
Marantec flips the usual pattern, and this catches people out constantly. The transmitter shows green and the receiver shows red.
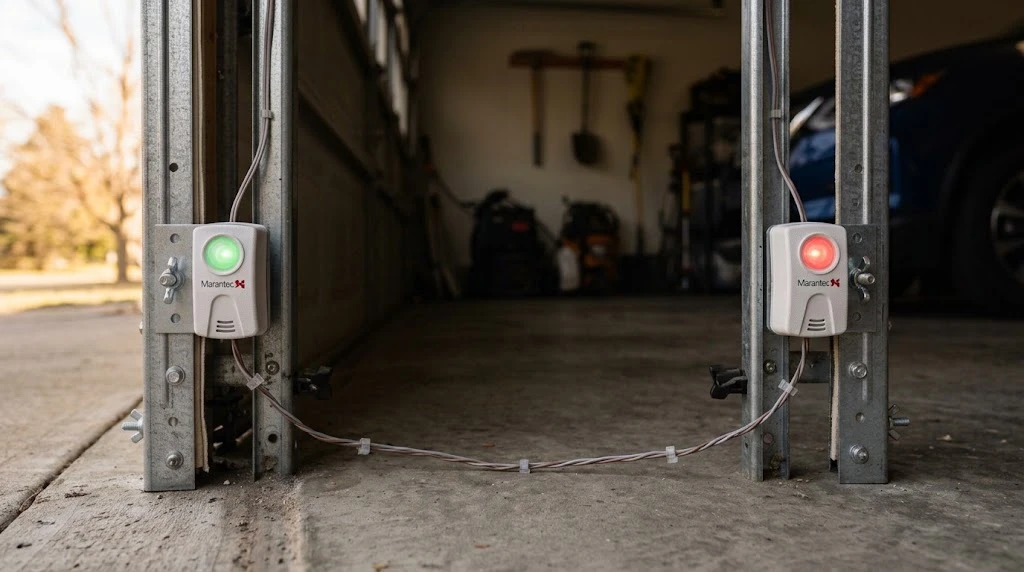
On a Marantec, a solid green light on the transmitter means the beam is being sent and the alignment is good. If that green light flashes, the beam is blocked or the sensors are misaligned. The red light on the receiver stays on any time the sensors have power, so a dark red light means a power or wiring fault, not an alignment issue.
The M8-705 sensor kit is the current replacement and it works across all Marantec opener models. It also replaces the older ML-705 and M4-705 kits.
Marantec openers report sensor faults through their own error code system. If you’re seeing a code on the display, our Marantec error code guide and Marantec troubleshooting guide cover what each one means.
Ryobi
Ryobi sensors use a red transmitter and a green receiver, the same pattern as Genie. Both lights need to hold steady for the door to close.
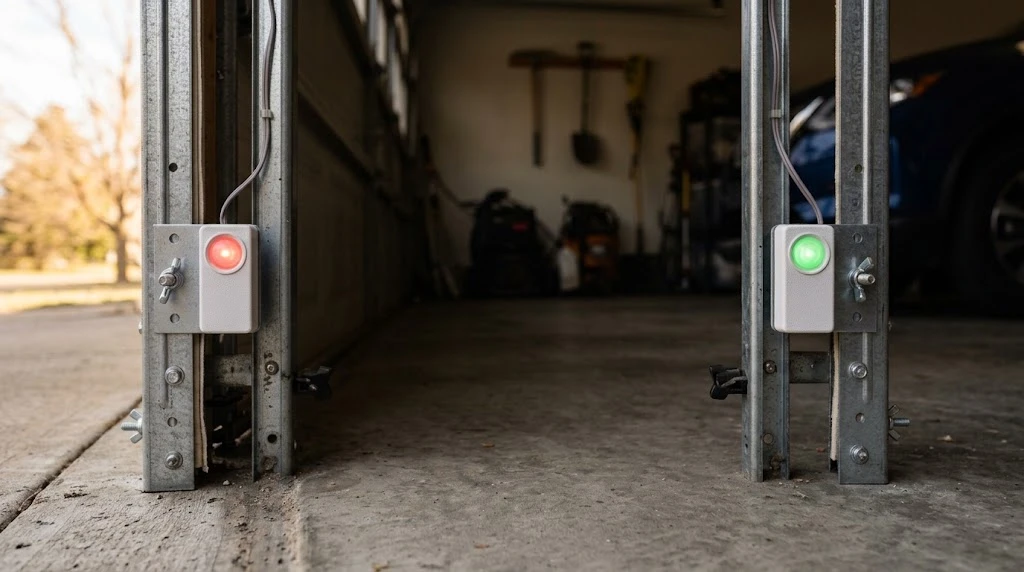
Ryobi wiring uses a gray-striped wire and a plain white wire. The striped wire goes to the G terminal on both sensors, and the white wire goes to the W terminal. Swap them and the sensor simply won’t power up.
There’s a bigger issue with Ryobi worth knowing. The brand discontinued its garage door openers after a patent ruling, which makes genuine replacement sensors harder to source than they used to be. Our Ryobi troubleshooting guide goes into what owners can still do.
Sunlight Interference: The Fix Nobody Mentions
If your door refuses to close at 5 p.m. but works fine every morning, your sensors aren’t broken. Direct sunlight is drowning out the infrared beam.
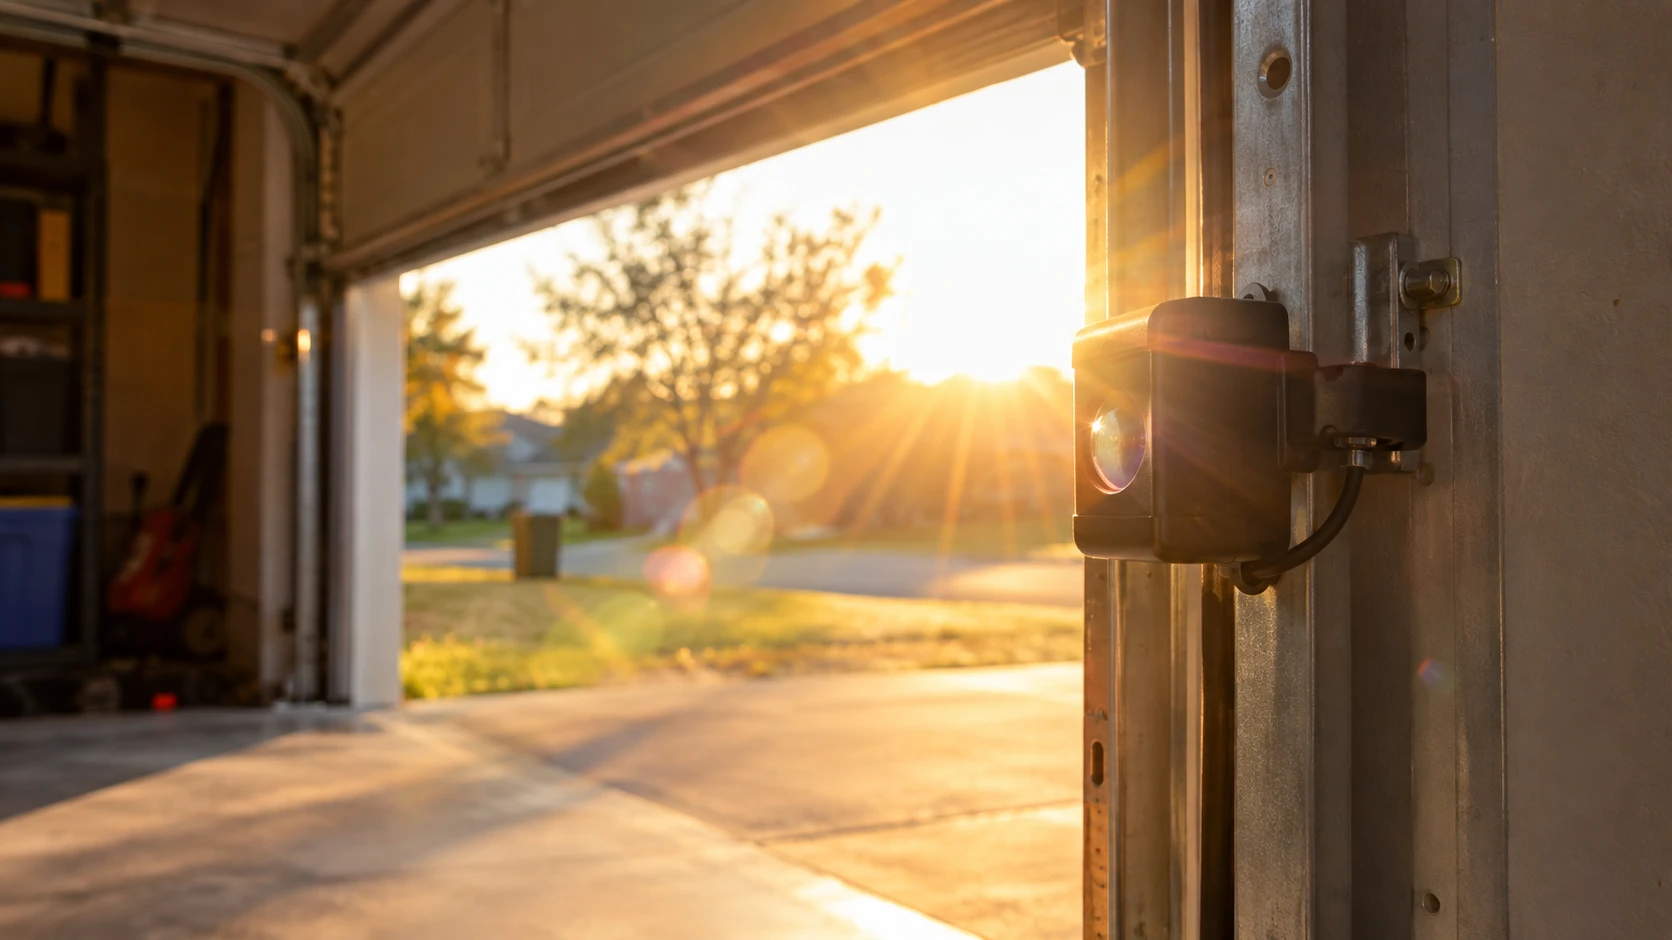
The receiving sensor reads infrared light. Low-angle afternoon sun hitting the receiver lens floods it with infrared and the sensor can no longer pick out the signal from the transmitter. West-facing garages get this most often, and it’s worse in late autumn and winter when the sun sits lower.
The fix is cheap. Slide a short piece of PVC pipe or a cardboard tube over the receiving sensor so the lens is recessed an inch or two. That shades the lens without blocking the beam. Some sensors also let you swap the transmitter and receiver positions, which moves the sun-facing unit to the side that doesn’t care about glare.
Don’t paint the sensors or cover the lens with tape. That blocks the beam entirely.
DIY or Call a Professional?
Most sensor work is genuinely safe for a homeowner. The sensor circuit runs on low voltage and the parts are simple. But a few situations do call for a technician.
| Situation | DIY or Pro | Risk Level | Cost | Time |
|---|---|---|---|---|
| Dirty lens | DIY | Low | $0 | 5 min |
| Misaligned sensor | DIY | Low | $0 | 10 min |
| Blocked beam path | DIY | Low | $0 | 2 min |
| Loose terminal connection | DIY | Low | $0 | 15 min |
| Replacing both sensors | DIY | Low | $25–$80 parts | 30–45 min |
| Wire damaged inside wall | Pro | Medium | $150–$300 | 1–2 hrs |
| Bent or damaged track | Pro | High | $200–$400 | 2–3 hrs |
| Suspected logic board failure | Pro | Medium | $150–$350 | 1–2 hrs |
A standard service call for sensor diagnosis and repair runs $100 to $200 in most US markets. Full sensor replacement by a technician usually lands between $150 and $300 including parts and labor.
Weigh that against a $30 sensor kit you can install in half an hour. If the sensors themselves are the problem and the wiring is intact, DIY is almost always the better call.
Replacing a Dead Sensor
Sensors do wear out. Most last 10 to 15 years, and heat, moisture, and vibration shorten that. Replace them when you see no light at all after confirming the wiring has power, visible cracks or water inside the housing, or a unit that works intermittently no matter how carefully you align it.
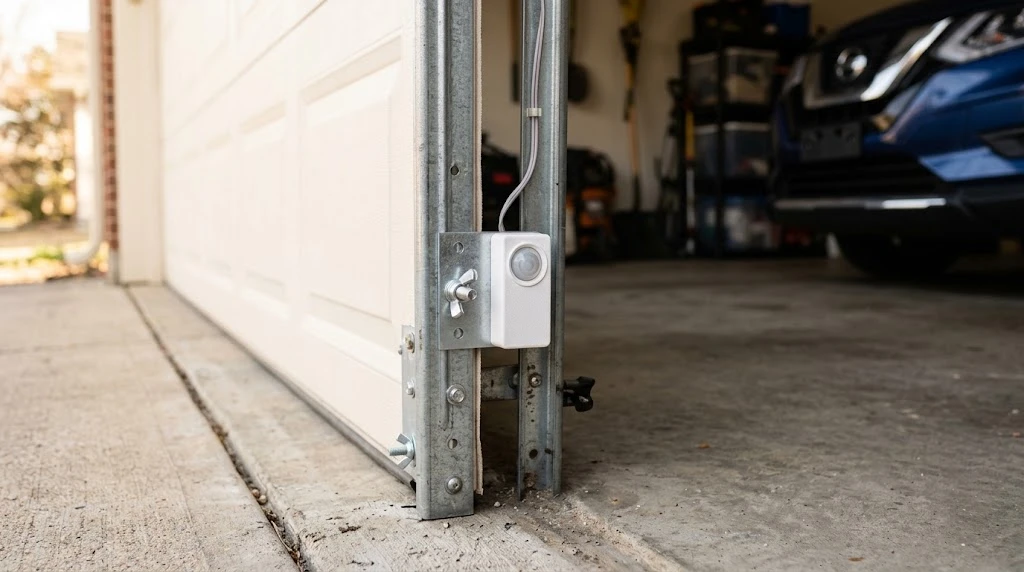
Buy the pair, not one sensor. They’re sold as matched sets for a reason, and a sensor that’s 12 years old will fail soon after its partner does.
Match the brand. LiftMaster, Chamberlain, and Craftsman parts interchange freely because the Chamberlain Group makes all three. Everything else needs its own brand’s part.
Before you disconnect anything, photograph the wire connections at both the sensor and the opener terminal. It takes five seconds and saves a lot of guessing later.
Mount the new sensors in the existing bracket holes at the same height, connect the wires by color, restore power, and adjust the aim until both LEDs hold steady.
Mistakes That Make Sensor Problems Worse
A few habits turn a ten-minute fix into a service call:
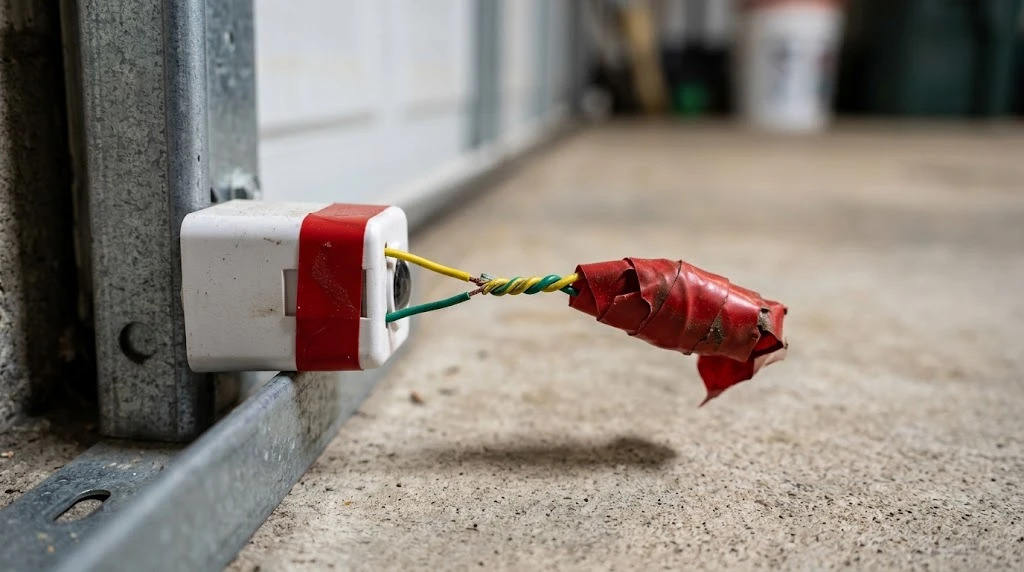
- Bypassing the sensors permanently. Twisting the wires together to force the door closed removes the only thing stopping that door from closing on someone. It also violates UL 325.
- Cleaning with harsh chemicals. Ammonia and abrasives haze the lens and the damage doesn’t come out.
- Overtightening the wing nut. The brackets are plastic and they crack.
- Replacing only one sensor. Mismatched pairs cause intermittent faults that are maddening to trace.
- Painting the garage without covering the sensors. Overspray on a lens is a beam blocker.
- Ignoring a blinking light because the door still works. Intermittent faults become permanent ones, usually on a cold morning when you’re late.
Keeping Sensors Working
Five minutes every few months keeps most of these problems from starting.
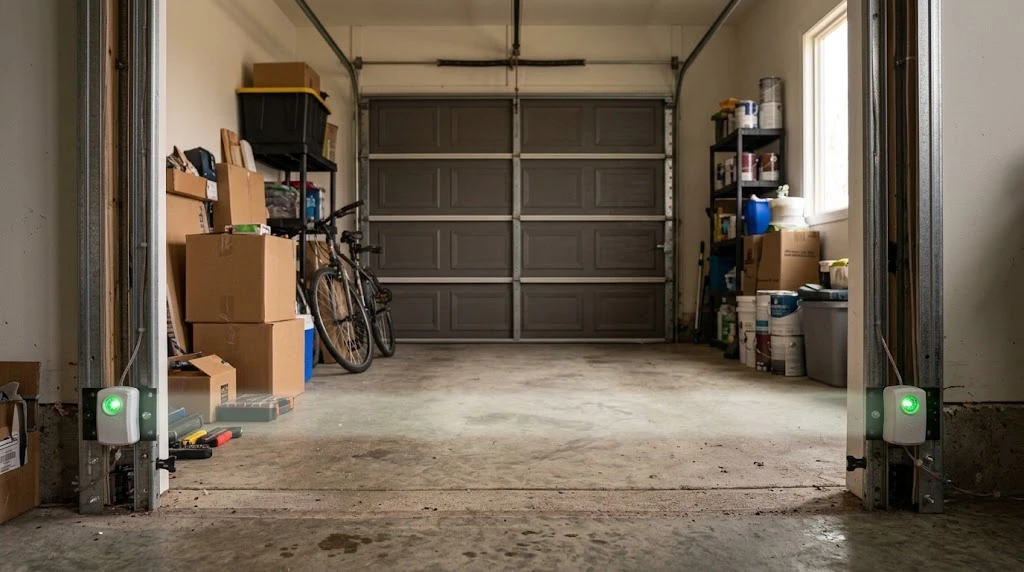
Wipe both lenses when you think of it. Look for new cobwebs near the sensors. Check that the brackets are still tight and the sensors still line up.
Test the safety reversal twice a year. Lay a 2×4 flat on the floor in the door’s path and close the door. It should reverse the moment it touches the board. You can test the sensors themselves by waving a broom handle through the beam while the door closes. The door should reverse immediately.
If either test fails, stop using the door until you’ve fixed it. That reversal is the last line of defense between a 150-pound door and whatever is underneath it.
Frequently Asked Questions
Why is one garage door sensor green and the other yellow?
That’s completely normal on LiftMaster, Chamberlain, and Craftsman openers. The amber or yellow light marks the sending sensor and simply means it has power. The green light marks the receiving sensor and means it can see the beam. As long as both lights are steady and not blinking, your sensors are working correctly.
Can I use any brand of sensor on my garage door opener?
No. Sensors have to match your opener’s safety circuit. LiftMaster, Chamberlain, and Craftsman sensors work interchangeably because the Chamberlain Group makes all three brands. Genie, Marantec, Ryobi, and other brands each need their own parts. A sensor that looks identical can still fail to work with a different brand’s opener.
How long do garage door sensors last?
Most sensors last 10 to 15 years under normal conditions. Heat, humidity, and physical knocks shorten that. If your sensors are more than a decade old and nothing you try keeps them working reliably, replacing the pair is usually cheaper than repeated service calls. A genuine kit costs $25 to $45.
Can I bypass my garage door sensors temporarily?
You can hold the wall button down to force the door closed in an emergency, which most openers allow. Never disconnect or permanently bypass the sensors. They’re required by federal law on every opener made after 1993, and they’re what prevents a closing door from injuring a child or pet.
Why does my garage door only fail to close in the afternoon?
That’s sunlight interference. Low-angle sun hitting the receiving sensor floods it with infrared light and it can’t pick out the beam from the transmitter. Shade the lens with a short piece of PVC pipe or swap the two sensors so the receiver faces away from the sun. The sensors themselves are fine.
Do I need to replace both sensors or just the broken one?
Replace both. They’re sold as matched pairs and they age at the same rate. If one has failed after a decade, the other is close behind. Installing a new sensor alongside a worn one often produces intermittent faults that are hard to diagnose and waste more time than the second sensor would have cost.
What to Do Next
Start with the lens and the beam path. Those two take seven minutes combined and solve most cases. If the lights still aren’t steady, move to alignment, then wiring, then a power cycle.
Check the brand table before you panic about a red light. Half the sensor “failures” people report turn out to be normal LED behavior on a brand they’ve misread.
If you’ve worked through everything here and a sensor still won’t light up with confirmed power at the terminal, the unit is dead. Order the matched pair for your brand and swap them. For damaged wire inside a wall, a bent track, or a suspected logic board fault, bring in a technician. For more detail on your specific opener, LiftMaster and Chamberlain publish full sensor documentation on the official LiftMaster parts site.