
If your Genie garage door only closes when you hold the button, the opener is telling you something is wrong with its safety sensor system. Holding the wall button is a built-in manual override — it forces the door shut while bypassing the sensor check. This guide walks through every cause in order, from the simplest five-minute fix to the less common wiring and limit problems.
Short Answer: A Genie door that closes only when you hold the button has a Safe-T-Beam sensor fault. The sensor beam is broken, blocked, or the sensors are misaligned. Start by clearing the sensor path and cleaning both lenses. If the problem persists, realign the blinking sensor, check the wiring at both sensors and the motor unit, and rule out sunlight interference if the fault happens only in daylight.
This post contains affiliate links. If you buy through our links, we may earn a small commission at no extra cost to you.
Why Holding the Button Closes the Door
Genie Safe-T-Beam sensors send an infrared beam across the bottom of the door opening. When the receiver sensor detects the beam is broken — whether by an obstruction, misalignment, or wiring fault — the opener will not close automatically. This is required by UL 325, the federal safety standard for garage door openers.
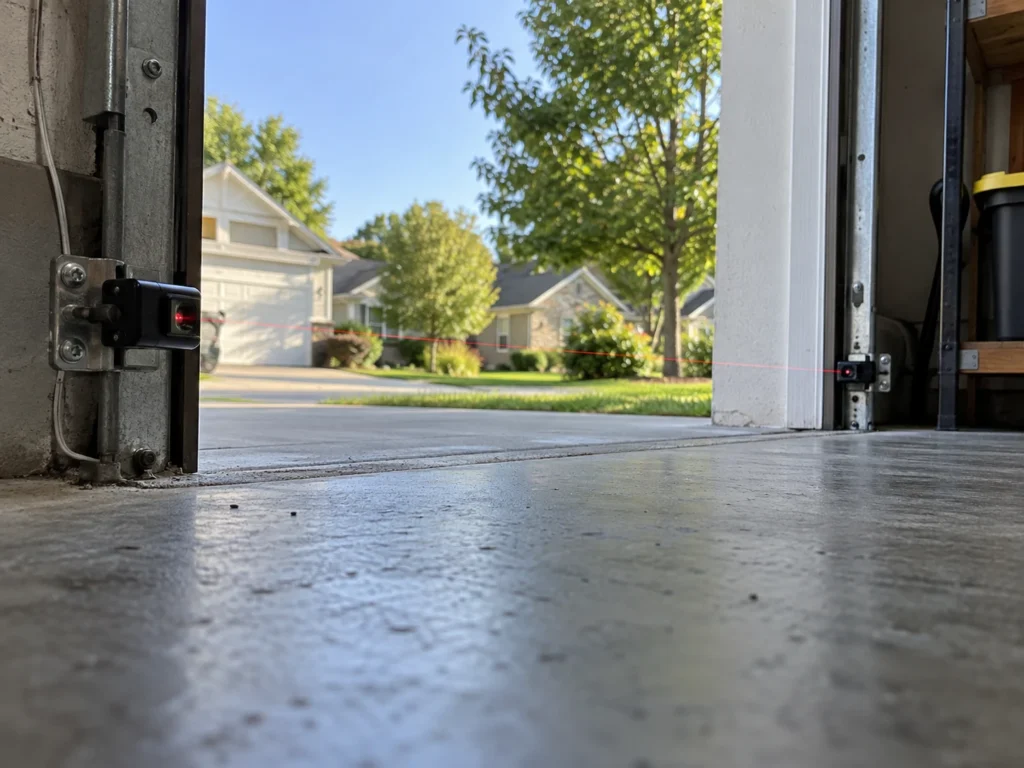
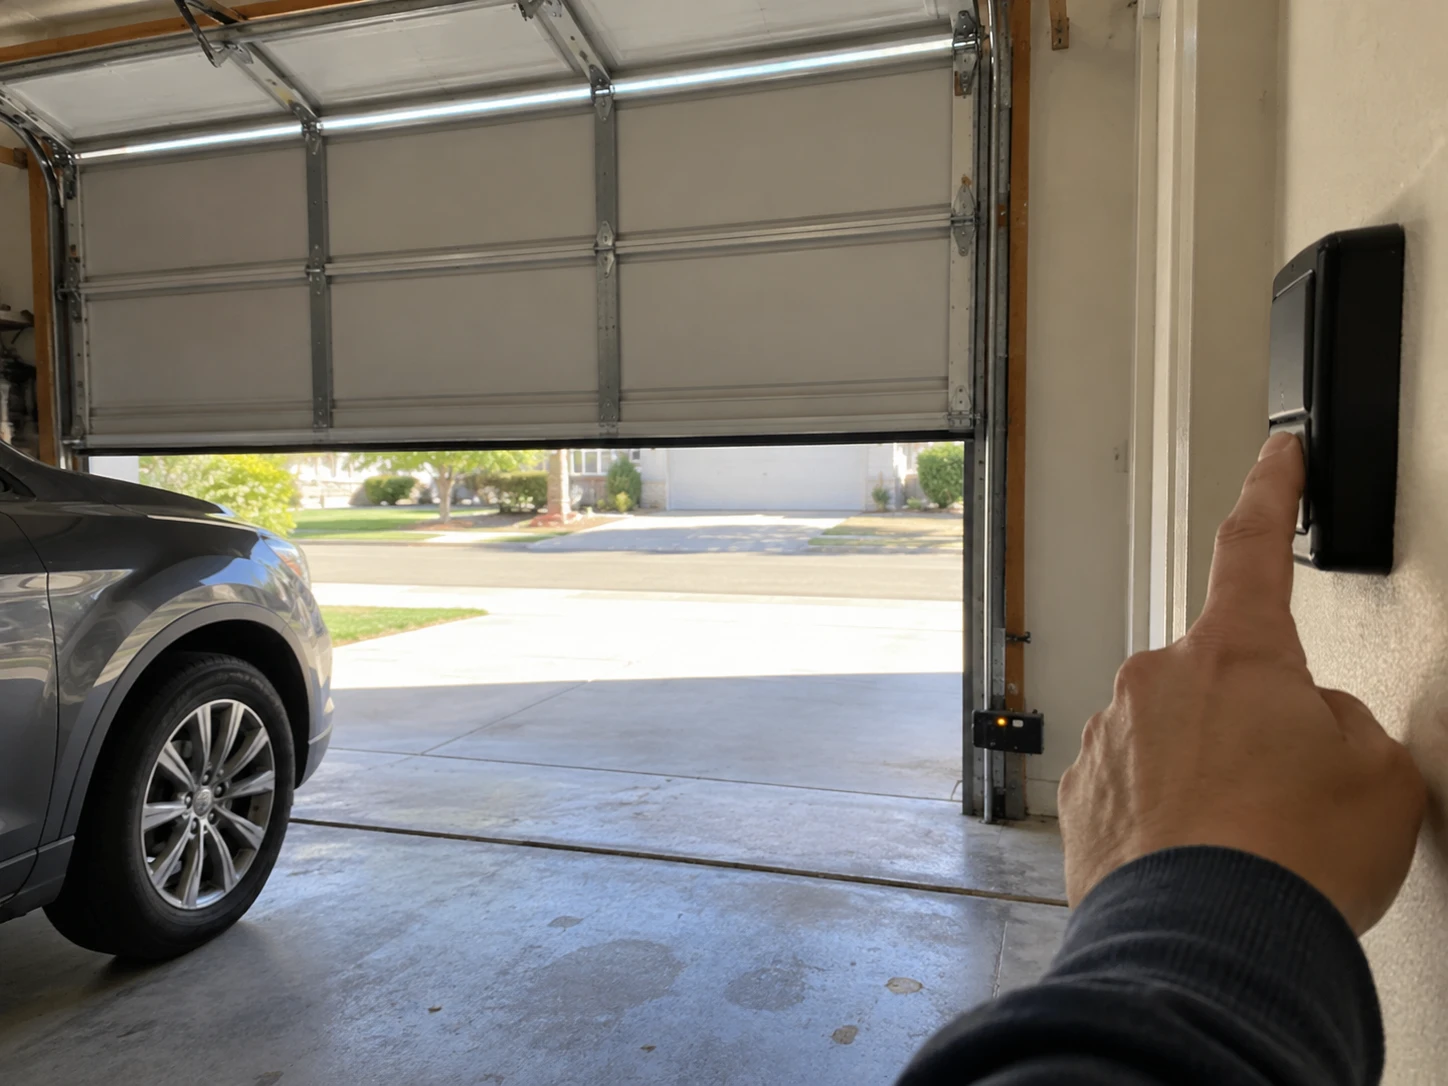
Holding the wall button is a deliberate override built into every Genie opener. It bypasses the sensor check and forces the door down, but only as long as you keep the button pressed. The moment you release, the door stops. Genie designed it this way so the override is intentional and supervised — never automatic. This is not a fault in itself. The fault is whatever is causing the sensor to report a blocked beam.
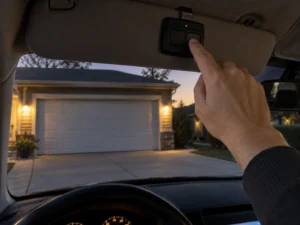
This is also why your remote and keypad suddenly stop closing the door, even though they still open it. Opening never checks the sensors, and only the wired wall button gets the hold-to-close override. If the remotes do nothing at all, not even open, the cause is different: check whether the lock or vacation button on your wall console is switched on.
Fix 1: Clear the Sensor Path and Clean the Lenses
Start here. Walk along the base of the door and look for anything between the two sensors — a broom handle, a bag, a bike wheel, a cobweb. The infrared beam travels about 4 to 6 inches off the floor in a perfectly straight line. Even a thin object or a spider web breaks it.
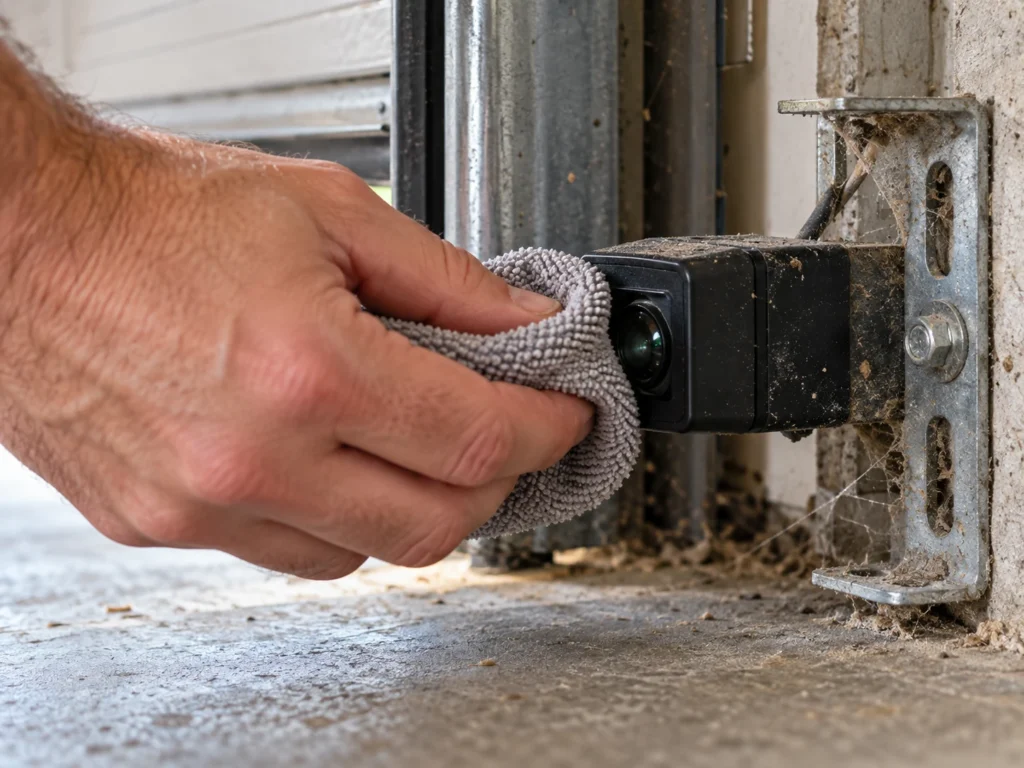
After clearing the path, wipe both sensor lenses with a dry microfiber cloth. Dust, moisture residue, and insect debris coat the lens and scatter the beam even when nothing is physically in the way. Do not use glass cleaner — the residue causes the same problem. A dry cloth is enough.
Once the door closes normally again, test the safety reverse. Start closing the door with the remote, then pass a broom handle through the beam. The door should stop and reverse right away. If it doesn’t, keep working through the fixes below.
Fix 2: Realign the Sensors
If the path is clear but the door still will not close on its own, check the sensor LEDs. On Genie Safe-T-Beams, the red LED sensor is the transmitter and should always be solid. The green LED sensor is the receiver — this is the one that blinks when alignment is off. If the green LED is blinking, the sensors are not communicating correctly.
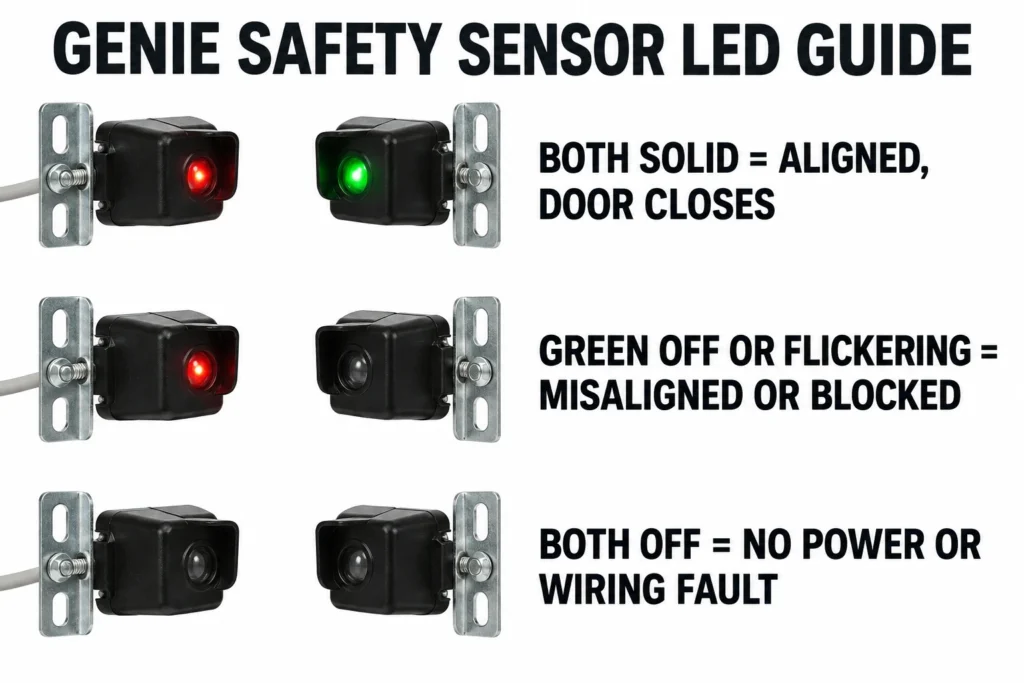
- Find the wing nut holding the green receiver sensor to its bracket.
- Loosen it just enough so the sensor can pivot.
- Slowly tilt the sensor in small increments — left, right, up, down — while watching the LED.
- The moment the green LED turns solid, hold that position and tighten the wing nut firmly.
- Test by pressing the remote or wall button. The door should close without holding.
Fix 3: Check the Wiring
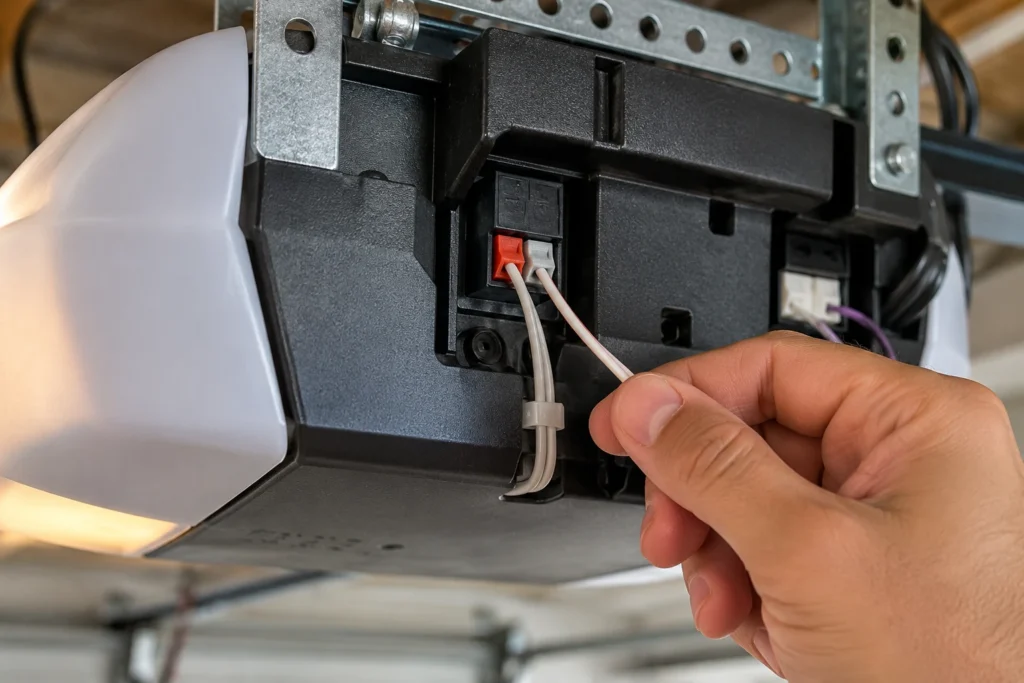
Wiring faults cause the same symptom as sensor misalignment. The sensor LEDs may look solid but the signal is not reaching the motor unit reliably. Wires break from repeated door vibration, get pinched under the track, or corrode at the terminal connections over years of garage humidity.
| Wiring Problem | Symptom | Fix |
|---|---|---|
| Loose terminal at motor unit | Sensor works sometimes, fails at other times | Push wire firmly into terminal, tighten screw |
| Wire pinched under track | Sensor completely dead or intermittent | Reroute wire away from track, secure with staples |
| Corroded wire ends | No LED light on sensor | Strip 1 cm of wire, reconnect fresh copper |
| Broken wire inside insulation | Works fine then fails randomly | Run a fresh wire alongside the existing run |
Inspect the full wire run from each sensor up the door frame to where it connects at the back of the motor unit. Squeeze and flex the wire at multiple points while watching the sensor LED — if the LED flickers when you flex the wire, you have found the break. Splice or replace that section.
Fix 4: Sunlight Interference
If the problem only happens in the afternoon or on bright days but works fine at night, sunlight is interfering with the green receiver sensor. Strong afternoon sun floods the sensor lens with infrared light — the same wavelength the sensor uses — and the receiver cannot distinguish the opener signal from the sunlight. It reports a blocked beam even when the path is completely clear.
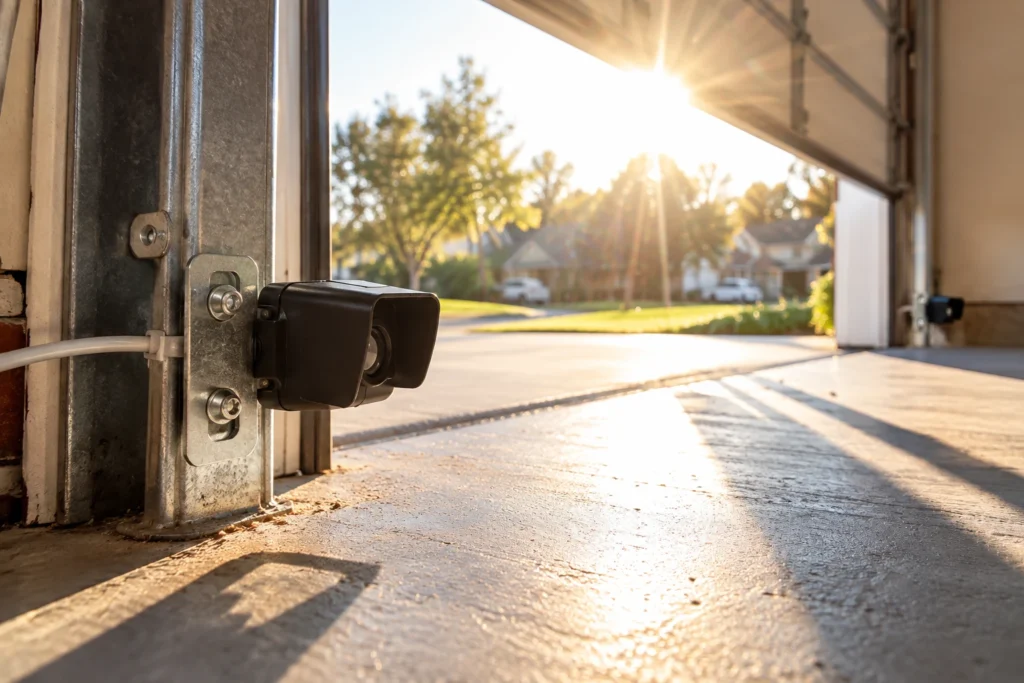
The fix: tape a small piece of cardboard above the green sensor lens to shade it from direct sun. A slide-on sensor sun shade (sold separately, usually under $15) does the same job more neatly. If the fault still shows up, swap the two sensors to opposite sides of the door so the receiver faces away from the afternoon sun. That fixes most stubborn cases for good.
Fix 5: Travel Limit Set Too Low
If the sensors check out perfectly but the door still reverses before fully closing, the down-travel limit may be set too low. When the limit is set too short, the opener thinks the door has hit the floor (an obstruction) before it actually reaches the ground and reverses. This is less common than sensor faults but affects openers that have been recently moved or had their limits reset.
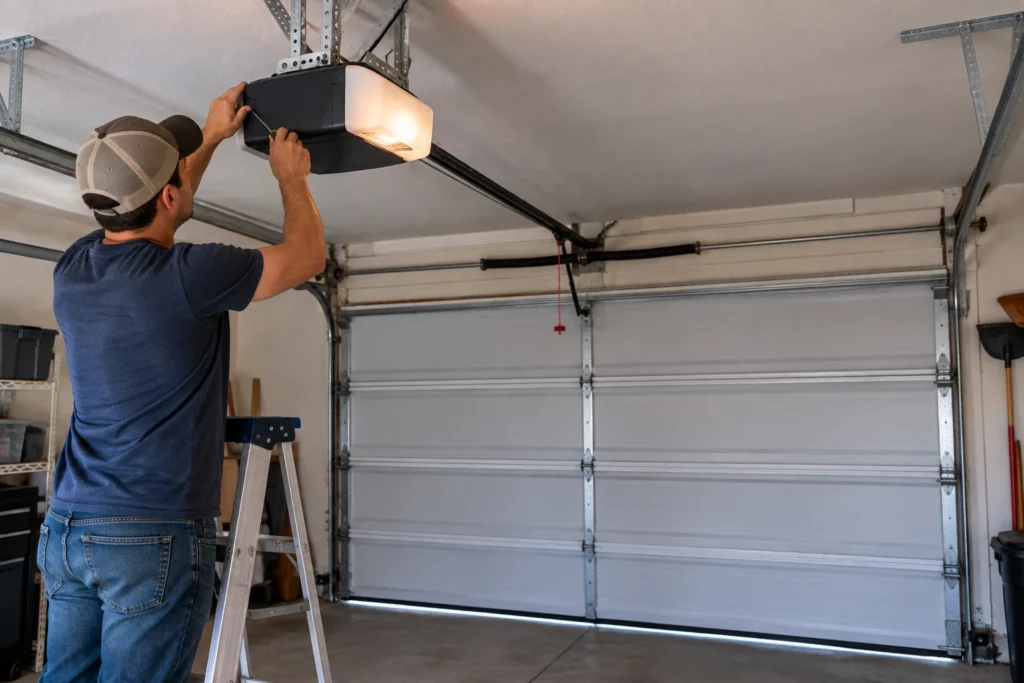
On Genie openers, the travel limits are adjusted using the up and down adjustment buttons or screws on the motor unit back panel. Press the down-limit button (or turn the down-limit screw clockwise) in small increments and test after each adjustment. The door should touch the floor and stop without reversing. After any limit adjustment, test auto-reverse by placing a 2×4 flat on the floor — the door must reverse on contact per UL 325.
Fix 6: Replace the Sensors
If all of the above checks pass and the door still will not close without holding the button, the sensors themselves are faulty. Genie sensors degrade from UV exposure, moisture, and physical impact over years. The LED may appear solid but the sensor is no longer transmitting or receiving reliably.
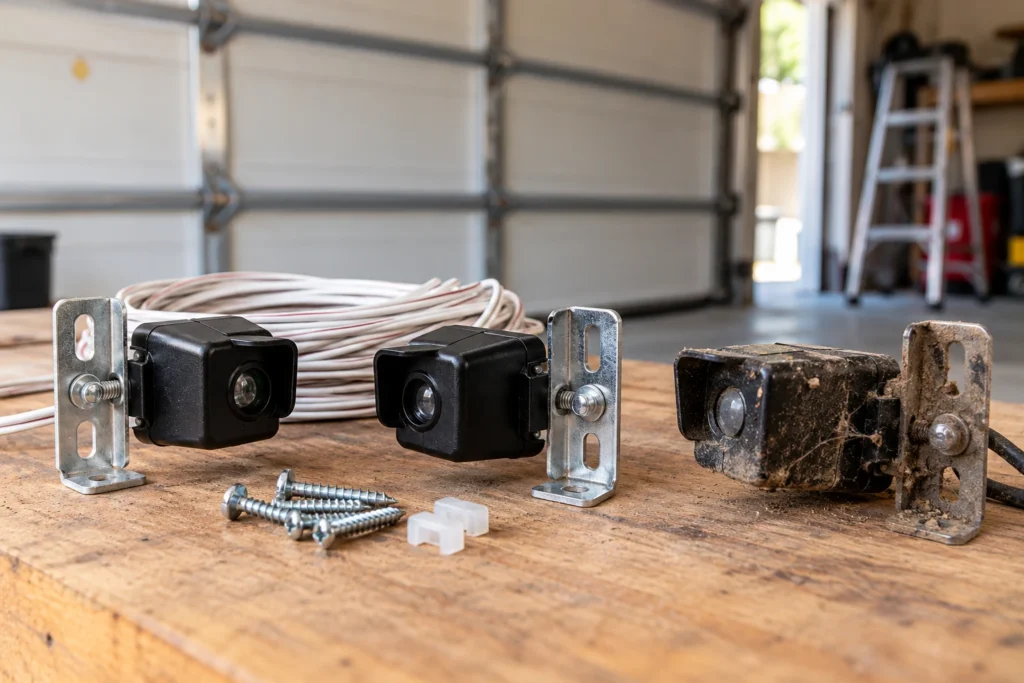
The genuine replacement is the Genie Safe-T-Beam GSTB-R kit (also sold as STB-BL, part 37334R). It fits Genie openers made since 1993 and runs about $38 to $45. Aftermarket copies cost $15 to $30. They are plug-in replacements — reuse your existing wiring and brackets, connect the wires to the new sensors, align them, and done. Be cautious with universal aftermarket sensors — some do not communicate correctly with older Genie logic boards even when the LEDs show solid. Genuine Genie or Genie-compatible sensors are the safest choice.
Before You Buy New Sensors: The Short-Wire Test
This 15-minute test tells you whether the problem is the sensors, the long wire run, or the opener itself. Technicians use it because it stops you from buying parts you don’t need.
- Unplug the opener from the ceiling outlet.
- Disconnect the two sensor wires from the back of the motor unit and note which terminal each one used.
- Take both sensors off their brackets and connect them to those same terminals with two short pieces of 2-conductor bell wire, about 3 feet each.
- Set the sensors on the floor or a step ladder, facing each other a few feet apart, with nothing between them.
- Plug the opener back in, watch the sensor LEDs, then try closing the door with the remote. Keep the door path clear while you test.
| Test Result | What It Means | Next Step |
|---|---|---|
| LEDs solid, remote closes the door | Sensors and opener are fine; the wall wire run is damaged | Run new 2-conductor wire from the opener to each sensor |
| LEDs off or flickering on short wire | One or both sensors have failed | Replace the sensor pair |
| New or known-good sensors still fail on short wire | The opener’s safety circuit or logic board is faulty | Replace the logic board or call a technician |
When the Logic Board Is the Problem
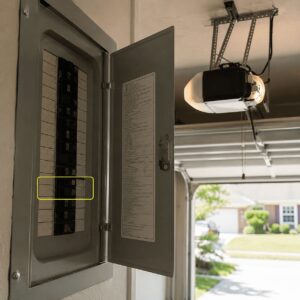
A logic board fault is the least common cause, but it’s the one people miss. Lightning strikes and power surges are the usual triggers, so suspect it if the problem started right after a storm or outage. Unplug the opener for 60 seconds first, since a simple power reset clears some glitches.
If the short-wire test points to the board, a replacement Genie logic board usually costs $80 to $200 depending on the model. Match the part number printed on your old board exactly. If the opener is more than 15 years old, a new opener often makes more sense than a new board, because the next part to fail is usually the drive gear or motor.
| Fix | DIY Suitability | Safety Risk | Cost | Time |
|---|---|---|---|---|
| Clear path and clean lenses | Safe for DIY | Low | $0 | 3 minutes |
| Realign sensors | Safe for DIY | Low | $0 | 5 minutes |
| Repair wiring | Safe for DIY | Low | $0 to $10 | 15 to 30 minutes |
| Shade sensor from sunlight | Safe for DIY | Low | $0 to $15 (sun shade) | 10 minutes |
| Adjust travel limits | Safe for DIY | Low | $0 | 10 minutes |
| Replace sensors | Safe for DIY | Low | $15 to $45 | 20 minutes |
| Logic board fault | Professional required | Medium | $80 to $200 | Service call |
For more detail on Genie sensor LED patterns and what they mean, see our guide on Genie sensor blinking red 3 times. If the opener is also having remote programming issues, our Genie no Learn button guide covers DIP switch and Intellicode programming.
Related Guides
For other Genie opener guides, see Genie Garage Door Sensor Blinking Red, Genie Garage Door Opener Beeping, Genie Garage Door Limit Switch Problems, Genie Cryptar II Garage Door Opener, Genie Model 450 Garage Door Opener, Best Genie Garage Door Opener, Genie Garage Door Opener Humming Sound, Does Genie Garage Door Opener Work With LiftMaster? and Genie Garage Door Opener Amp Draw.
For official manufacturer guidance, see The Genie Company’s official product support page.
Frequently Asked Questions
Why does my Genie garage door only close when I hold the button?
The Safe-T-Beam safety sensors are detecting a fault — either a broken beam, misalignment, wiring issue, or sunlight interference. Holding the wall button is a manual override that bypasses the sensor check. Fix the sensor issue and normal one-press operation is restored.
Is it safe to hold the button to close my Genie garage door?
As a short-term workaround, yes. The override requires continuous pressure so the closure is supervised. But do not use it as a permanent fix — the safety sensors exist to prevent injury and property damage if something enters the door path. Fix the underlying sensor fault as soon as possible.
How do I know if my Genie sensors are misaligned or broken?
Watch the LED on each sensor. The red transmitter should always be solid. The green receiver LED blinks when the beam is not reaching it correctly — that indicates misalignment or obstruction. If both LEDs are off with no power issue, the sensor or its wiring has failed and needs replacement.
Which Genie sensor replacement should I buy?
The Genie GSTB-R is the recommended replacement. It fits Genie openers made since 1993, costs about $38 to $45, and reuses your existing wiring. Aftermarket copies run $15 to $30, but quality varies. Avoid generic universal sensors that may not communicate correctly with older Genie logic boards.
Can I bypass the Genie sensors permanently?
No. Bypassing the sensors is a safety code violation under UL 325 and creates a genuine injury risk. If the door closes on a person or pet with sensors bypassed, the auto-reverse will not activate. The correct solution is to fix or replace the sensors, which takes about 20 minutes and usually costs under $45.
My Genie only has the problem in the afternoon. What is causing it?
This is sunlight interference. Strong afternoon sun floods the green receiver sensor with infrared light and overwhelms it, causing a false blocked-beam reading. Shade the sensor with a piece of cardboard taped above the lens, or add a slide-on sensor sun shade, which costs under $15.
Why does my remote open the Genie door but not close it?
Opening never checks the safety sensors, so a sensor fault only shows up when closing. The remote has no override, while the wired wall button lets you close by holding it down. Fix the sensor alignment, wiring or sensors and the remote will close the door again. If the remote does nothing at all, check the lock button on your wall console.