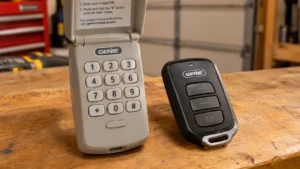

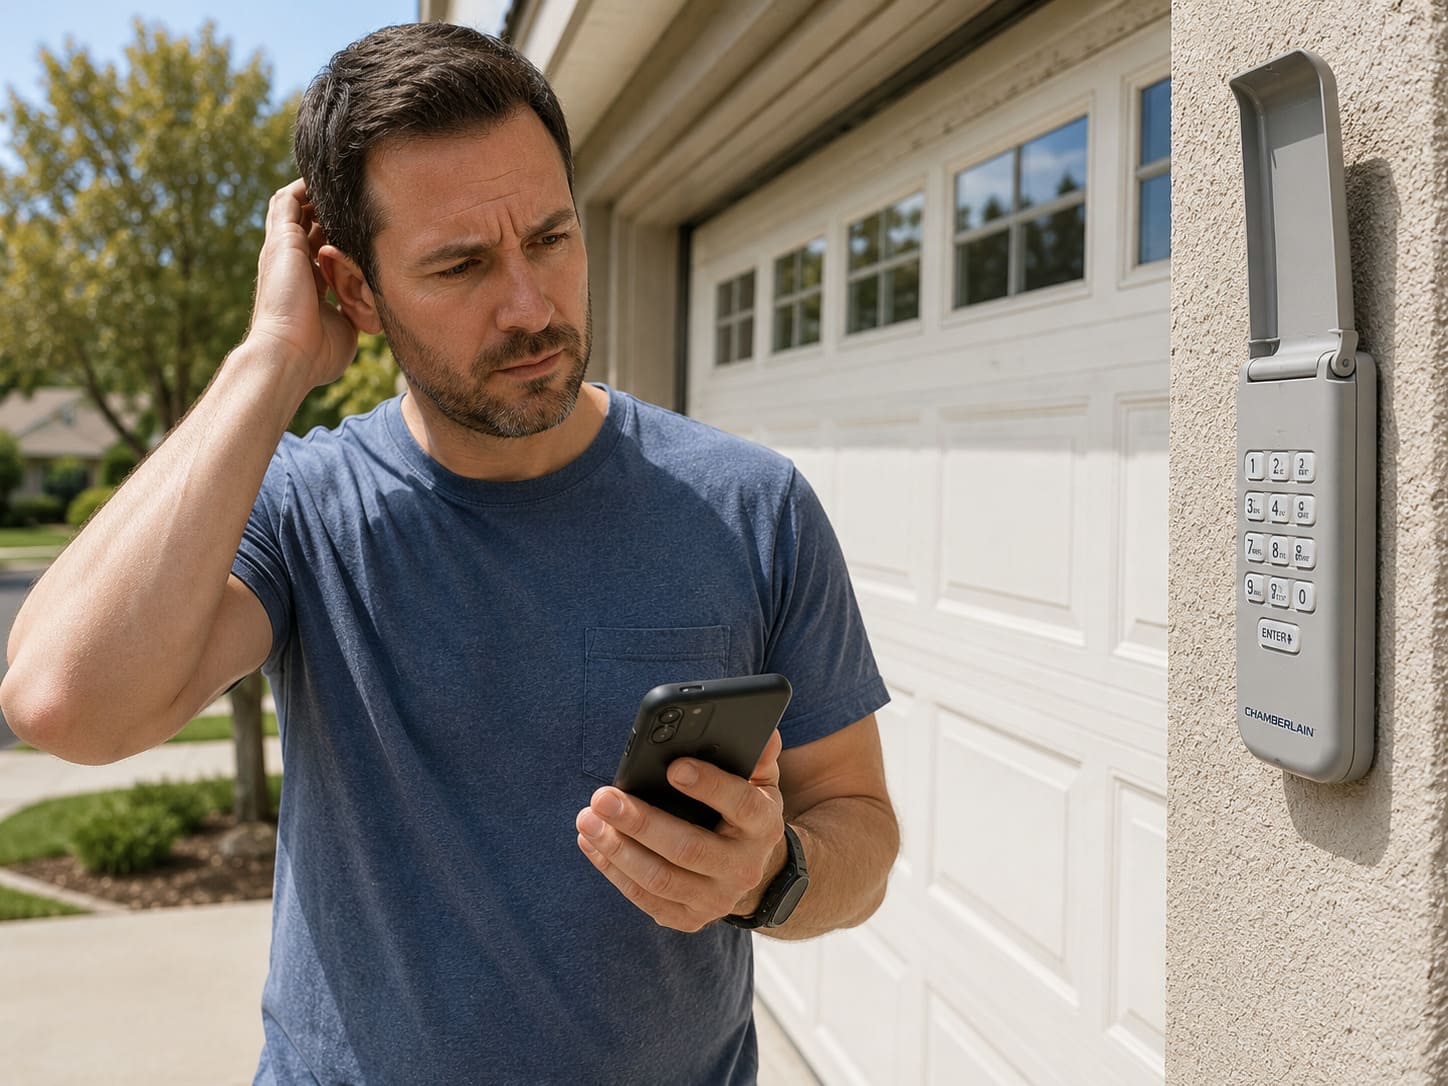
When a Chamberlain keypad stops opening the door, the cause is usually small: a dead battery, a keypad that lost its programming, or one worn-out number button. This guide walks through the causes Chamberlain lists in its own support articles, in the order worth checking, plus how to reprogram or change the PIN.
Short Answer: If your Chamberlain keypad is not working but the wall button opens the door, replace the keypad’s battery first (most use a 9-volt alkaline). Then reprogram the PIN using the Learn button. If it still fails, try programming a completely different PIN in case one button has died, and take the keypad off the wall to test for mounting interference. A door that will close but not open from the keypad usually means a temporary PIN has expired.
First Check: Does the Wall Button Work?
Press the wall-mounted door control inside the garage. If the door runs, the opener itself is fine and the problem is between the keypad and the opener. Chamberlain explains that the wall control is hard-wired, while the keypad talks to the opener’s receiver wirelessly, so it is normal for one to work while the other doesn’t (Chamberlain support). If the wall button doesn’t work either, the problem is the opener or its power, not the keypad; see how to reset a Chamberlain garage door opener.
Quick Diagnosis: Match Your Symptom
| What you see | Likely cause | Fix |
|---|---|---|
| Keypad doesn’t light up at all | Dead battery | Replace with a fresh 9V alkaline battery |
| New battery, keypad lights, door doesn’t move | Keypad lost its programming | Reprogram the PIN with the Learn button |
| Your usual PIN fails, but a new PIN works | One number button has failed | Use a PIN without that digit, or replace the keypad |
| Door closes from the keypad but won’t open | A temporary PIN has expired | Clear the opener’s memory and program the keypad again |
| Keypad works when held off the wall | Mounting surface interference | Add rubber grommets or mount it on a small piece of wood |
| Remotes stopped too; opener lights flash twice on a press | Lock (Vacation) mode is on | Turn off Lock on the wall control |
| Keypad and remotes stopped after someone held the Learn button | Opener memory was erased | Reprogram every remote and keypad |
| A brand-new keypad never worked | Not compatible with your opener | Check your Learn button color |
Fix 1: Replace the Keypad Battery
Chamberlain says a dead battery is the most common reason a keypad stops working. Most keypads use a 9-volt battery, though some older models use a 12-volt (source). LiftMaster’s battery guide adds a few details (source):
- Find the model number on the back of the keypad or inside the battery compartment; the cover comes off differently by model, and some need a small Phillips or flat-head screwdriver.
- Use only a high-quality alkaline battery.
- After the swap, check that the cover is secure and the keypad lights up when pressed.
- Enter your PIN to confirm the keypad still talks to the opener.
If the battery is fresh and the keypad still won’t work after the steps below, Chamberlain says the fault may be the keypad itself or the opener’s receiver logic board.
Fix 2: Reprogram the Keypad PIN
After a battery change, you may need to reprogram the keypad. Chamberlain gives two ways to set a 4-digit PIN (Chamberlain: How to Add, Program or Change a Keyless Entry PIN). Clear the door area of obstructions before you start.
From a wall control with a Learn button
- Find the LEARN button on the wall door control.
- Press LEARN twice. The Command LED will flash.
- Enter a 4-digit PIN on the keypad and press ENTER.
- The opener lights blink, which means the PIN is set.
From the Learn button on the opener
- Use a ladder to reach the opener and find the LEARN button (see where the Learn button is on a Chamberlain opener).
- Press and release LEARN. The LED turns on, and you have 30 seconds for the next step, so a helper at the keypad makes this easier.
- Enter a 4-digit PIN, then press and hold ENTER until the opener light blinks. The PIN is set.
Chamberlain’s article lists these steps for LiftMaster keypad models 376LM, 376LMC, 377LM, 377LMC, 877LM, 940LM, 940D, 940ESTD, 976LM and 976LMC. If your keypad has no ENTER button, see our keypad programming guide for models without an Enter button, and for universal keypads such as the KLIK2U, follow the instructions for that model.
If reprogramming doesn’t help, Chamberlain’s next step is to clear the opener’s memory and program the keypad again. Clearing memory also removes every remote, so you will need to reprogram those too.
Fix 3: Try a Completely Different PIN
A single number button can wear out. Chamberlain’s test is simple: program a completely different PIN. If the new one works, one of the digits in the old PIN has probably stopped working. Either keep using a PIN that avoids that button or replace the keypad.
Fix 4: The Door Closes but Won’t Open (Expired Temporary PIN)
A temporary PIN stops opening the door once it expires, but it can still close it. If that’s what you see, Chamberlain’s fix is to clear the memory and program the keypad again. When you set a temporary PIN on these keypads, you choose whether it lasts a number of hours or a number of uses (up to 255 of either), so it can run out sooner than you expect.
Fix 5: Test for Mounting Surface Interference
The surface the keypad is mounted on can interfere with its signal. Take the keypad off the wall and test it in your hand. If it works off the wall, Chamberlain suggests adding rubber grommets between the keypad and the wall, or mounting it on a small piece of wood.
Fix 6: Check Lock Mode and Radio Interference
If your remotes stopped working at the same time, check the Lock feature (also called Vacation mode). Chamberlain says that with Lock on, the opener ignores remote commands; signs include the opener lights flashing twice when you press a button and the command LED on the wall control flashing nonstop. To turn it off, press and hold the Lock button on the wall control until the indicator stops flashing or goes solid (source).
If wireless devices only work when you stand close to the opener, or only when the opener lights are off, radio interference is a likely cause. Chamberlain points to LED light bulbs as one common source. For more remote-side fixes, see LiftMaster garage door remote not working, which applies to Chamberlain openers too.
Fix 7: Make Sure the Keypad Is Compatible
A keypad that never worked may simply not match your opener. The color of the Learn button tells you which radio system the opener uses (Chamberlain learn button chart):
| Learn button | System | Years |
|---|---|---|
| White, round | Security+ 3.0 + Bluetooth | 2025+ |
| Yellow, round | Security+ 2.0 (310/315/390 MHz) | 2011 to 2025 |
| Purple / brown | Security+ 315 MHz | 2005 to 2014 |
| Red / orange | Security+ 390 MHz | 1997 to 2004 |
| Green | Billion Code 390 MHz | 1993 to 1997 |
| Square yellow/white or gray | DIP switch | Before 1993 |
Buy a keypad listed as compatible with that color. Also note that when an opener’s memory is full, Chamberlain home openers drop the oldest device to make room for the new one (source), so programming a new remote can quietly knock out an old keypad. See how many devices you can program to a LiftMaster or Chamberlain for details.
How to Change Your Chamberlain Keypad PIN
If the keypad works and you just want a new code, Chamberlain’s steps are:
- Enter the current PIN you want to change.
- Press and hold the # button until the opener light blinks twice.
- Enter the new 4-digit PIN and press ENTER. The opener lights blink once, and the PIN is changed.
Forgot the old PIN? You can still set a new one from the Learn button; see how to reset a Chamberlain keypad without the code.
Locked Out With a Dead Keypad
If you can’t get into the garage another way, Chamberlain notes that an opener that won’t respond to remotes or the keypad can’t be activated from outside unless an outside quick release (keyed trolley release) is installed (source). Use another entry door if you have one, and consider adding an outside release for next time.
Related Guides
- Chamberlain Keypad Reset Without Code
- LiftMaster Keypad Programming With No Enter Button
- How to Reset a Chamberlain Garage Door Opener
- Where Is the Learn Button on a Chamberlain Opener?
- How to Program a Garage Door Opener
Last verified: November 2, 2026, against Chamberlain and LiftMaster support articles linked above.
Frequently Asked Questions
Why is my Chamberlain keypad not working after I changed the battery?
You may need to reprogram it. Chamberlain says that after a battery change the keypad may need its PIN programmed again with the Learn button. If that fails, clear the opener’s memory and reprogram the keypad and all remotes.
Why does my Chamberlain keypad light up but the door won’t open?
A keypad that lights up has power, so the usual causes are lost programming, a failed number button, an expired temporary PIN (the door will still close), or mounting interference. Work through Fixes 2 to 5 above.
What battery does a Chamberlain keypad use?
Most use a 9-volt alkaline battery; some older models use a 12-volt. Check the model number on the back of the keypad or inside the battery compartment.
Why will my keypad close the garage door but not open it?
That is the sign of an expired temporary PIN. Chamberlain says an expired temporary PIN can still close the door but won’t open it. Clear the memory and program the keypad again.
Does reprogramming the keypad erase my remotes?
Programming a PIN with the Learn button doesn’t erase remotes. Clearing the opener’s memory does: holding the Learn button until its LED turns off erases all remotes and keypads, so you have to reprogram each one.