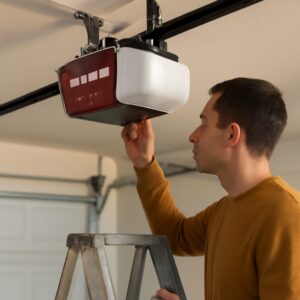

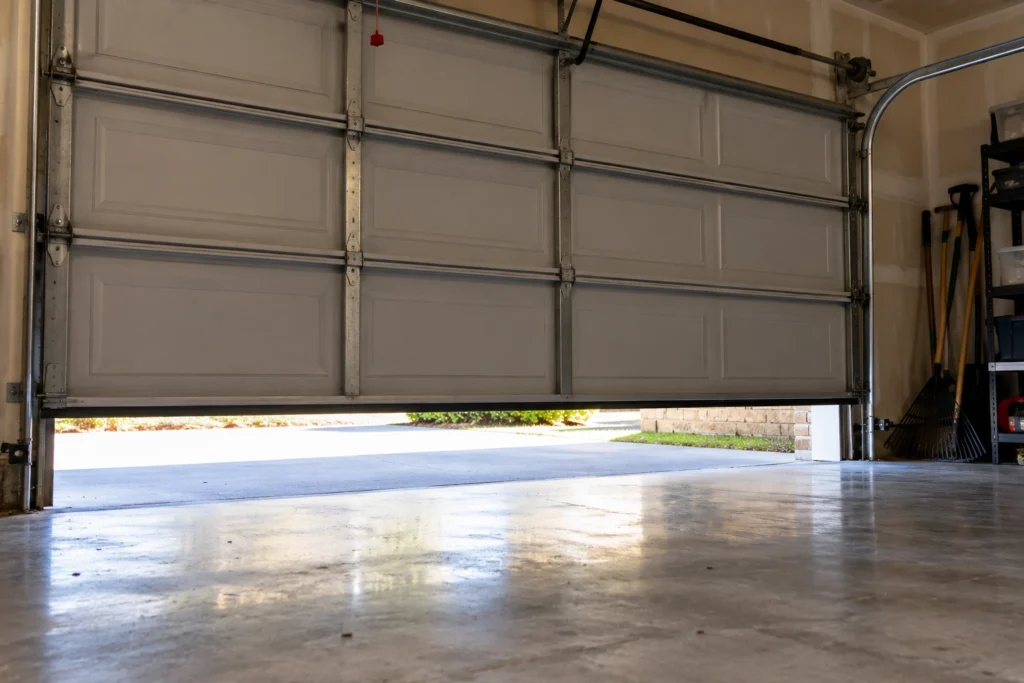
If your LiftMaster opener is flashing error code 1-5, it tried to move the door and the door didn’t move the way it expected. Most of the time the cause is the door itself, not the opener: a locked door lock, a broken spring, or a door that binds in its tracks.
This guide uses LiftMaster’s own diagnostic chart, so you can match your exact symptom to the right fix instead of guessing.
Short Answer: LiftMaster code 1-5 means the opener sensed the door was not moving correctly. First make sure the door’s manual lock isn’t engaged, then pull the emergency release and lift the door by hand. If it’s heavy, sticks or won’t stay put, fix the spring or track before touching the opener. If the door moves freely but the opener only clicks or hums, the logic board, travel module or motor is the likely problem.
What Error Code 1-5 Means
On LiftMaster openers with diagnostic arrows, the code is shown by the up and down arrow lights on the motor unit. The up arrow flashes the first number and the down arrow flashes the second, so 1-5 is one flash of the up arrow followed by five flashes of the down arrow. The opener shows the code on its own after a fault, so watch the arrows right after the door stops.
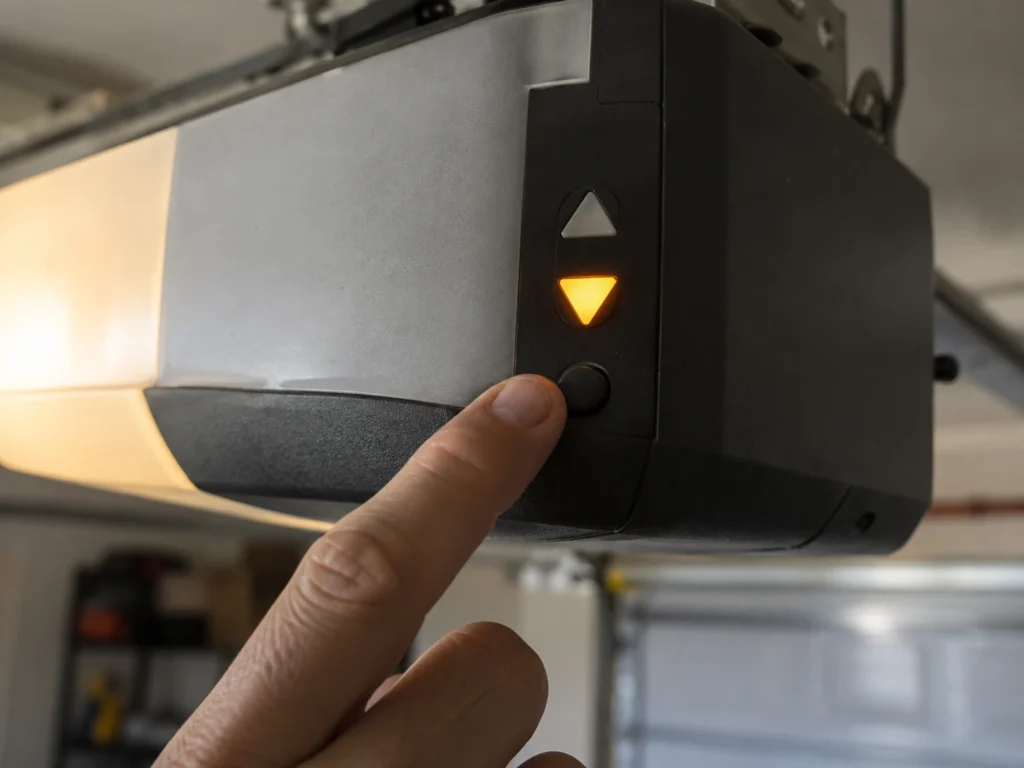
LiftMaster’s diagnostic chart groups codes by cause. The 1-1 to 1-4 codes point to the safety sensors and wall control wiring. Code 1-5 is different: it means the door didn’t travel the way the opener commanded, so the opener stopped to protect itself and you.
Match Your Symptom
The manual lists three ways a 1-5 shows up. What the opener does right before the code tells you where to look.
| What Happens | Most Likely Cause | First Check | DIY Suitability |
|---|---|---|---|
| Door moves 6 to 8 inches, then stops or reverses | Binding door, broken spring, door lock engaged, loose wiring | Lock, springs, tracks, wire connections | Safe for DIY (not springs) |
| No movement, only a single click | Binding door, or failed travel module or logic board | Lift door by hand, then check the board | Partly DIY |
| Opener hums for 1 to 2 seconds, no movement | Binding door, or failed motor or capacitor | Lift door by hand, then check the motor | Professional recommended |
Step 1: Reset the Power
Unplug the opener from the ceiling outlet, wait 60 seconds and plug it back in. A reset clears a one-off glitch and doesn’t erase your remotes or myQ settings.
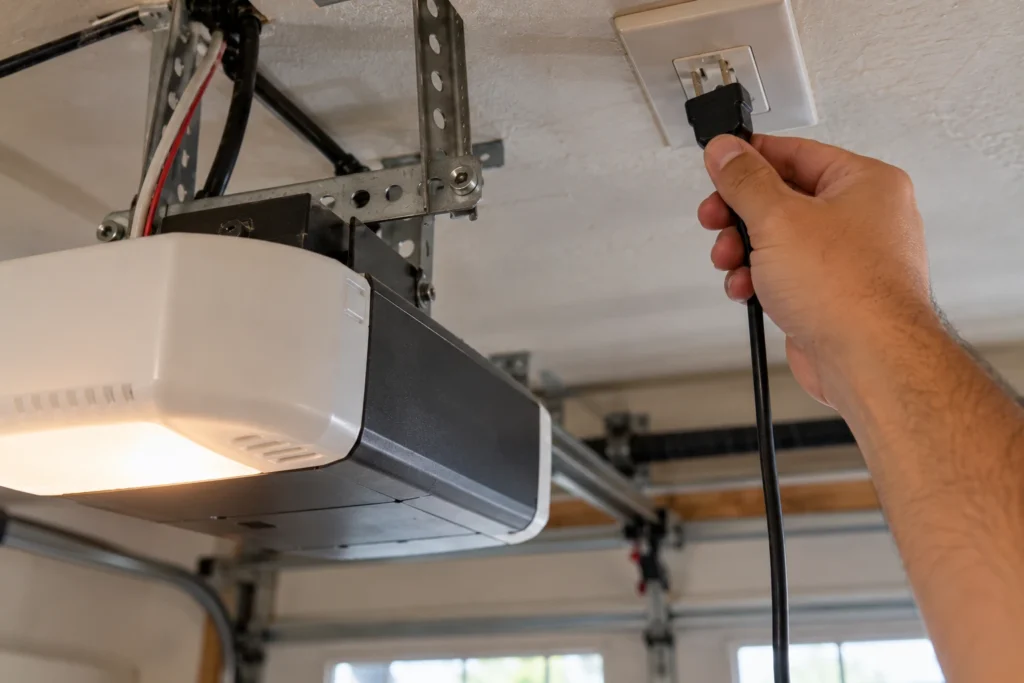
Run the door with the wall control while you watch it. If the code clears and the door runs normally through several cycles, you’re done. If 1-5 comes straight back, keep going.
Step 2: Check the Door Lock and Obstructions
This is the fix most guides skip. Many garage doors have a manual slide lock or a T-handle lock that shoots a bar into the track. If it’s engaged, the door can only move a few inches before it jams, which is exactly the 6 to 8 inch stop the manual describes. Unlock it fully, or remove the lock if you never use it.
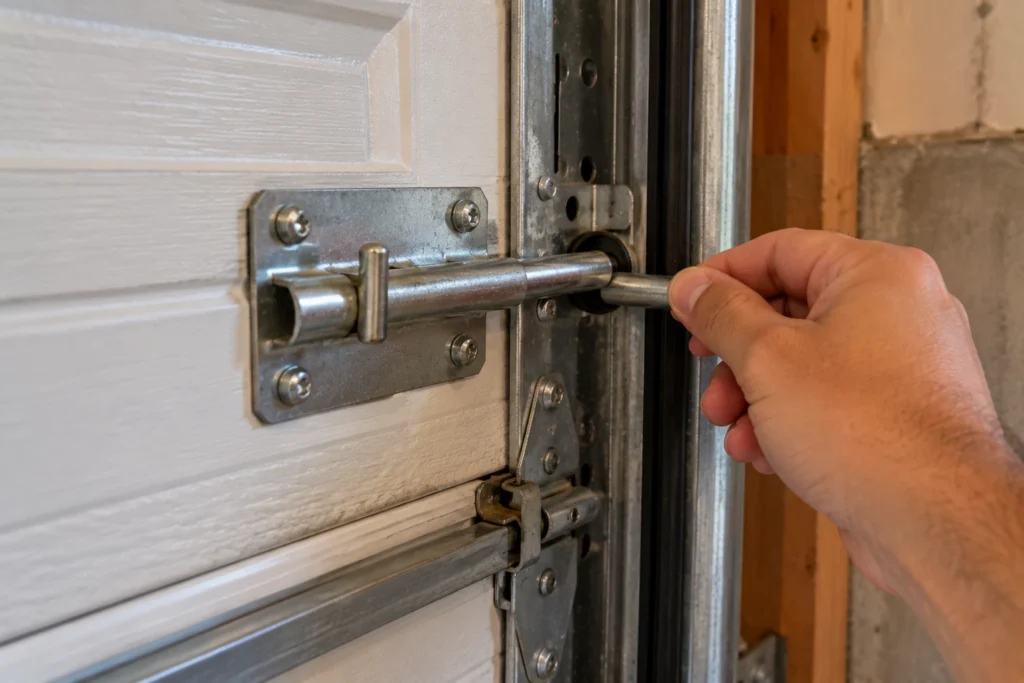
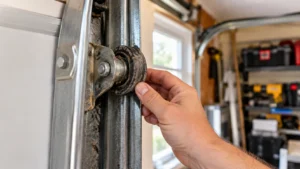
Then walk the length of both tracks. Look for anything wedged in them, a bent section, a roller that has jumped out, or something leaning against the door. Clear anything you find and test again.
Step 3: Test the Door by Hand
With the door closed, pull the red emergency release cord to disconnect the door from the opener. Lift the door by hand. A healthy door lifts smoothly with one hand and stays roughly in place when you let go halfway up.
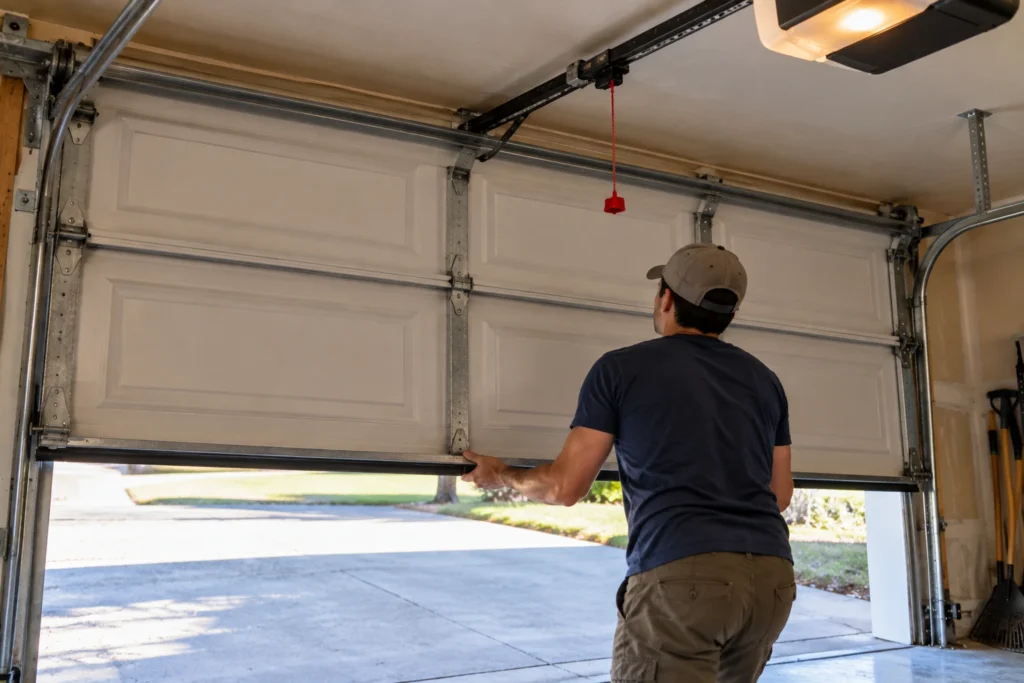
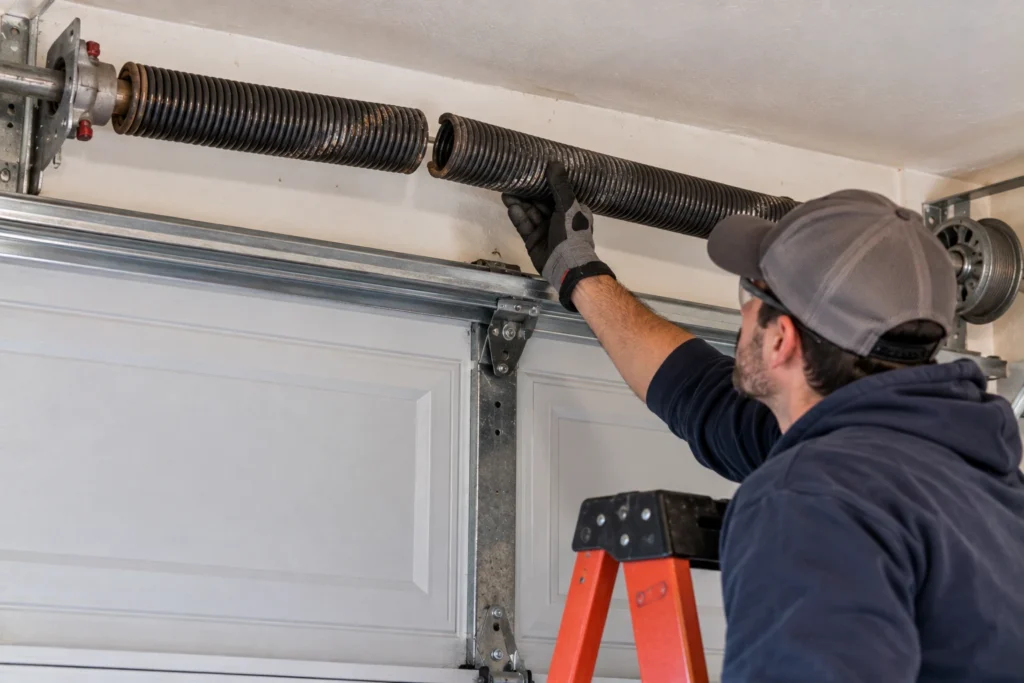
If the door feels very heavy, drags, or drops when you let go, the springs are broken or worn, or the door is binding. An opener can’t lift a door its springs aren’t holding, so it will keep throwing 1-5 until that’s fixed. Look up at the torsion spring above the door; a gap in the coil means it has snapped.
Safety warning: never adjust or replace a torsion spring yourself. It’s under enough tension to cause serious injury. A professional spring replacement usually costs $150 to $350.
Step 4: Re-engage the Trolley and Check the Rail
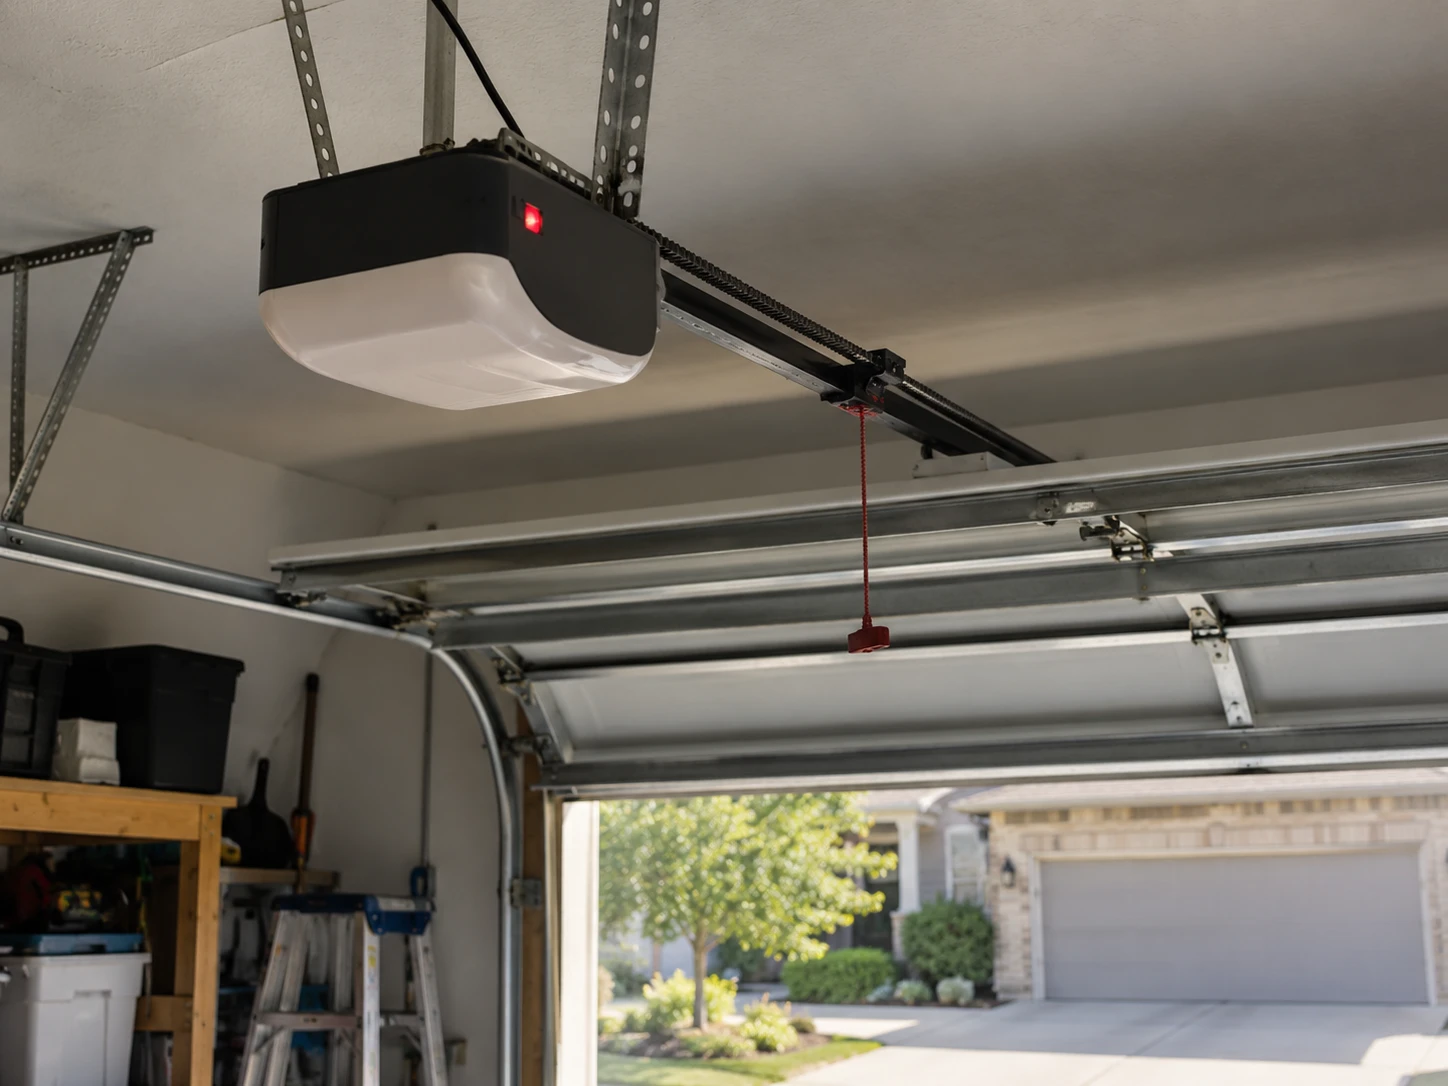
Once the door moves freely by hand, reconnect it to the opener. Pull the release cord toward the opener to set the trolley, then run the opener; the trolley will click back into the carriage. Forgetting this after a power outage is common, and a half-engaged trolley can make the door stutter.
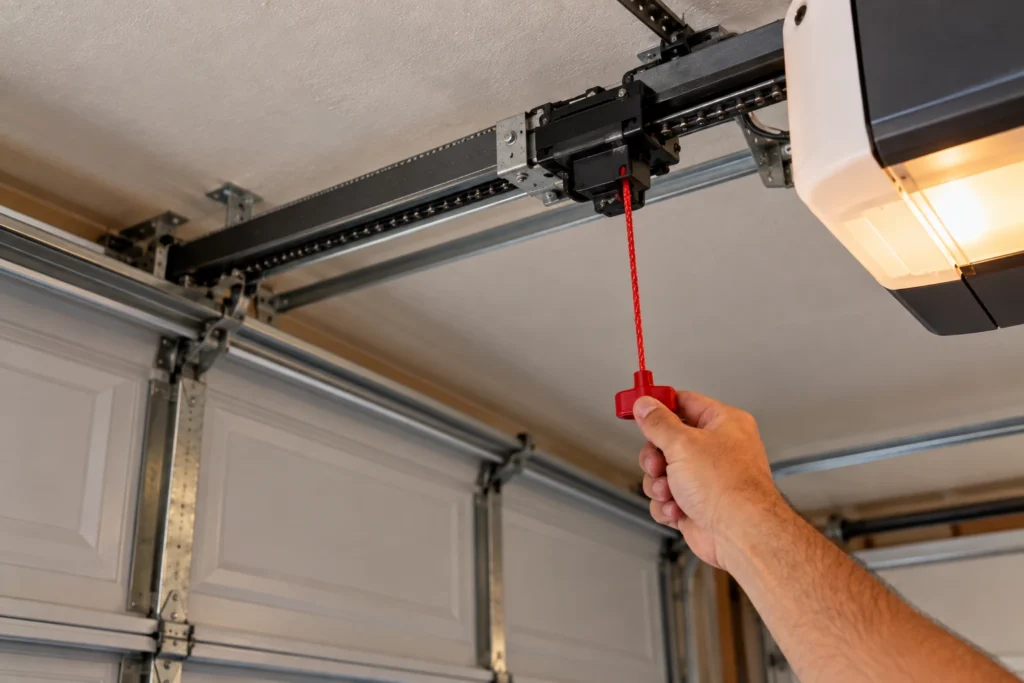
While you’re there, check the rail. It should be straight and firmly mounted at the header bracket and the ceiling hanger. A loose header bracket lets the rail flex, so the door starts, stalls and reverses. Also open the light cover with the opener unplugged and make sure the wires and connectors are seated, since the chart lists loose wiring as a 1-5 cause too.
If the Opener Only Clicks or Hums
If the door moves freely by hand but the opener still won’t move it, the problem is inside the opener.
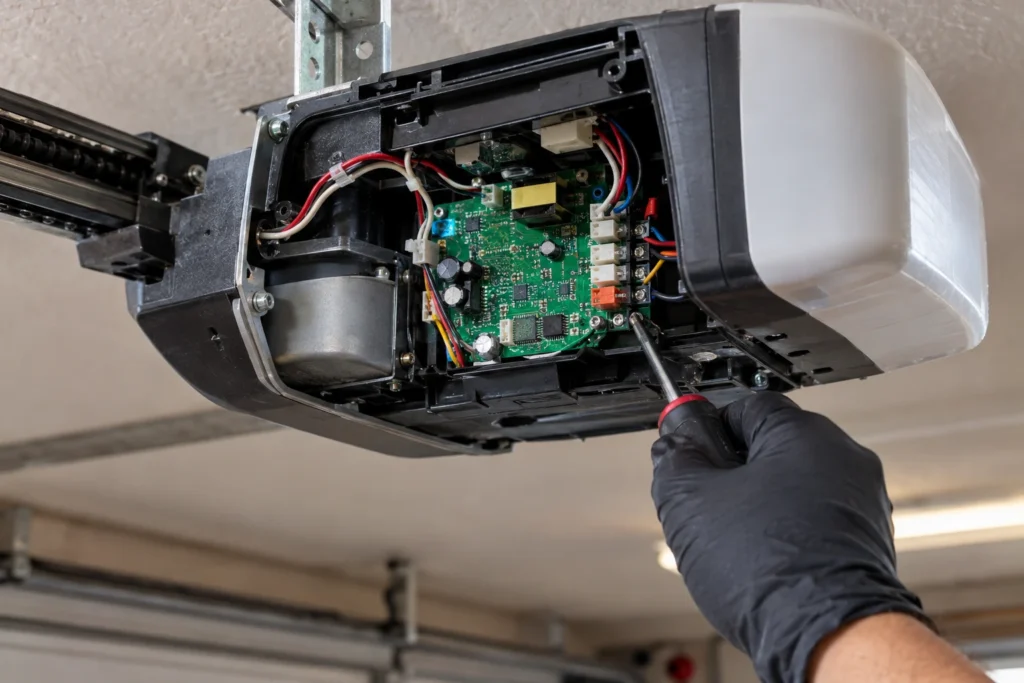
A single click with no movement points to the logic board or the travel module, the part that tracks the door’s position. The chart’s fix is to replace the travel module or logic board. A hum for 1 to 2 seconds with no movement points to the motor. On older AC openers, a failed start capacitor causes the same hum and is a much cheaper part, so a technician will usually test that first.
| Repair | DIY Cost | Professional Cost | Time |
|---|---|---|---|
| Unlock door or clear track | $0 | $75 to $120 service call | 5 minutes |
| Replace rollers | $20 to $40 | $100 to $200 | 1 to 2 hours |
| Torsion spring replacement | Not recommended | $150 to $350 | 1 hour |
| Travel module | $30 to $60 | $120 to $200 | 30 minutes |
| Logic board | $80 to $200 | $200 to $350 | 1 hour |
| Motor or capacitor | Not recommended | $150 to $350 | 1 to 2 hours |
LiftMaster Error Code Chart
If your opener is flashing a different code, here’s what LiftMaster’s chart says about the others. Codes vary slightly between models, so check your own manual if one doesn’t match.
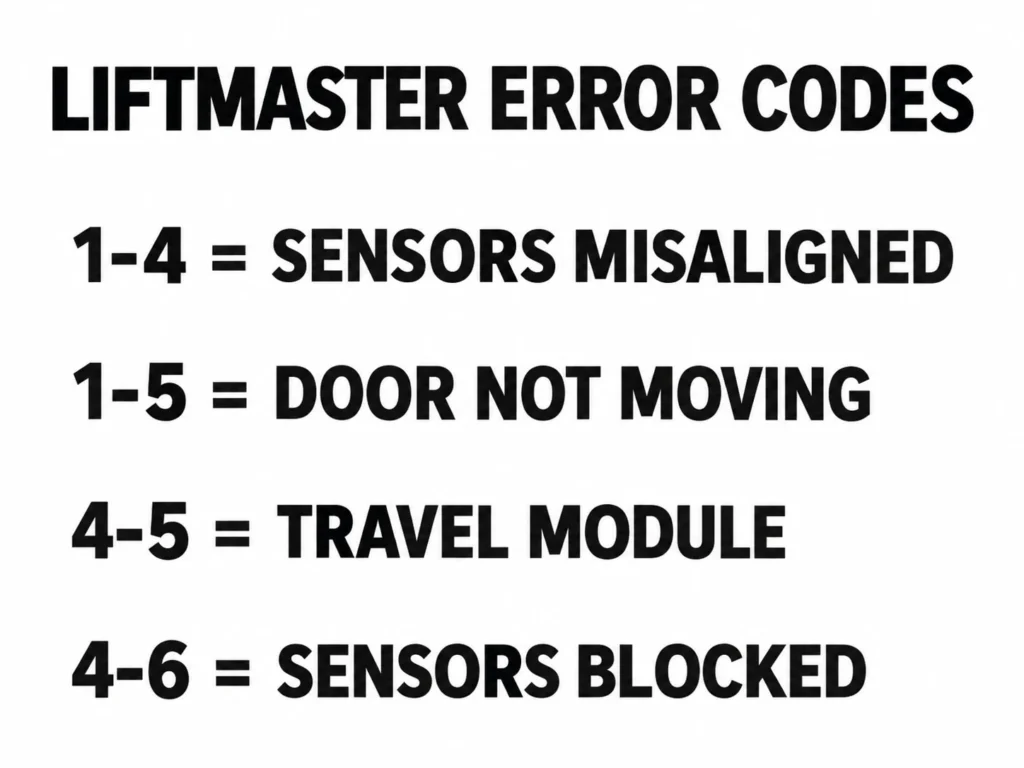
| Code | What It Means | What to Do |
|---|---|---|
| 1-1 | Safety sensors not installed, connected, or wire cut | Check sensor wires for a break |
| 1-2 | Sensor wires shorted or reversed | Check wires at every staple and terminal |
| 1-3 | Door control wires shorted or door control faulty | Check wall control wiring |
| 1-4 | Safety sensors misaligned or briefly blocked | Realign until both LEDs are steady |
| 1-5 | Door not moving correctly | Check lock, springs and binding, then board or motor |
| 1-6 | Door coasts after stopping | Reprogram travel or have the door balanced |
| 2-1 to 2-5 | No movement or sound | Logic board replacement |
| 3-1 | Moves slightly, then stops | Try again; logic board if it repeats |
| 3-5 | Door reverses on close only | Check cable tension monitors |
| 4-1 to 4-4 | Door stops or reverses, beeps and flashes | Check for binding; reprogram travel |
| 4-5 | Runs 6 to 8 inches, then stops and reverses | Check travel module connections |
| 4-6 | Sensors misaligned or blocked | Realign the safety sensors |
For more on specific codes, see our guides to LiftMaster error code 4-1, LiftMaster error code 4-2 and the LiftMaster 10 blinks error.
When to Call a Professional or Replace the Opener
Call a technician if the springs are broken, the door won’t move freely by hand, or the opener only clicks or hums with a free-moving door. In our experience helping homeowners with 1-5 codes, a stuck lock or a broken spring turns up far more often than a failed board, so it’s worth ruling those out before you pay for electronics.
If the opener is more than 12 to 15 years old and needs a logic board or motor, replacing the whole unit often makes more sense. A new opener adds battery backup and smartphone control for not much more than a major repair. Our best garage door opener for heavy doors guide covers current options, and our guide on whether a garage door opener needs a dedicated circuit covers the electrical side.
Frequently Asked Questions
What does LiftMaster error code 1-5 mean?
It means the opener tried to move the door and the door didn’t move correctly. LiftMaster’s chart lists three versions: the door moves 6 to 8 inches and stops or reverses, the opener only clicks, or the opener hums for a second or two without moving the door.
Can a locked garage door cause error code 1-5?
Yes. LiftMaster’s chart names a door lock as a cause. If a slide lock or T-handle lock is engaged, the door jams after a few inches and the opener stops with a 1-5. Unlock it fully and run the door again.
How do I read the error code on my LiftMaster?
On models with diagnostic arrows, the up arrow flashes the first number and the down arrow flashes the second. For 1-5, the up arrow flashes once and the down arrow flashes five times. The opener displays the code by itself after a fault.
Will unplugging the opener erase my remotes?
No. A 60-second power reset doesn’t erase remote codes or myQ settings. They’re stored in memory that keeps its data without power.
Can I open the door while it shows error code 1-5?
Yes. Pull the red emergency release cord and lift the door by hand. If it’s very heavy, don’t force it; that usually means a broken spring. Remember to reconnect the trolley afterward.
Why does error code 1-5 keep coming back?
If it returns after every reset, something is still physically wrong or a part has failed. Recheck the lock, springs and tracks. If the door moves freely by hand, the logic board, travel module or motor is the likely cause and needs a technician.
Related Guides
For other LiftMaster guides, see LiftMaster Garage Door Chain Not Moving, LiftMaster Garage Door Won’t Close Without Holding Button, LiftMaster Garage Light Won’t Turn On, LiftMaster 1/2 HP Troubleshooting, LiftMaster 1/3 HP Troubleshooting, LiftMaster 375UT Not Working and How Many Remotes Can You Program to a LiftMaster?
For official manufacturer guidance, see LiftMaster’s support center.