Programming a garage door opener takes about five minutes and almost never needs a technician. What the process looks like depends on one thing: whether your opener has a learn button on the motor unit. Most openers built after 1993 do, and that is the method covered first below.
If your opener is older, the learn button is broken, or you cannot reach the motor unit, there are three other routes that work — DIP switches, the wall console menu, and a universal remote. All of them are covered further down.
Short Answer: On most openers, press and release the learn button on the motor unit until its LED glows steadily, then within 30 seconds press and hold the button on your remote until the opener lights flash or you hear two clicks. That pairs the remote. Openers made before 1993 have no learn button and use DIP switches instead — you match the tiny toggle pattern in the remote to the one in the receiver box.
How to Program a Garage Door Opener With the Learn Button
This is the standard method and it works the same way across LiftMaster, Chamberlain, Craftsman and most other major brands. The learn button sits on the motor unit itself, usually under the light cover or on the back panel, next to a small LED. Its colour varies by production year — yellow, purple, red, orange or green — but the steps do not change with the colour.
Step 1: Find the learn button on the motor unit
You will need a ladder. Look on the back or side of the motor head, often behind a removable light lens. You are looking for a small square button with an LED beside it, usually labelled LEARN.
Step 2: Press and release it — do not hold it
Press the learn button and let go immediately. The learn LED should come on and stay lit steadily. Holding the button down for several seconds does something different: it erases every remote and keypad already paired to the opener, so a quick tap is what you want here.
Step 3: Press your remote within 30 seconds
You now have a 30-second window. Press and hold the button on the remote you want to pair. Keep holding until the opener lights flash or you hear two clicks — that is the confirmation the pairing saved.
Step 4: Test it, and retry properly if it failed
Press the remote from a normal distance and watch the door respond. If nothing happens, do not immediately press the learn button again — wait for the learn LED to switch off first, then start over from step 2. Pressing it again while it is still lit is the most common reason a second attempt fails too.
How to Program a Wireless Keypad
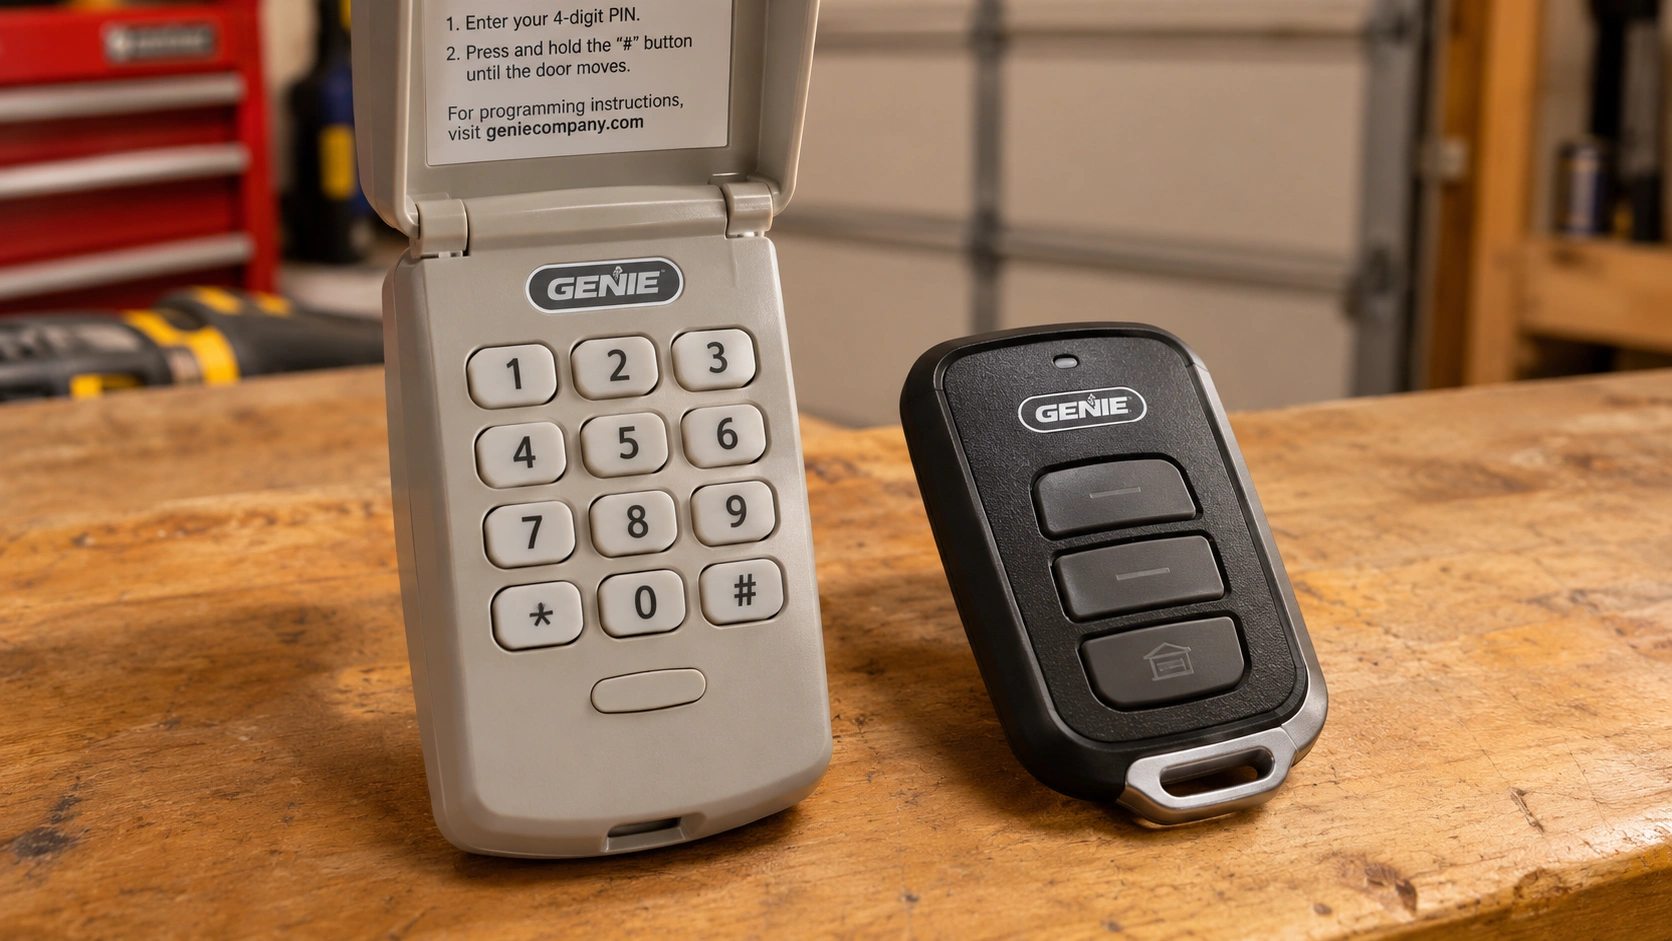
A keyless entry pad pairs the same way, with one extra step: you choose the PIN. Tap the learn button once so its LED glows, then go to the keypad within 30 seconds, enter the four-digit PIN you want, and press and hold ENTER until the opener lights flash. Some models want you to press ENTER once rather than hold it, so if the first attempt does not take, try the single press before assuming the keypad is faulty.
There is no universal factory PIN that works across brands, despite what a lot of pages online claim. Openers that ship with a preset code print it on a sticker on the keypad or in the manual for that specific model. If you have lost it, programming a new PIN with the steps above replaces it.
If you are specifically resetting a Chamberlain keypad and no longer have the old code, our guide on resetting a Chamberlain keypad without the code walks through that case in detail.
What If There Is No Learn Button?
Three situations put you here: the opener predates 1993 and never had one, the button has failed, or the motor unit is mounted somewhere you realistically cannot reach. Each has its own workaround, and the rest of this guide covers all three — DIP switches for old units, the wall console menu for newer LiftMaster and Chamberlain models, and a universal remote with a brand code. Not sure which applies to you? Our guide on whether all garage doors have a learn button helps you identify what you have.
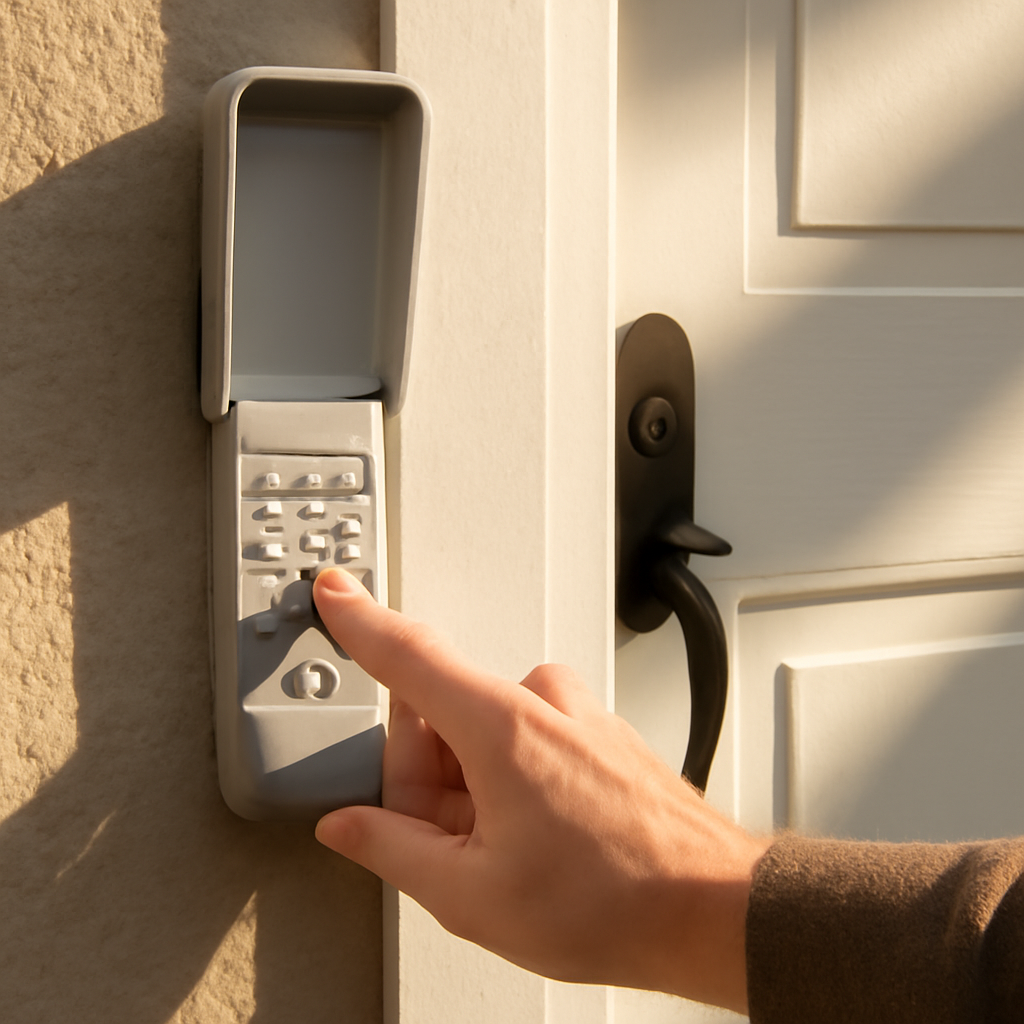
Programming With DIP Switches (Pre-1993 Openers)
If your opener predates 1993, it almost certainly does not have a learn button at all. These older systems rely on a small bank of DIP switches — tiny toggle switches, usually 8 to 12 of them — hidden inside both the remote and a separate receiver box. The receiver box is often mounted on the garage wall or ceiling, separate from the motor head itself. Matching the switch pattern on both units is how the two devices “learn” each other.
Step 1: Find the External Receiver Box
Look for a small plastic box wired near the motor unit, not the motor head itself. Older Chamberlain and Craftsman models often placed this receiver separately so it could be swapped without replacing the whole opener.
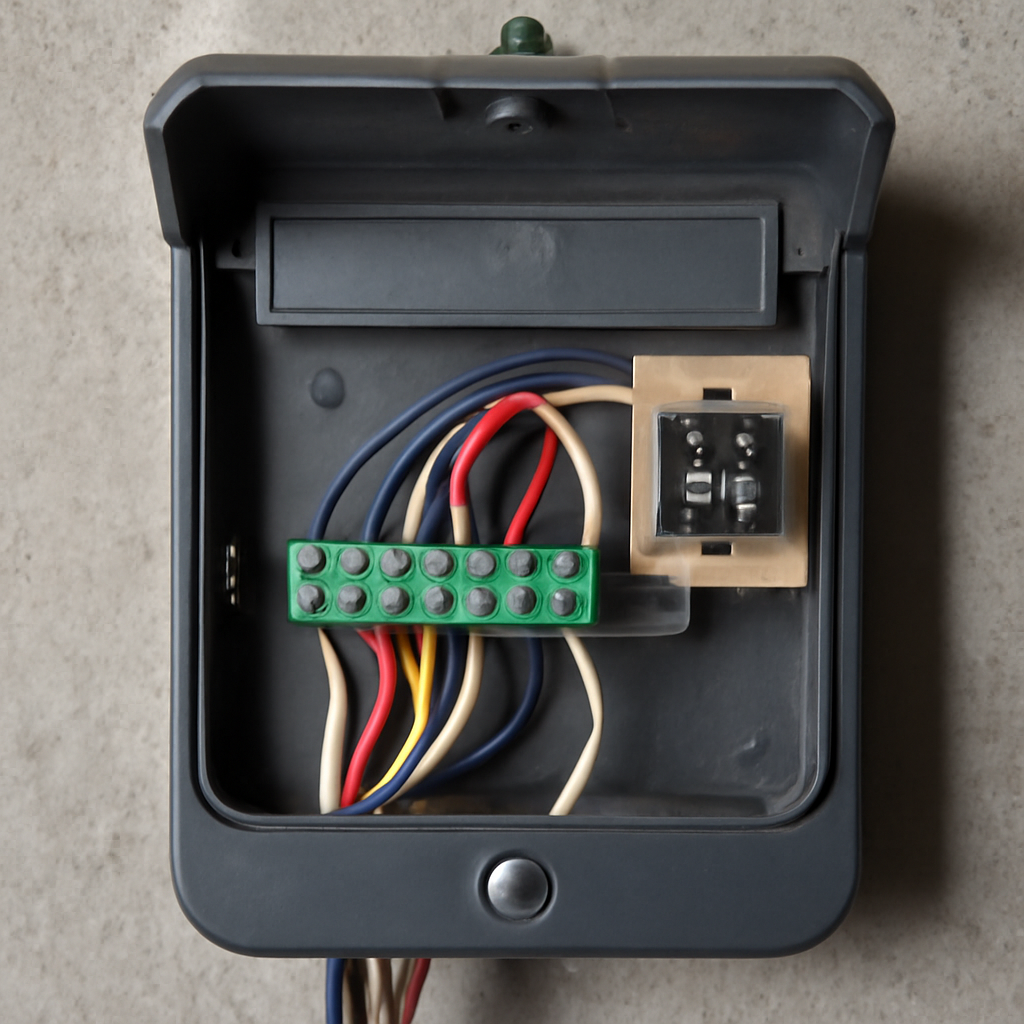
Step 2: Open Both Switch Panels
Remove the battery cover on the remote to expose its DIP switches. Then open the receiver box cover. You’ll see two rows of tiny toggles, each in the “up” or “down” position.
Step 3: Match the Switch Pattern
Using a small screwdriver or pen tip, set each switch on the remote to match the exact pattern on the receiver — switch 1 to switch 1, switch 2 to switch 2, and so on. Every single switch has to line up. Even one mismatched toggle will stop the remote from working.
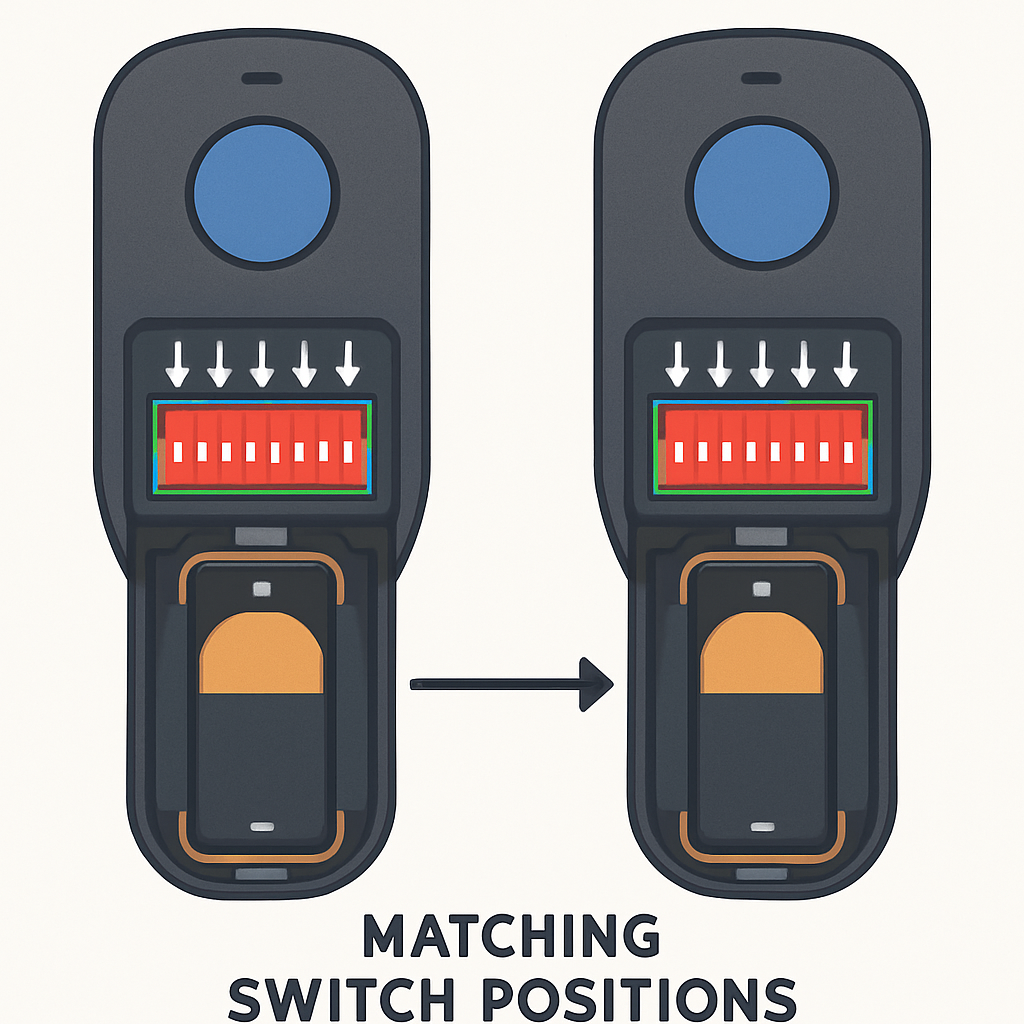
Step 4: Test the Remote
Close both covers and press the remote button. No further programming step is needed with DIP switches — if the patterns match, the door should respond immediately.
Programming Through the Wall Console Menu
Many newer LiftMaster and Chamberlain openers ship with a multi-function wall console — the wired panel by your entry door — that can program a keypad without you ever touching the motor unit or its learn button.
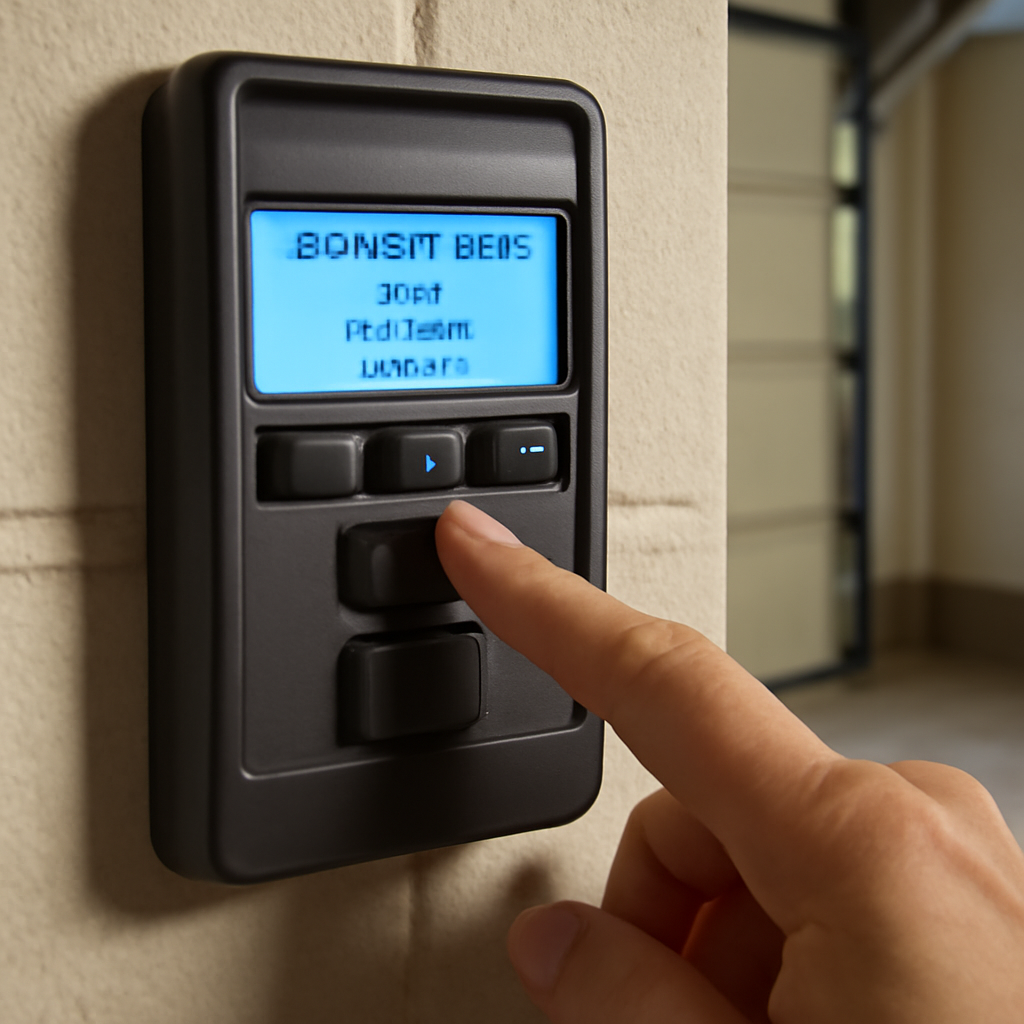
Press the Menu button on the console (on some models this is the down arrow). Scroll to Program and press Enter. Scroll again to Keypad and press Enter. Type your new 4-digit PIN directly on the console and press Enter to save it. Walk outside and test the code on the keypad — the door should open right away.
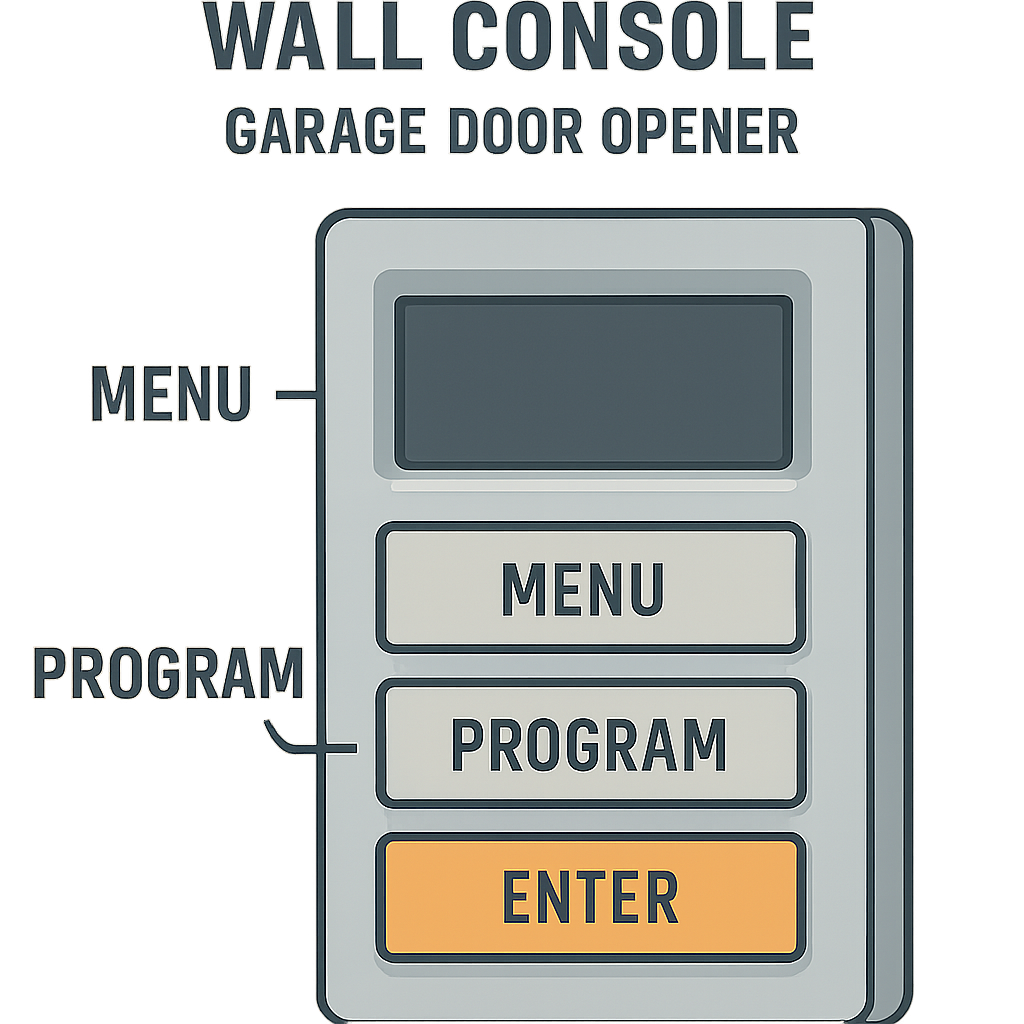
If your wall console is a basic doorbell-style panel without a menu, it can still program a keypad. Press and hold the light button together with the door button until you hear a click, then release. Go to the keypad, enter your PIN, and press and hold Enter until the opener’s light blinks to confirm the save.
Using a Universal Remote With a Brand Code
A universal remote is a good workaround when the learn button is broken or missing entirely, since it doesn’t rely on that button at all. Instead, it uses a manufacturer-specific code from its included manual.
Check the remote’s manual for a list of garage door opener brands and their matching codes. Find your brand — LiftMaster, Chamberlain, Genie, Craftsman, and Wayne Dalton are all commonly listed. Enter the code shown for your brand, then press the remote button to test it. If nothing happens, try the next code listed for your brand, since some manufacturers used more than one code across different production years.
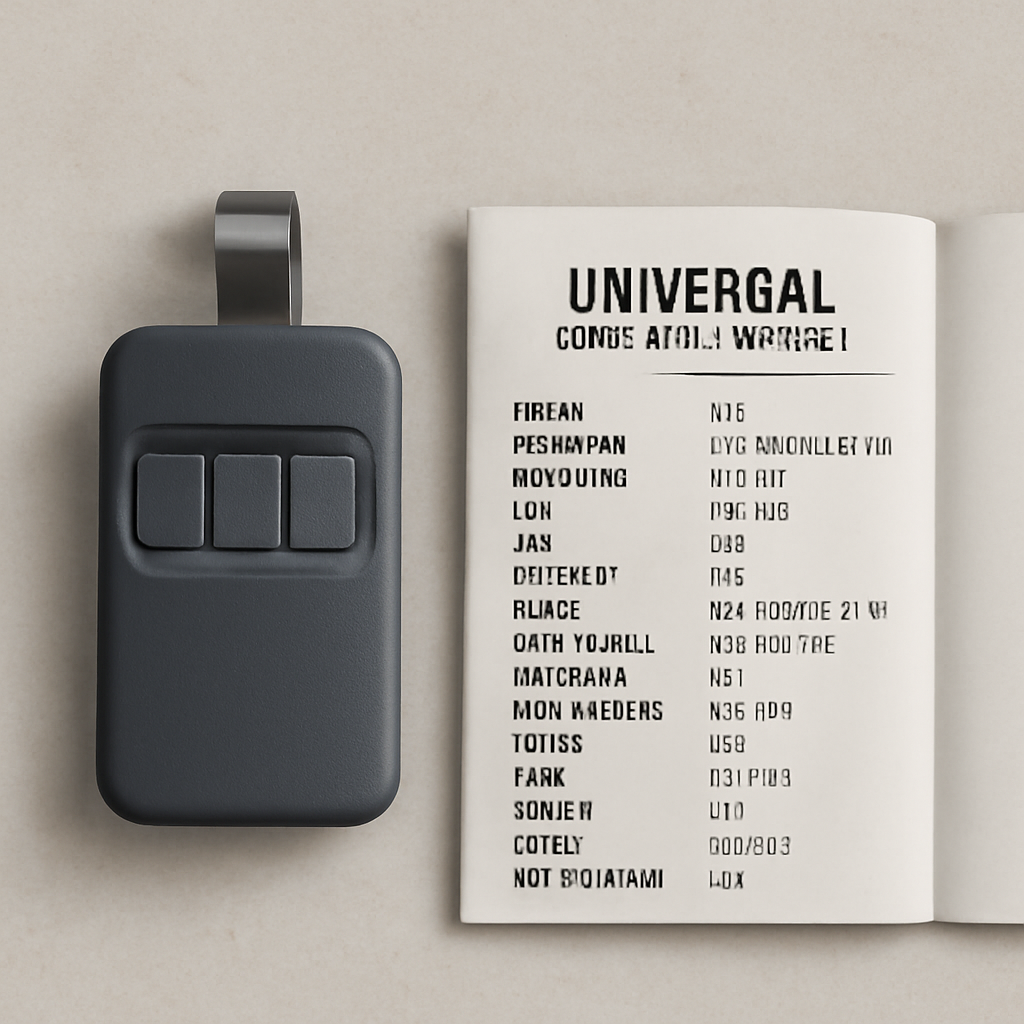
One thing to keep in mind: most openers made after the late 1990s use rolling code technology, which changes the security code every time the remote is used. This stops anyone from copying your signal. A quality universal remote will still work with rolling code systems, but it needs to run through its compatibility mode first — check the manual for that specific step before assuming the remote is faulty.
| Field | Detail |
|---|---|
| DIY Suitability | Safe for DIY — no special tools or technician needed |
| Safety Risk Level | Low |
| Time Estimate | 5–10 minutes per remote or keypad |
| Cost | $0 if you have the remote or keypad; $15–$40 for a replacement remote if needed |
FAQ
Which Method Should You Use?
Start with the learn button if your opener has one — it is the fastest route and it is what the manufacturer intends. Drop to DIP switches only if the opener predates 1993, use the wall console when the motor unit is out of reach, and keep a universal remote in mind when the learn button itself has failed.
One caution worth repeating: a long press on the learn button wipes every paired remote and keypad on the opener, not just the one you are working on. If the door suddenly stops responding to a remote that used to work, that erase is usually what happened — re-pair each device one at a time with the 30-second method above.
Related Guides
For more general opener troubleshooting guides, see How to Fix Garage Door Jerks When Opening?, 5 Best Solutions for Garage Door Leaking Corners, How to Use A Garage Door Opener App Without Hardware?, What to do when Garage Door Opener Screws Pulled out of Door, Attaching Garage Door Opener Clip for Thick Visor, How to Fix Garage Door Opener Rail Bending Problems, The Problem with the Garage Door Shifted to One Side, Is a Solar Powered Garage Door Opener Worth It?, Best Position for Garage Door Lighting Placement and Can You Replace Garage Door With French Doors?.
For official manufacturer guidance, see the Door and Access Systems Manufacturers Association (DASMA).