

Programming a LiftMaster keypad with no Enter button is straightforward once you know the trick: newer LiftMaster keypads replaced the Enter key with a dedicated lock icon button or use the up arrow as the confirmation press. This guide covers every current LiftMaster keypad model and what to do if the standard method does not work.
Short Answer: On LiftMaster keypads without an Enter button, press the Learn button on your opener motor, then enter your PIN on the keypad and press the up/down arrow or the lock icon button to confirm. The opener light will flash twice to confirm programming. Takes about 60 seconds.
Why LiftMaster Removed the Enter Button
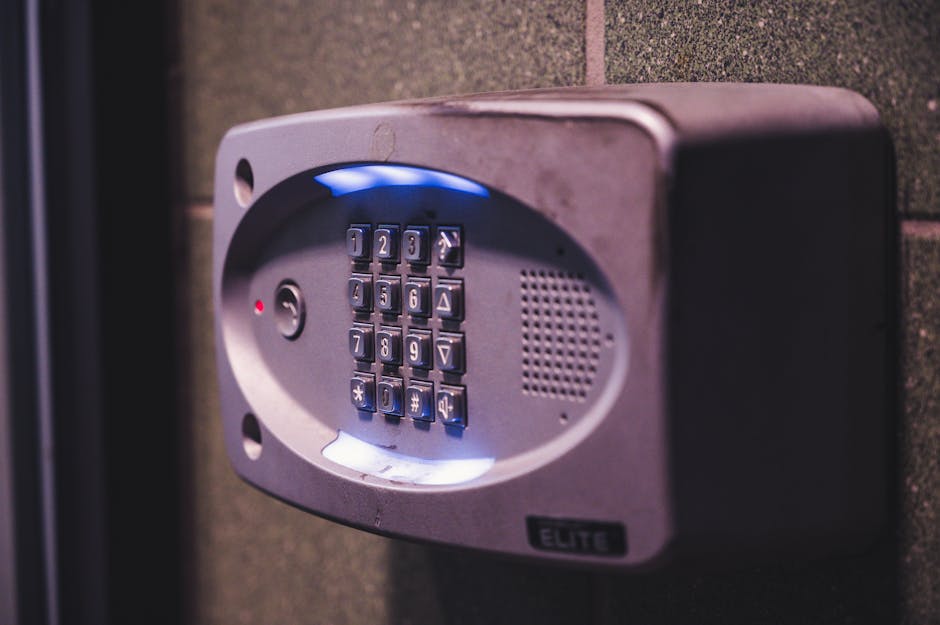
LiftMaster redesigned their wireless keypads around 2015 to improve weather resistance and simplify the layout. The Enter key was eliminated in favor of a directional button (up/down arrow) that doubles as the confirmation key. Some models use a lock icon instead. The programming logic is identical — only the button name changed.
Current LiftMaster keypads without Enter buttons include the 877MAX, 387LM, and 387LMC models. The 877MAX is the most common — it uses the up arrow as the Enter substitute. Homeowners who bought a house with an unfamiliar keypad often assume it is broken simply because the Enter label is missing.
How to Program a LiftMaster Keypad With No Enter Button
This method works for all LiftMaster keypads made after 2015. You need access to the Learn button on the opener motor unit, usually mounted on the garage ceiling near the rail.
Step 1 — Locate the Learn button
Find the Learn button on the back or side of your LiftMaster motor unit. Note its color — it identifies your security system and confirms your keypad is compatible.
| Learn Button Color | Model Series | Press Count to Program |
|---|---|---|
| Yellow | Security+ 2.0 (myQ) | 1 press |
| Purple | Security+ 315 MHz | 1 press |
| Red / Orange | Security+ 390 MHz | 1 press |
| Green | Legacy 390 MHz | 1 press |
Step 2 — Press the Learn button once
Press and release the Learn button. The indicator LED will turn on and stay on for 30 seconds. You must complete the next step within that window, so have your PIN ready before you press it.
Step 3 — Enter PIN and confirm on the keypad
Walk to the keypad and enter your desired 4-digit PIN. Then press and hold the up arrow button (or the lock icon on your model) for 3 seconds. The opener light will flash twice. That double flash confirms your PIN is saved and programming is complete.
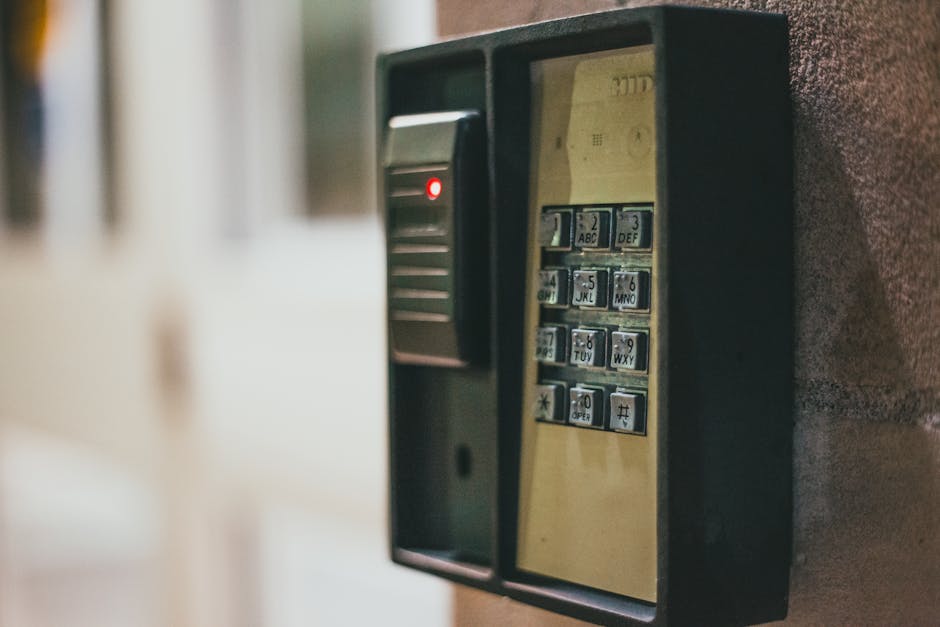
On the LiftMaster 877MAX specifically, the button to hold is the one with the up arrow icon — it sits above the number pad and has no label. Hold it until you see the two flashes, not just a single blink. A single blink means the press registered but confirmation failed.
Model-by-Model Button Reference
Not every LiftMaster keypad looks the same, and the confirmation button varies by generation. Match your model number — printed inside the battery compartment — to the table below.
| Model | Confirmation Button | Hold Time | Notes |
|---|---|---|---|
| 877MAX | Up arrow icon | 3 seconds | Most common, sold since 2015 |
| 387LM | Lock icon | 3 seconds | Basic wireless keypad |
| 387LMC | Lock icon | 3 seconds | Supports multiple user PINs |
| KPW250 | Star (*) key | 2 seconds | Older Craftsman-branded, compatible |
Programming Without Access to the Motor Unit
If you cannot reach the Learn button, the myQ app offers an alternative for Security+ 2.0 openers. Open the app, tap the opener, go to Settings, then Keypad Setup, and follow the on-screen steps. The app handles the Learn button signal remotely over WiFi.

This option only works if your opener already has an active myQ connection. If it does not, you need physical access to the motor unit. See our full guide on LiftMaster remote not working if you are also having trouble with your remote during this process.
DIY vs Professional: Cost and Time
| Option | Cost | Time | DIY Suitability |
|---|---|---|---|
| Learn button programming | $0 | 60 seconds | Safe for DIY |
| myQ app programming | $0 | 1–2 minutes | Safe for DIY |
| Replacement keypad (877MAX) | $30–$45 | 15 minutes | Safe for DIY |
| Dealer reprogram visit | $50–$90 | Same day–2 days | Professional required |
Safety Risk Level: Low. The keypad itself carries no electrical risk. The only caution is on the ladder if your ceiling mount sits high — keep three points of contact and avoid the top step.
Troubleshooting: Keypad Not Responding After Programming
| Problem | Cause | Fix |
|---|---|---|
| No double flash after entering PIN | 30-second window expired | Repeat from Step 2 |
| Opener light flashes once then stops | PIN too short or invalid | Use exactly 4 digits |
| Keypad buttons not responding | Dead battery | Replace 9V battery |
| PIN works but door does not move | Safety sensors misaligned | Check sensor alignment and wiring |
| Door reverses immediately after opening | Obstruction or sensor issue | Clear path, realign sensors |
| Keypad paired but wrong PIN accepted | Old PIN never erased | Full memory erase, reprogram from scratch |
How to Change an Existing PIN on LiftMaster (No Enter Button)
To change a PIN you already know: enter the current PIN on the keypad, press and hold the up arrow for 3 seconds until the light blinks, enter your new 4-digit PIN, then press and hold the up arrow again until you see the double flash. No Learn button required for a PIN change — only for initial programming or if you forgot the current PIN.
If you forgot the current PIN entirely, you will need to erase the opener memory using the Learn button (hold for 6 seconds until LED turns off) and start fresh. This also wipes all remotes, so reprogram those afterward. For a related issue, check our guide on how many openers you can program to a LiftMaster.
Security Tips for Your New PIN
- Avoid sequential numbers like 1234 or repeated digits like 1111 — both are among the first codes tested.
- Change the PIN after any contractor, cleaner, or tenant no longer needs access.
- If your keypad supports multiple user codes (387LMC), assign a separate PIN per person instead of sharing one.
- After any reprogram, test the auto-reverse safety feature per UL 325 standards by placing a 2×4 flat under the closing door — it must reverse on contact.
Related Guides
For other LiftMaster opener guides, see LiftMaster Garage Door Won’t Close Without Holding Button, LiftMaster Error Code 4-1, LiftMaster Garage Light Won’t Turn On, LiftMaster 1/2 HP Troubleshooting, LiftMaster 1/3 HP Troubleshooting, How to Fix LiftMaster Error Code 1-5, LiftMaster 375UT Not Working, LiftMaster Garage Door 10 Blinks, LiftMaster Garage Door Chain Not Moving and LiftMaster Error Code 42.
For official manufacturer guidance, see LiftMaster’s official support center.
Frequently Asked Questions
Which button replaces Enter on the LiftMaster 877MAX keypad?
On the LiftMaster 877MAX, the up arrow button replaces Enter. Press and hold it for 3 seconds after entering your PIN to confirm programming. The opener light will flash twice when successful.
Can I program a LiftMaster keypad without the Learn button?
Only if your opener supports myQ. You can use the myQ app to program the keypad remotely. Without myQ, physical access to the Learn button is required.
How many PINs can a LiftMaster keypad store?
Standard LiftMaster keypads store one active PIN. The LiftMaster 387LMC and myQ-compatible models can store multiple user PINs with individual access logs.
Why does my LiftMaster keypad light up but not open the door?
The keypad is powered but not paired to the opener. Reprogram it using the Learn button method above. If the door still does not respond after successful programming, check the safety sensor alignment.
Does LiftMaster keypad programming erase existing remotes?
No. Programming a new keypad PIN using a single press of the Learn button does not erase existing remotes. Only holding the Learn button for 6 seconds wipes all stored devices.
Is the LiftMaster 877MAX weatherproof for outdoor use?
Yes. The 877MAX carries an IP65 weather rating, making it safe for exterior mounting in rain and direct sun. The sealed button design is part of why LiftMaster removed the traditional Enter key.