
If your LiftMaster 375UT stopped opening the garage, or never worked after you set it up, the cause is almost always one of three things: a dead CR2032 battery, the wrong brand setting, or a range problem at the opener. The 375UT is a universal remote, and that changes how you fix it.
Most guides tell you to press the learn button and then the remote button. That works for a standard LiftMaster remote, but not for a 375UT. A universal remote has to be told which brand and learn-button color it is talking to first, and skipping that step is the number one reason a 375UT “doesn’t work”.
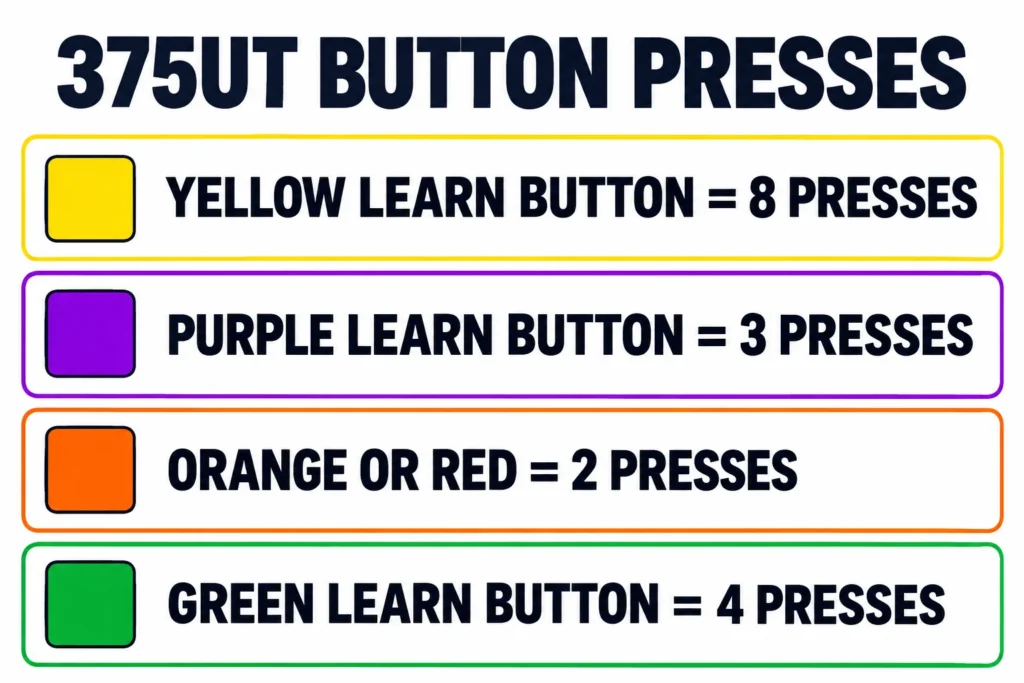
Short Answer: Replace the 3V CR2032 battery first. If the LED lights but the door won’t move, put the remote into programming mode with the small button under the battery cover, press the remote button the right number of times for your opener’s learn-button color (8 for yellow, 3 for purple, 2 for orange or red, 4 for green), then press the opener’s learn button. If the wall control also fails, the problem is the opener, not the remote.
What Is the LiftMaster 375UT?
The 375UT is a two-button universal remote made by Chamberlain Group, LiftMaster’s parent company. Each button can be set up separately, so one remote can run two different doors or a door and a gate.
“Universal” means it can copy the signal of several brands, not just LiftMaster. Its instructions list Chamberlain and LiftMaster openers back to 1993, Genie Intellicode, Linear, Stanley and Wayne Dalton, plus Chamberlain-built brands sold as Sears Craftsman, Raynor and Master Mechanic.
There’s one hard limit. The instructions say the 375UT may only be used with openers built after 1993 that have photo-eye safety sensors at the bottom of the door track. If your opener has no sensors, the remote isn’t meant to be used with it.
Quick Diagnosis
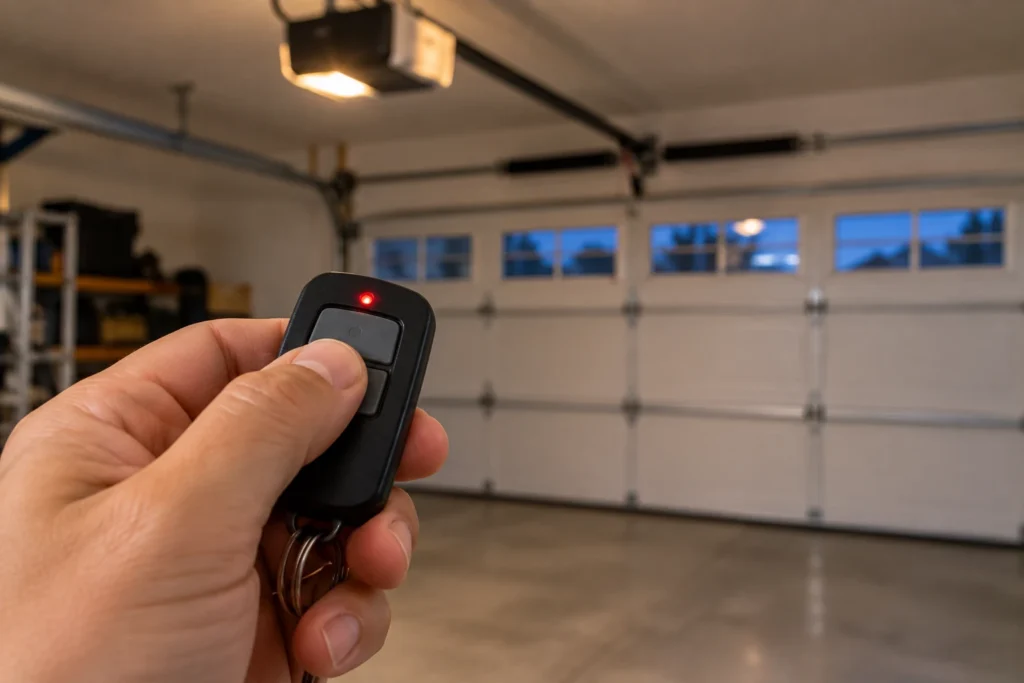
Start by pressing a button and watching the small LED on the remote. What it does tells you where to look.
| What You See | Likely Cause | Fix | DIY Suitability |
|---|---|---|---|
| No LED at all | Dead battery | Replace the CR2032 | Safe for DIY |
| LED lights, door does nothing | Wrong brand setting or lost programming | Reprogram with the right press count | Safe for DIY |
| Works only right under the opener | Weak battery or opener antenna | New battery, then check the antenna | Safe for DIY |
| Wall control works, remotes don’t | Lock mode on, or remote not programmed | Turn off lock, then reprogram | Safe for DIY |
| Wall control doesn’t work either | Opener power or logic board | Check power and breaker | Professional if board |
Step 1: Replace the Battery
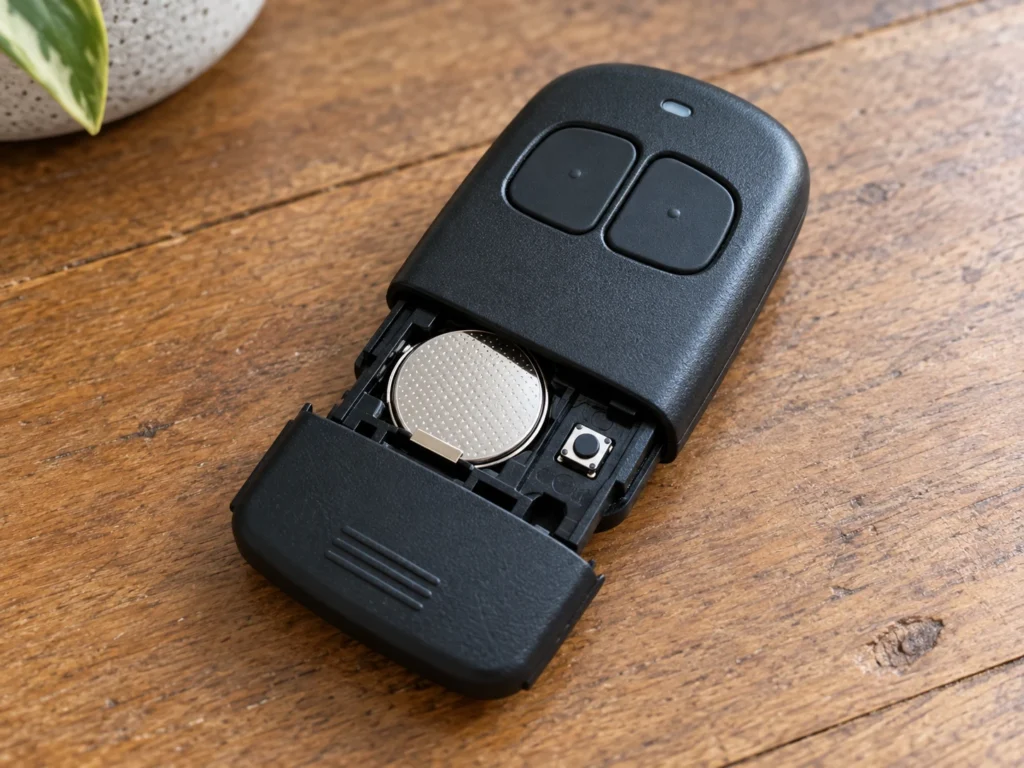
The 375UT runs on a single 3V CR2032 coin battery. Slide the battery cover down and off, lift out the old battery and put the new one in with the positive (+) side facing up as marked.
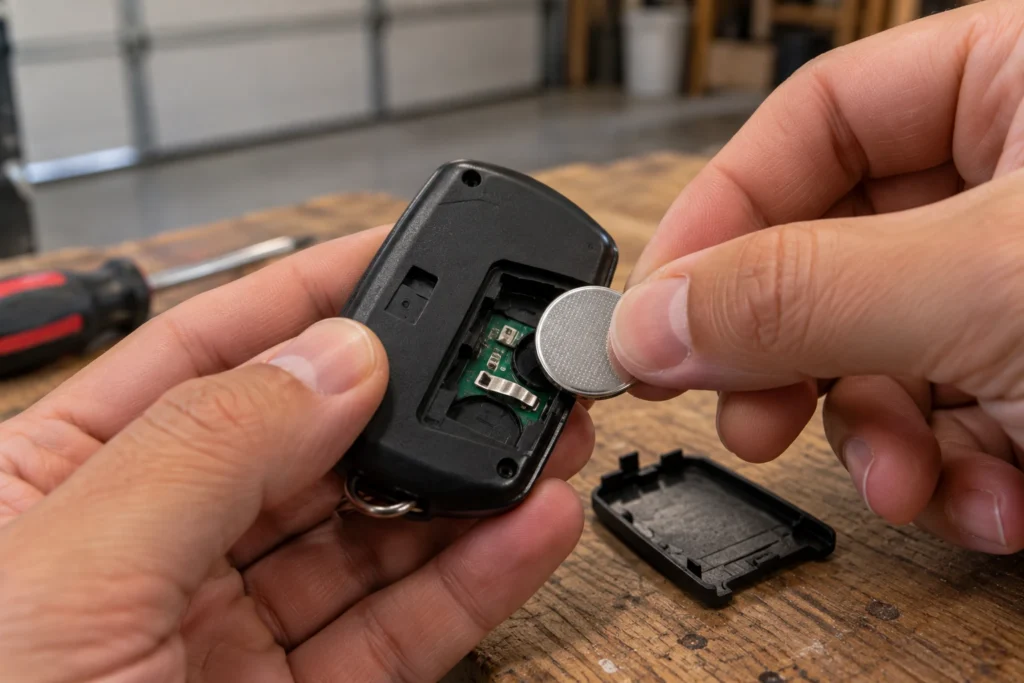
While the cover is off, you’ll also see the small program button and, on some versions, a row of tiny DIP switches. Don’t touch the switches unless your opener uses them (see below). Changing a battery doesn’t erase the programming, so if the LED now lights and the door works, you’re done.
If the LED stays dark even with a fresh battery, check that the battery contacts aren’t bent or corroded. If they look fine, the remote itself has failed and needs replacing.
It Stopped Working Right After a Battery Change
This is one of the most common 375UT complaints. A battery swap shouldn’t erase the code, so check three things in this order. First, make sure the new battery is in with the + side up and sits flat under the contact clip. Second, look at the DIP switches if your remote has them; it’s easy to nudge one while the cover is off. Third, if you pressed the program button by accident while the cover was off, the remote may have dropped its setting. In that case, simply program it again using Step 2.
Step 2: Program the 375UT for Your Opener
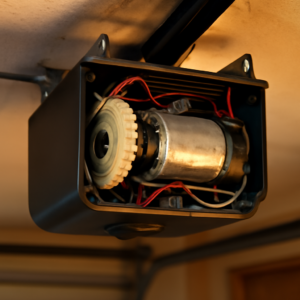
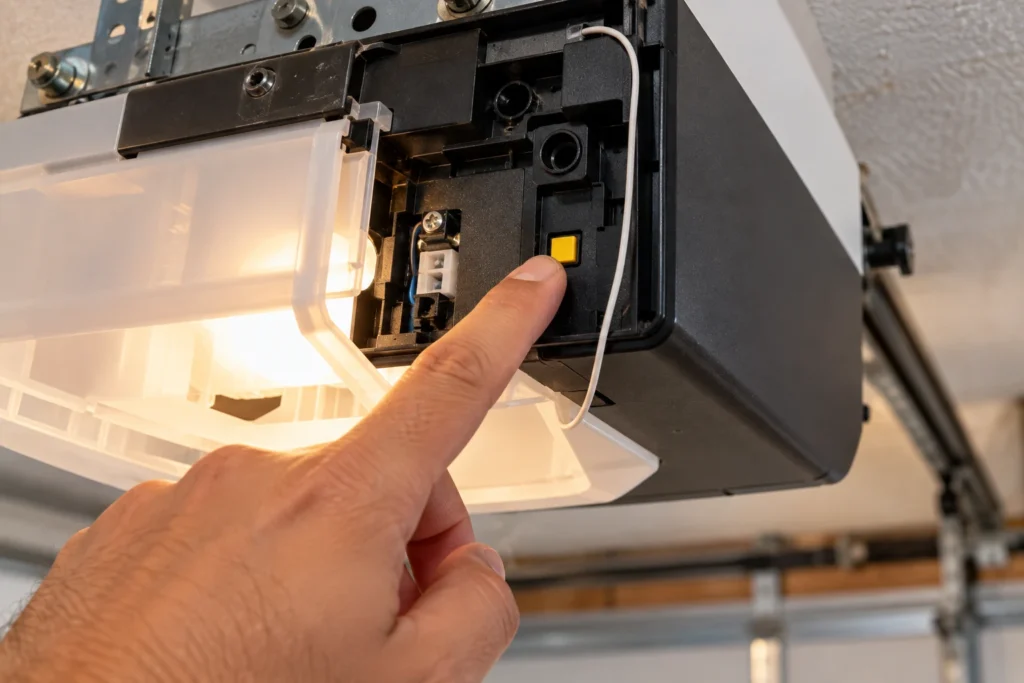
This is where most people go wrong. Before you start, find the learn button on your opener’s motor unit, usually behind the light cover or next to the antenna wire, and note its color. The color tells you the opener’s age and code type, and the 375UT needs that to pick the right signal.
- Close the garage door.
- Slide the remote’s battery cover down. Press and hold the program button until the LED lights, about 2 seconds, then release.
- Press the remote button you want to use the number of times shown in the table below. Let the LED stop blinking between each press.
- Press and release the learn button on the opener. You have about 30 seconds.
- Press and hold the remote button until the opener light blinks or you hear a click.
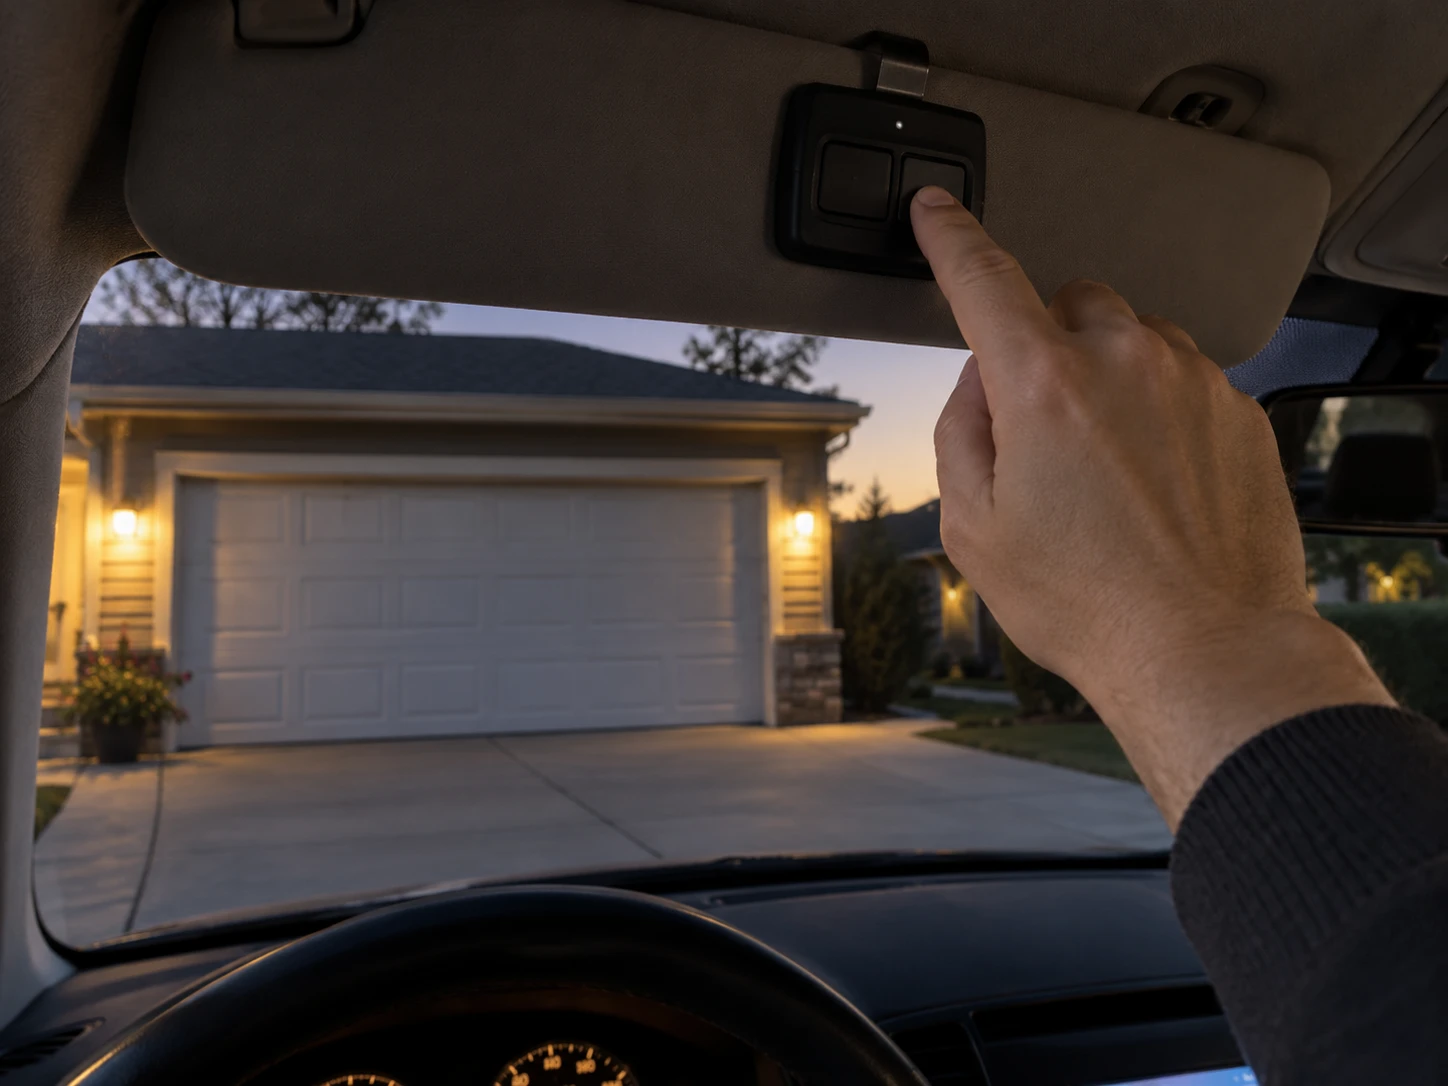
- Test it from your car. If it doesn’t work, reverse the steps and try again; it can’t damage anything.
| Opener Learn Button or Brand | Years | Button Presses |
|---|---|---|
| Chamberlain/LiftMaster yellow | 2011 and newer | 8 |
| Chamberlain/LiftMaster purple | 2005 and newer | 3 |
| Chamberlain/LiftMaster orange or red | 1997 to 2005 | 2 |
| Chamberlain/LiftMaster green | 1993 to 1996 | 4 |
| Genie Intellicode | 2005 and newer | 5 |
| Genie Intellicode | 1995 and newer | 6 |
| Linear Mega-Code | 1997 and newer | 1 |
| Stanley Security Code | 1998 | 7 |
| Wayne Dalton rolling code (372.5 MHz) | 1999 and newer | 9 |
Common mistake: pressing too fast. If you press again before the LED finishes blinking, the remote can skip a step and land on the wrong brand. Count slowly and wait for the LED each time.
Programming keeps failing? If your opener has LED bulbs in it, unscrew them before you program and put them back afterward. Interference from LED bulbs can block the opener from hearing the remote during setup, and pulling them for a few minutes often lets the code take on the first try.
If Your Opener Uses DIP Switches
Older Linear and Stanley openers use a row of DIP switches instead of a learn button. The 375UT can copy these too, using 14 presses for Linear 10-position, 16 for Stanley 10-position, and 18 for Linear 8-position switches.
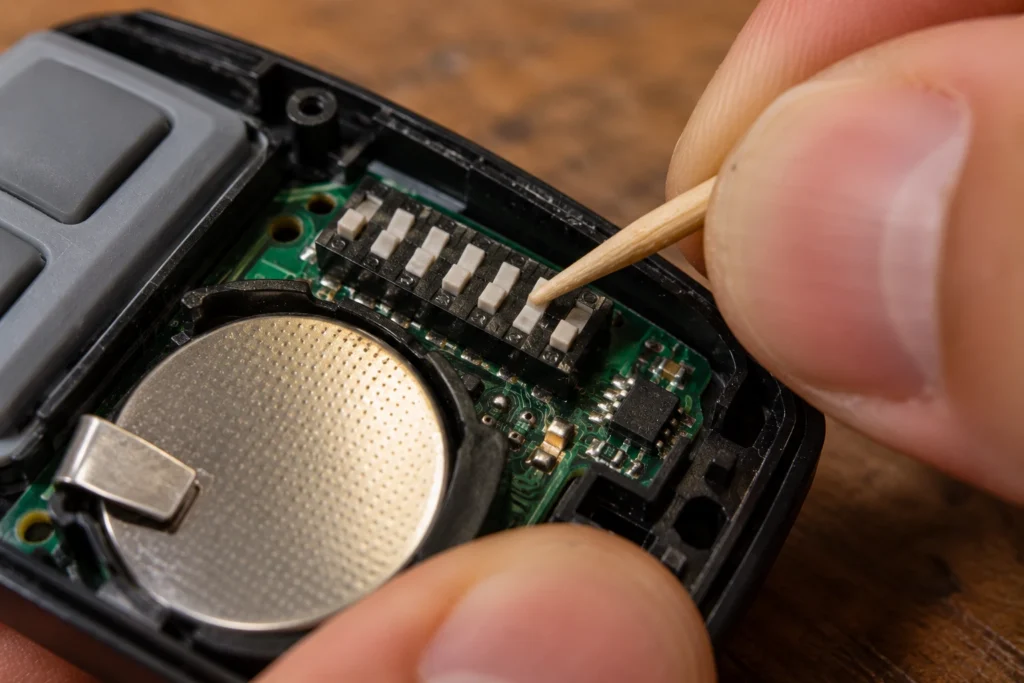
Open your old remote or the opener’s receiver and copy its switch pattern onto the 375UT’s switches exactly, then program with the matching press count. If the remote has only a 2-position switch and programming fails, the instructions say to flip both switches to the opposite setting and try again.
Step 3: Rule Out a Range or Antenna Problem
If the remote works when you stand under the opener but not from the driveway, the remote is fine and the problem is range. Look at the antenna wire hanging from the motor unit. It should hang straight down, untangled and away from metal ductwork or the rail.
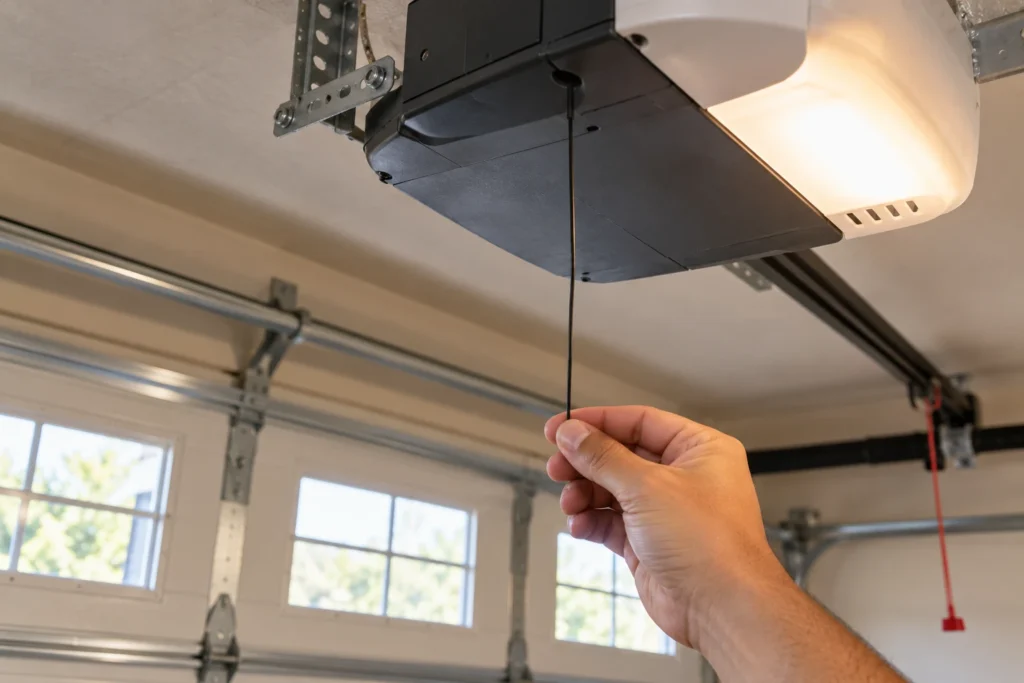
Metal doors, foil-backed insulation and LED bulbs in the opener can all cut range. Cheap, unshielded LED bulbs are a well-known cause of radio interference on garage door openers. Swap in an incandescent bulb or one labeled for garage door openers and test again.
If your other remotes have lost range too, the issue is on the opener side. Our guide on LiftMaster garage door remote not working covers opener-side fixes in detail.
If you use the 375UT on a gate and need to press the button many times before it responds, the gate receiver is usually mounted somewhere the signal can’t reach, such as behind a wall or inside a metal box. Moving its antenna or adding an antenna extension so it sits in the open is the standard fix.
When the Wall Control Also Stops Working
If the wall control works but no remote does, check for lock mode first. Many LiftMaster wall controls have a lock or vacation button that shuts out every remote, usually shown by a blinking light on the wall control. Turn lock off and test the 375UT again before reprogramming anything.
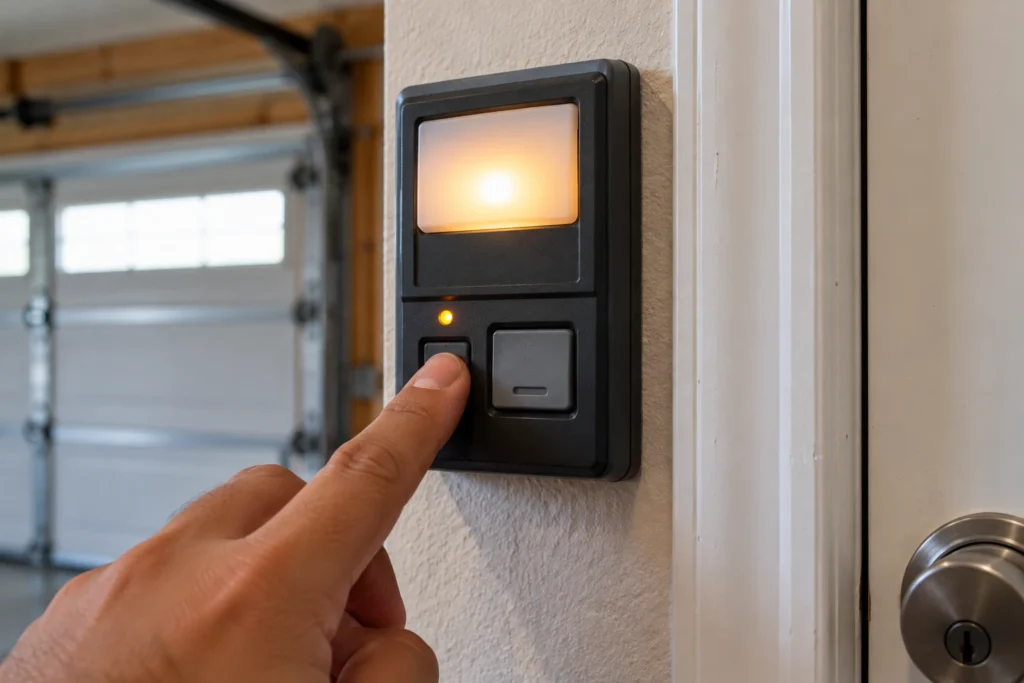
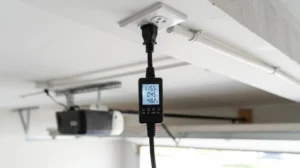
If the wall control does nothing either, the problem has moved to the opener. Check that the opener is plugged in and the motor light works, then check the breaker. For wiring questions, see our guide on whether a garage door opener needs a dedicated circuit.
| Fix | Cost | Time | DIY Suitability |
|---|---|---|---|
| Replace CR2032 battery | $2 to $5 | 5 minutes | Safe for DIY |
| Reprogram with correct press count | $0 | 5 to 10 minutes | Safe for DIY |
| Straighten antenna or swap LED bulb | $0 to $15 | 10 minutes | Safe for DIY |
| Replace the remote | $25 to $45 | 15 minutes | Safe for DIY |
| Replace opener logic board | $80 to $200 | 1 to 2 hours | Professional recommended |
Replace the 375UT or Buy a New Remote?
If a new battery and correct programming don’t bring the LED or the door back, replace the remote. There are no serviceable parts inside apart from the battery and the code switches.
Check your learn-button color before you buy. If it’s yellow, purple, orange or red, a remote made for that color is usually simpler to set up than a universal one. Be careful with very cheap “375UT compatible” clones sold online; many only work with certain learn-button colors, so read the listing for your exact color before ordering.
If you’re setting up remotes for several drivers, our guide on how many remotes you can program to a LiftMaster explains the limits by model.
Frequently Asked Questions
What battery does the LiftMaster 375UT use?
It uses one 3V CR2032 coin battery. Slide the battery cover down to open the remote, swap the battery with the positive side up, and slide the cover back on. Changing the battery doesn’t erase the programming.
Why does my 375UT light up but not open the door?
The battery is fine, so the remote is either not programmed or set to the wrong brand. Reprogram it using the press count for your opener’s learn-button color: 8 for yellow, 3 for purple, 2 for orange or red, 4 for green. Also check that lock mode isn’t on at the wall control.
How many times do I press the button for a yellow learn button?
Eight. After holding the program button until the LED lights, press the remote button eight times, letting the LED stop blinking between presses. Then press the opener’s yellow learn button and hold the remote button until the opener light blinks.
Why did my 375UT stop working after I changed the battery?
Changing the battery shouldn’t erase the programming, so first check the battery is in with the + side up and sits flat under the clip. Then check that no DIP switches were moved. If it still won’t work, the remote may have lost its setting while the cover was off, so program it again with the press count for your learn-button color.
Where is the program button on the 375UT?
It’s under the battery cover. Slide the cover down and you’ll see a small button next to the battery. Press and hold it for about 2 seconds until the LED lights to enter programming mode.
Does the 375UT work with Genie openers?
Yes, with Genie Intellicode openers. Use 5 presses for Genie Intellicode models from 2005 on and 6 presses for those from 1995 on. Older fixed-code Genie openers aren’t on its list.
Will the 375UT work with a very old opener?
Its instructions say it should only be used with openers built after 1993 that have photo-eye safety sensors near the bottom of the door track. If your opener has no sensors, it’s too old for this remote and is due for replacement anyway.
Related Guides
For other LiftMaster guides, see LiftMaster Garage Door Remote Not Working, LiftMaster Keypad Programming With No Enter Button, How to Program a Garage Door Opener, LiftMaster Garage Door Won’t Close Without Holding Button, LiftMaster Error Code 4-1, LiftMaster Garage Light Won’t Turn On, LiftMaster Garage Door 10 Blinks and LiftMaster Error Code 42.
For official manufacturer guidance, see LiftMaster’s support center.